Using Observable Classes
Introduction
In this tutorial you will learn how easy the Observation framework makes it to share data among views within a SwiftUI app.
We will extend an app first written in last year's course.
Building the initial app will move quickly so that we can focus on learning how to use the Observation framework in this lesson.
You will be copy-pasting code into Xcode frequently.
Remember that if the code does not paste and get indented correctly, you can highlight the code in question, then use Control-I to re-indent it.
Alternatively, you can highlight all the code in your file using Command-A, then re-indent everything using Control-I.
If you are running into syntax errors, remember that Command-Z will undo your edits (as many times as needed).
Be sure to commit and push your work when prompted to do so. 😇
When complete, you will have an app that looks like this:
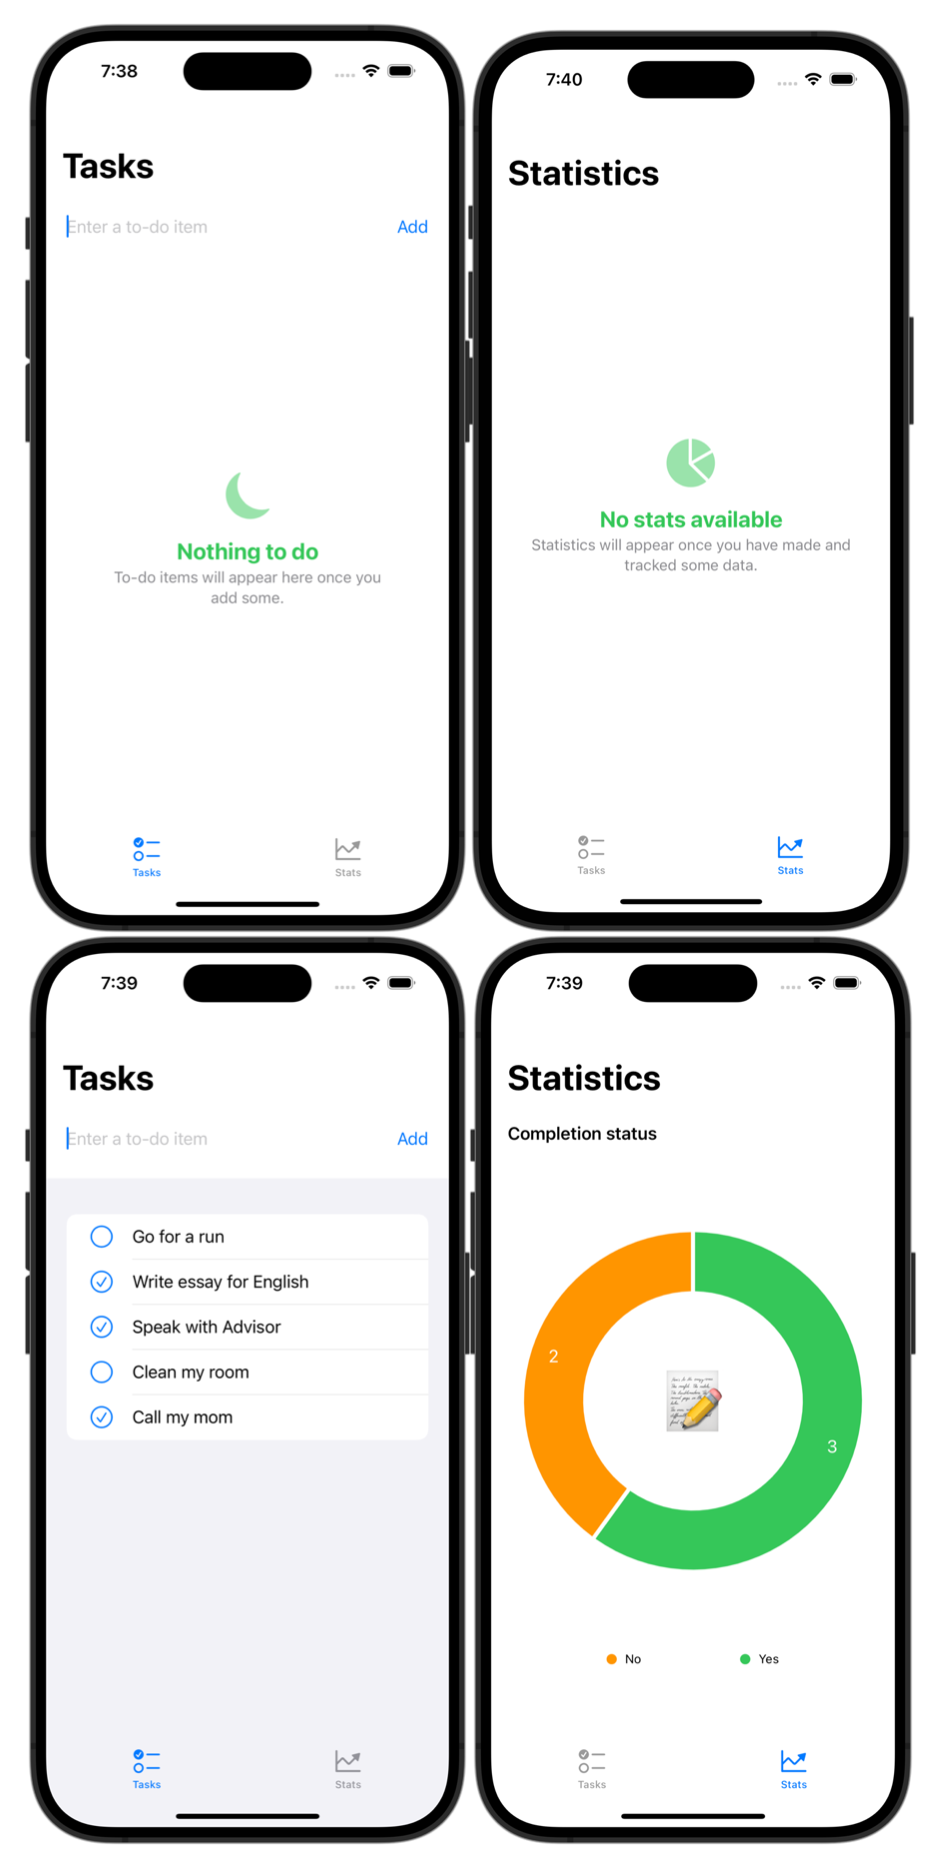
In tomorrow's lesson, you will learn how to use the new SwiftData framework to persist the data to a database – much more easily than with the Blackbird framework we used last year.
Let's get started.
Project organization
Create a new iOS project named EnhancedTodoList.
In order:
- Delete
ContentView - Create two new groups named:
ViewsModel
- Create a new view named:
LandingView
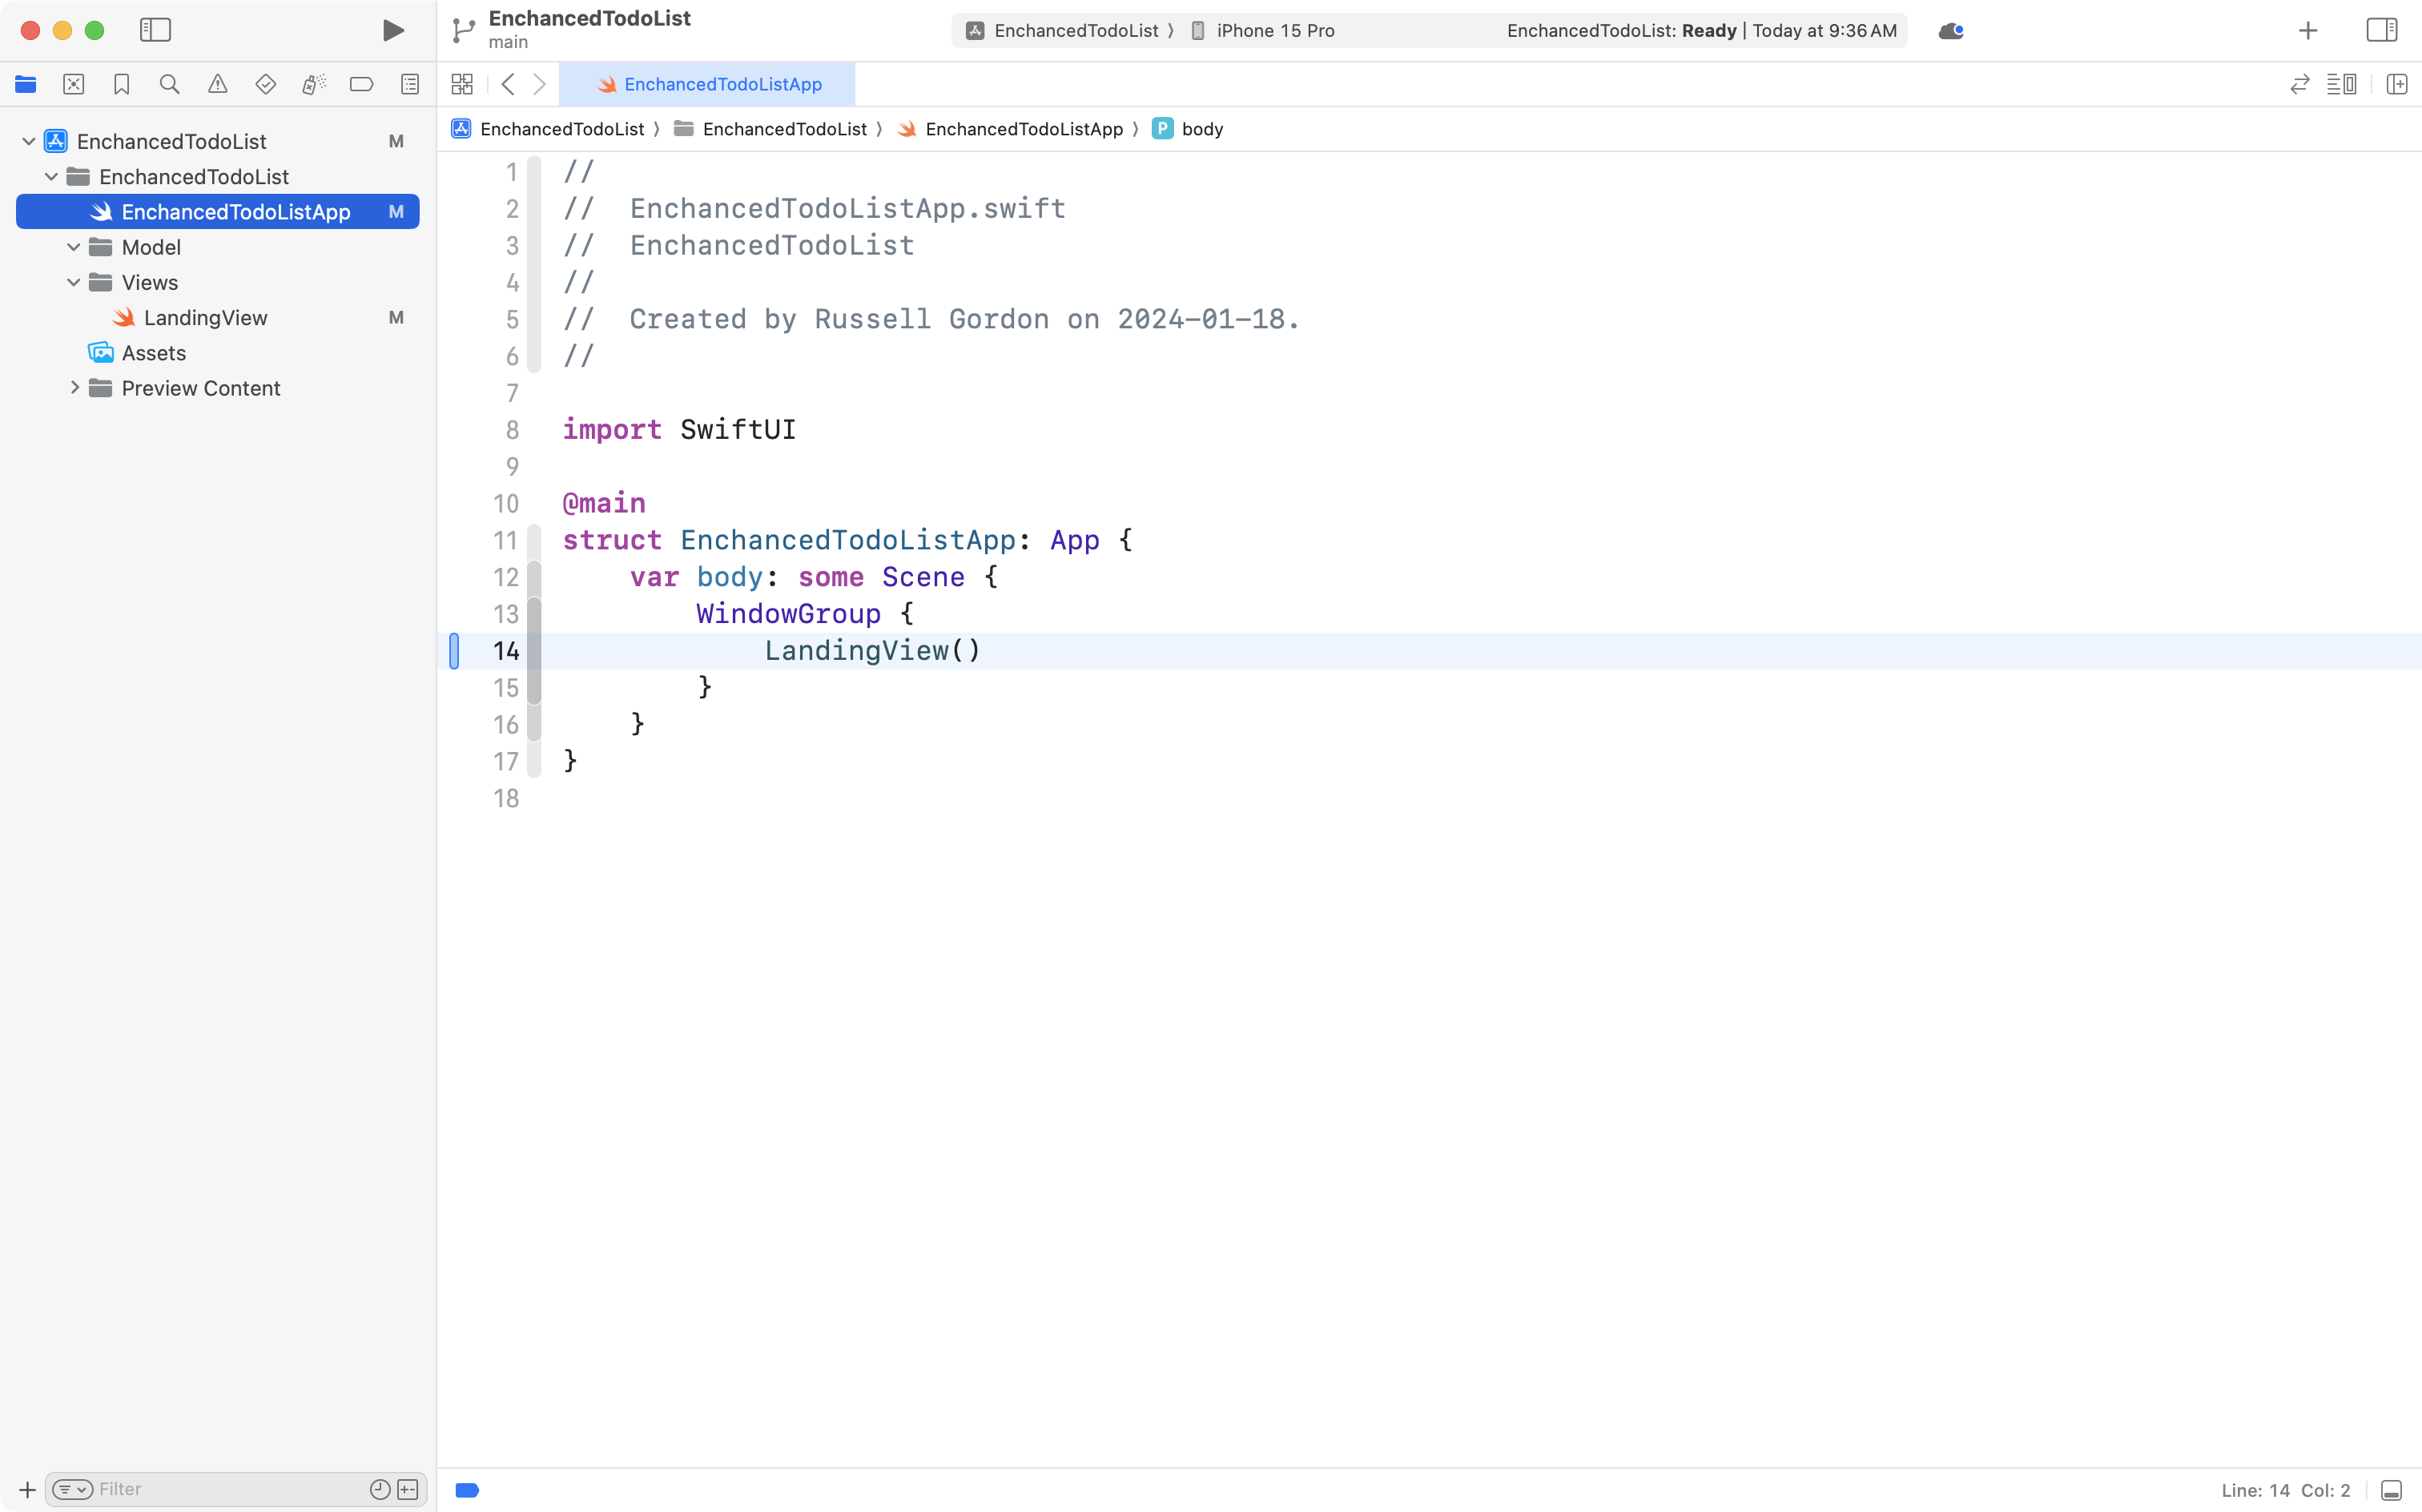
- Make the app entry point open
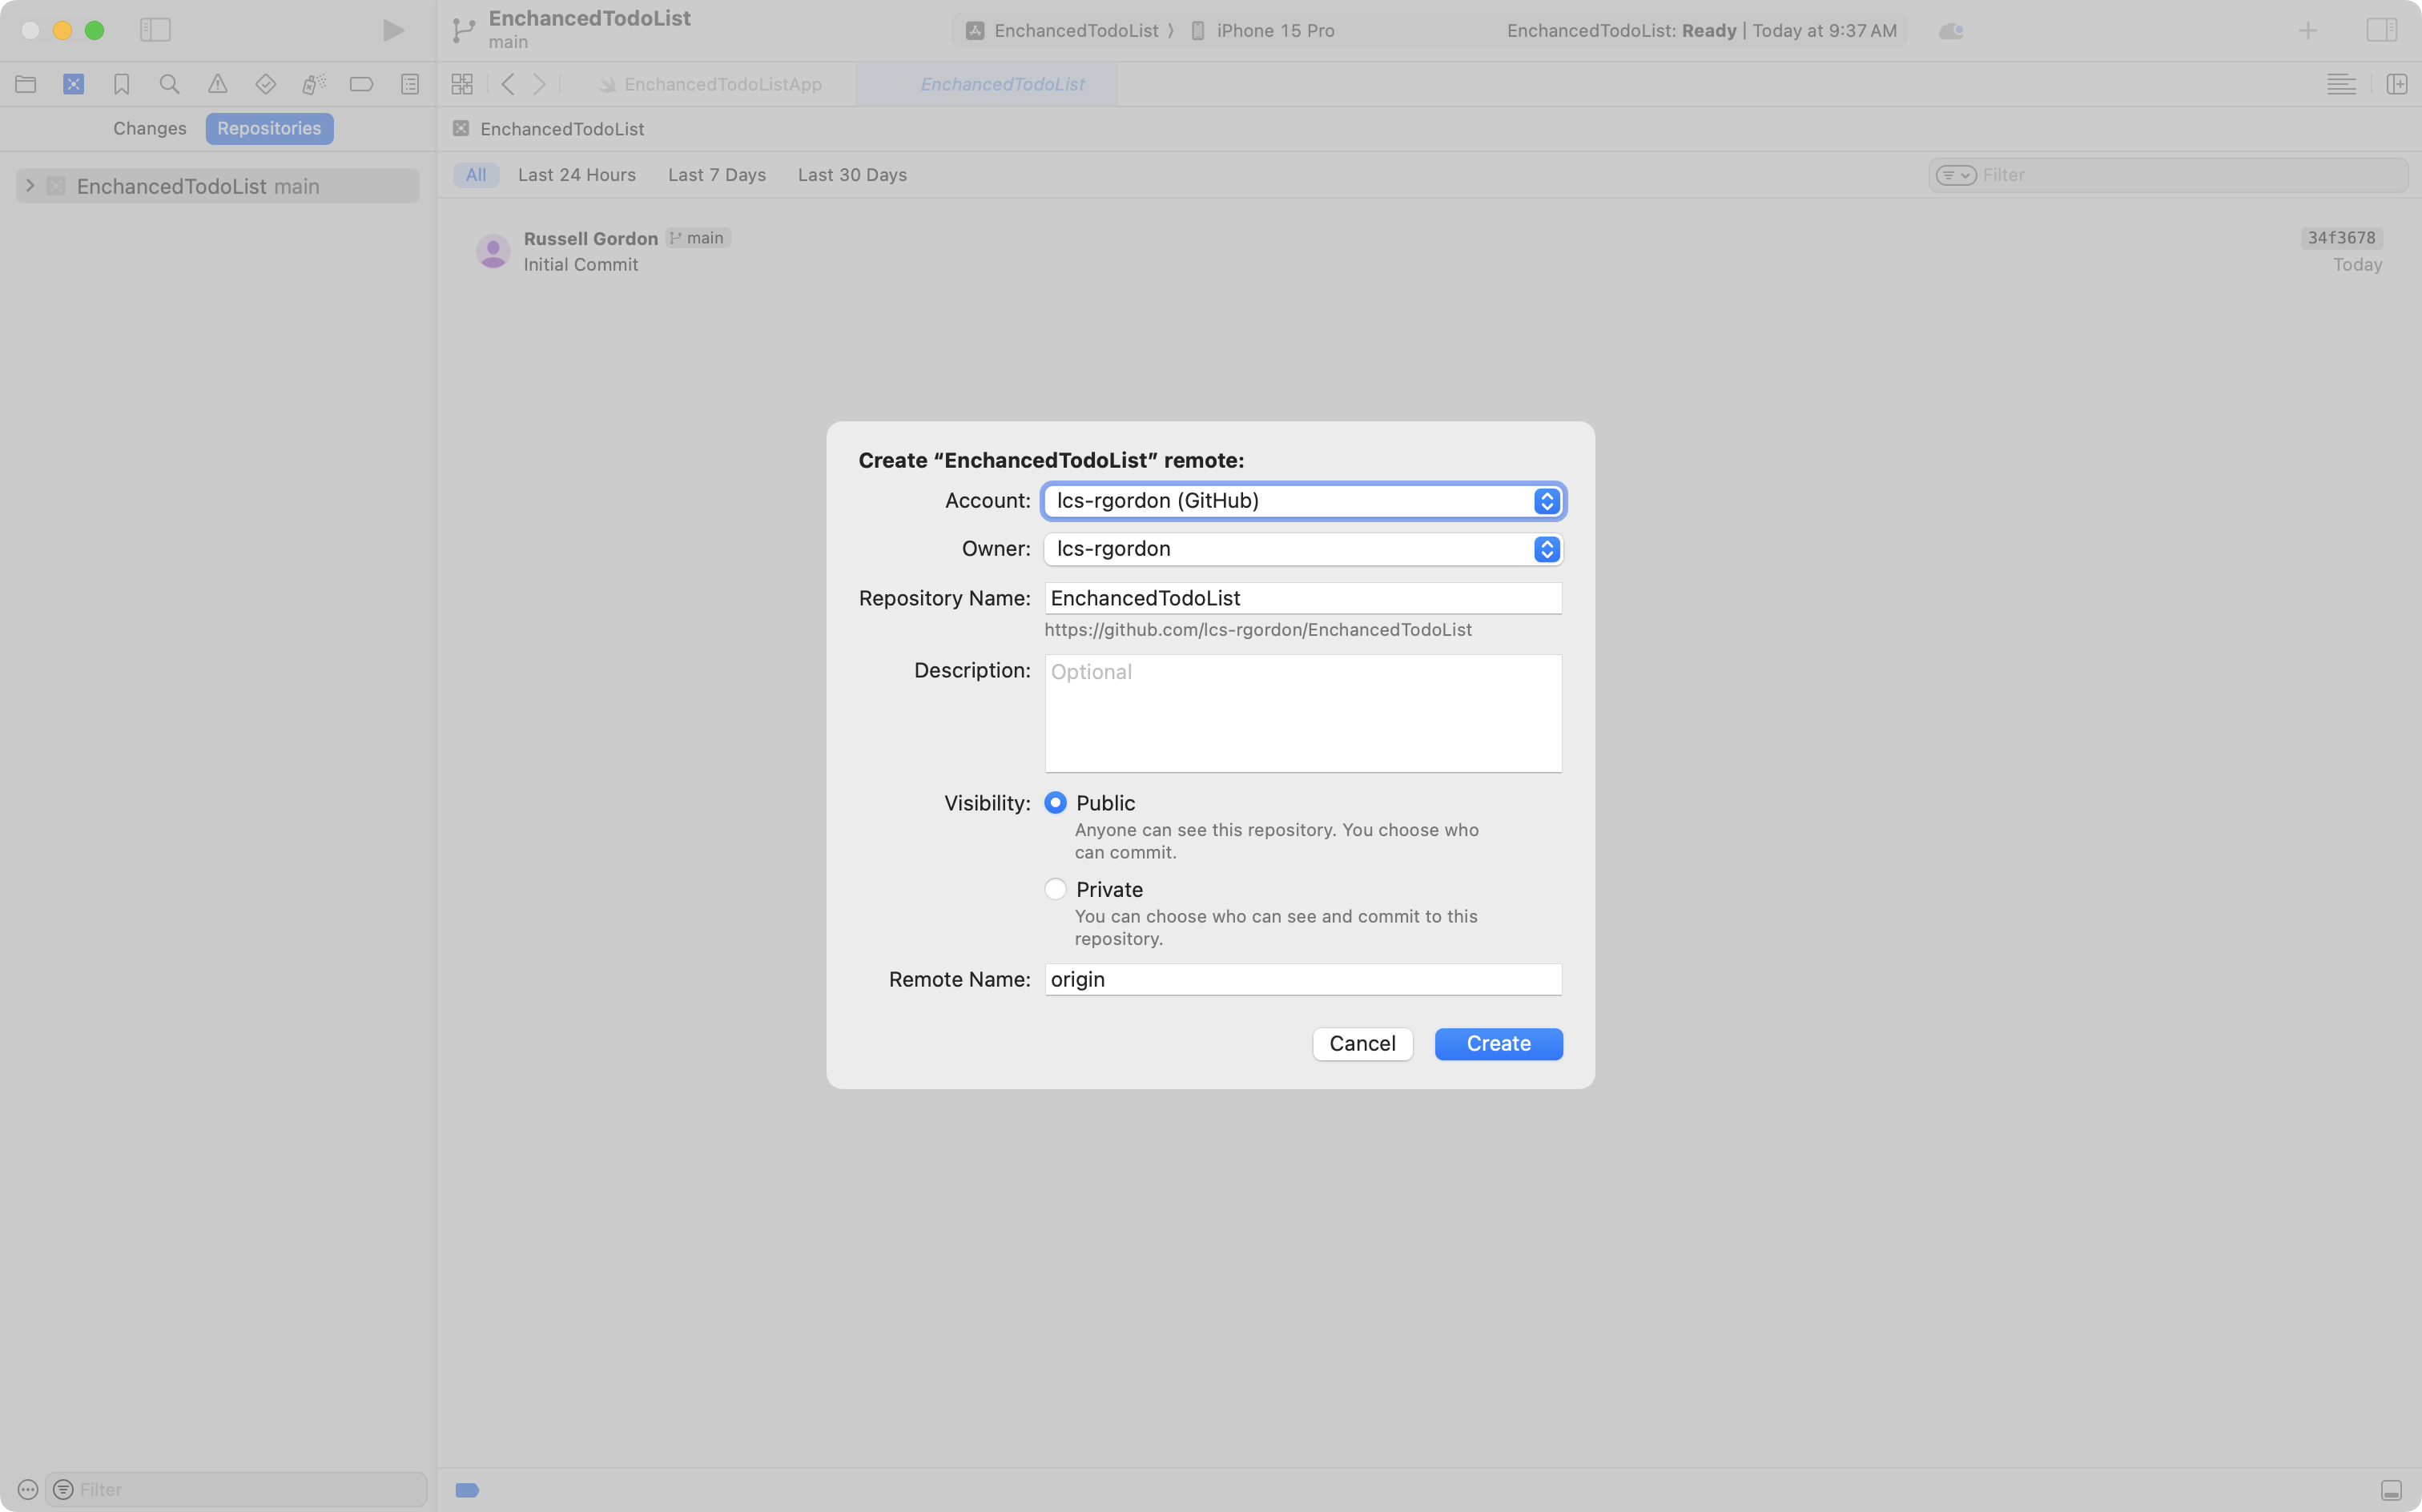
LandingView - Create a remote
- Commit and push your work
Some screenshots to help – creating the project:

After the project has been organized:
Creating the remote:
Committing and pushing these changes:
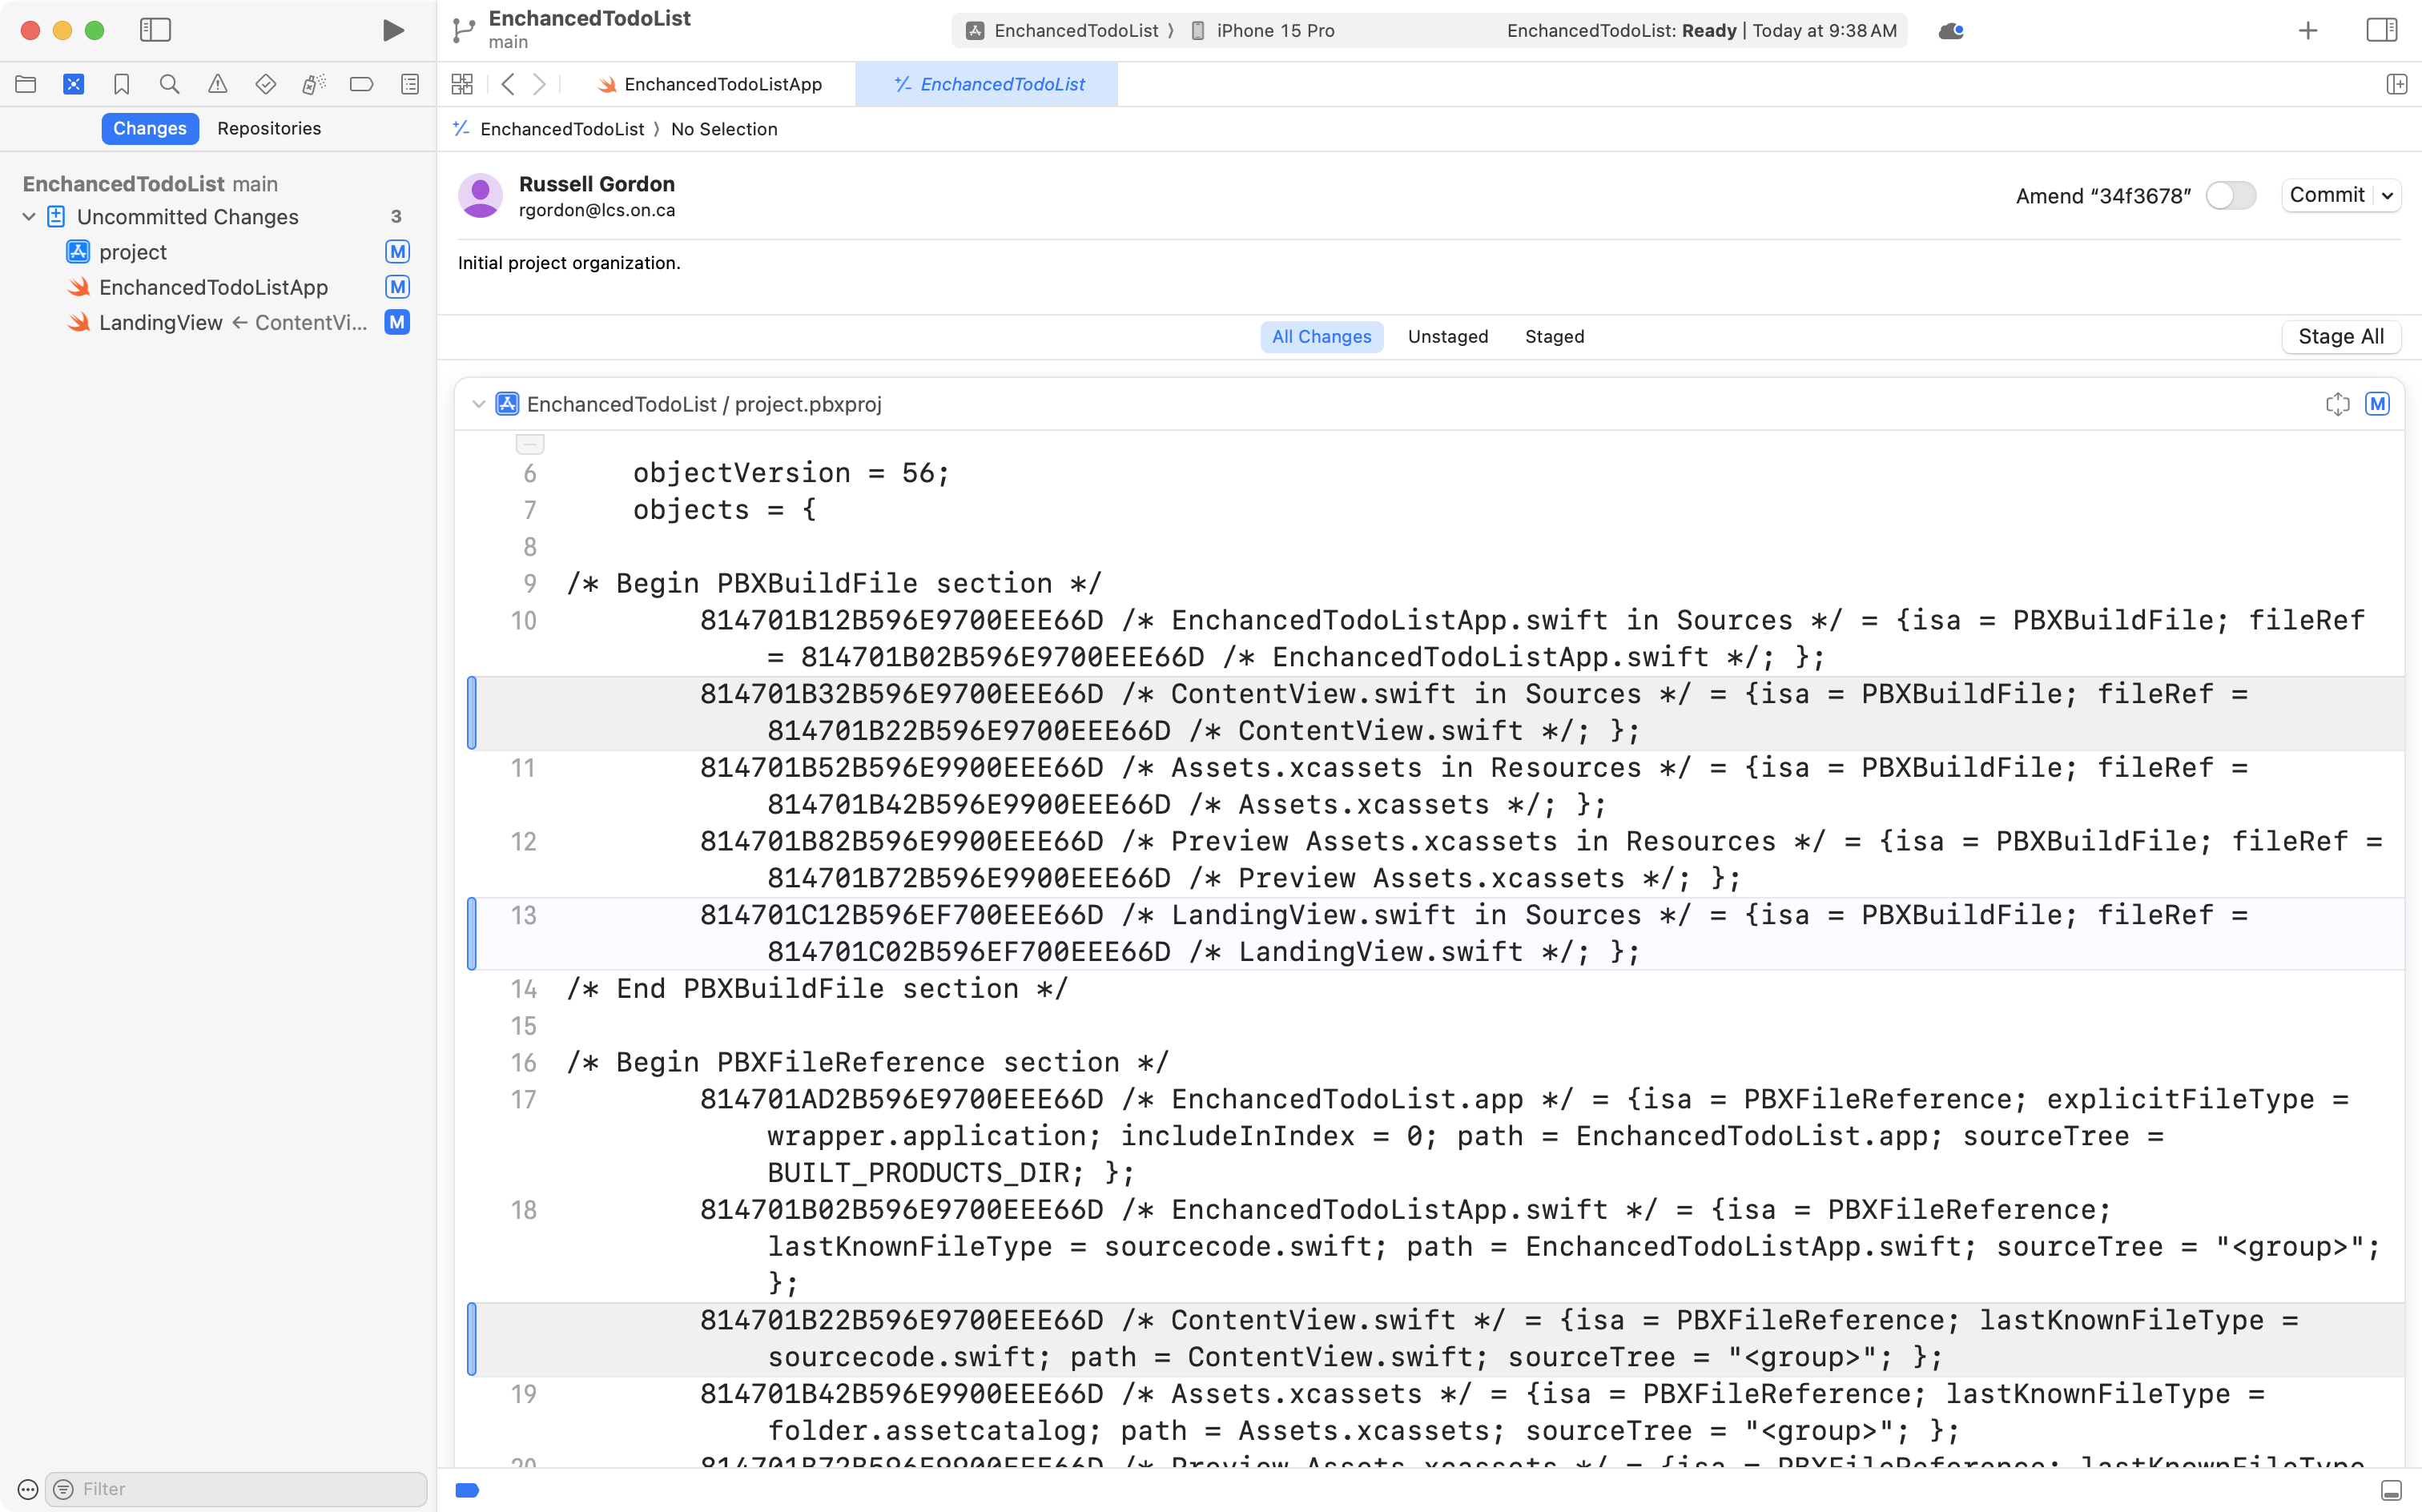
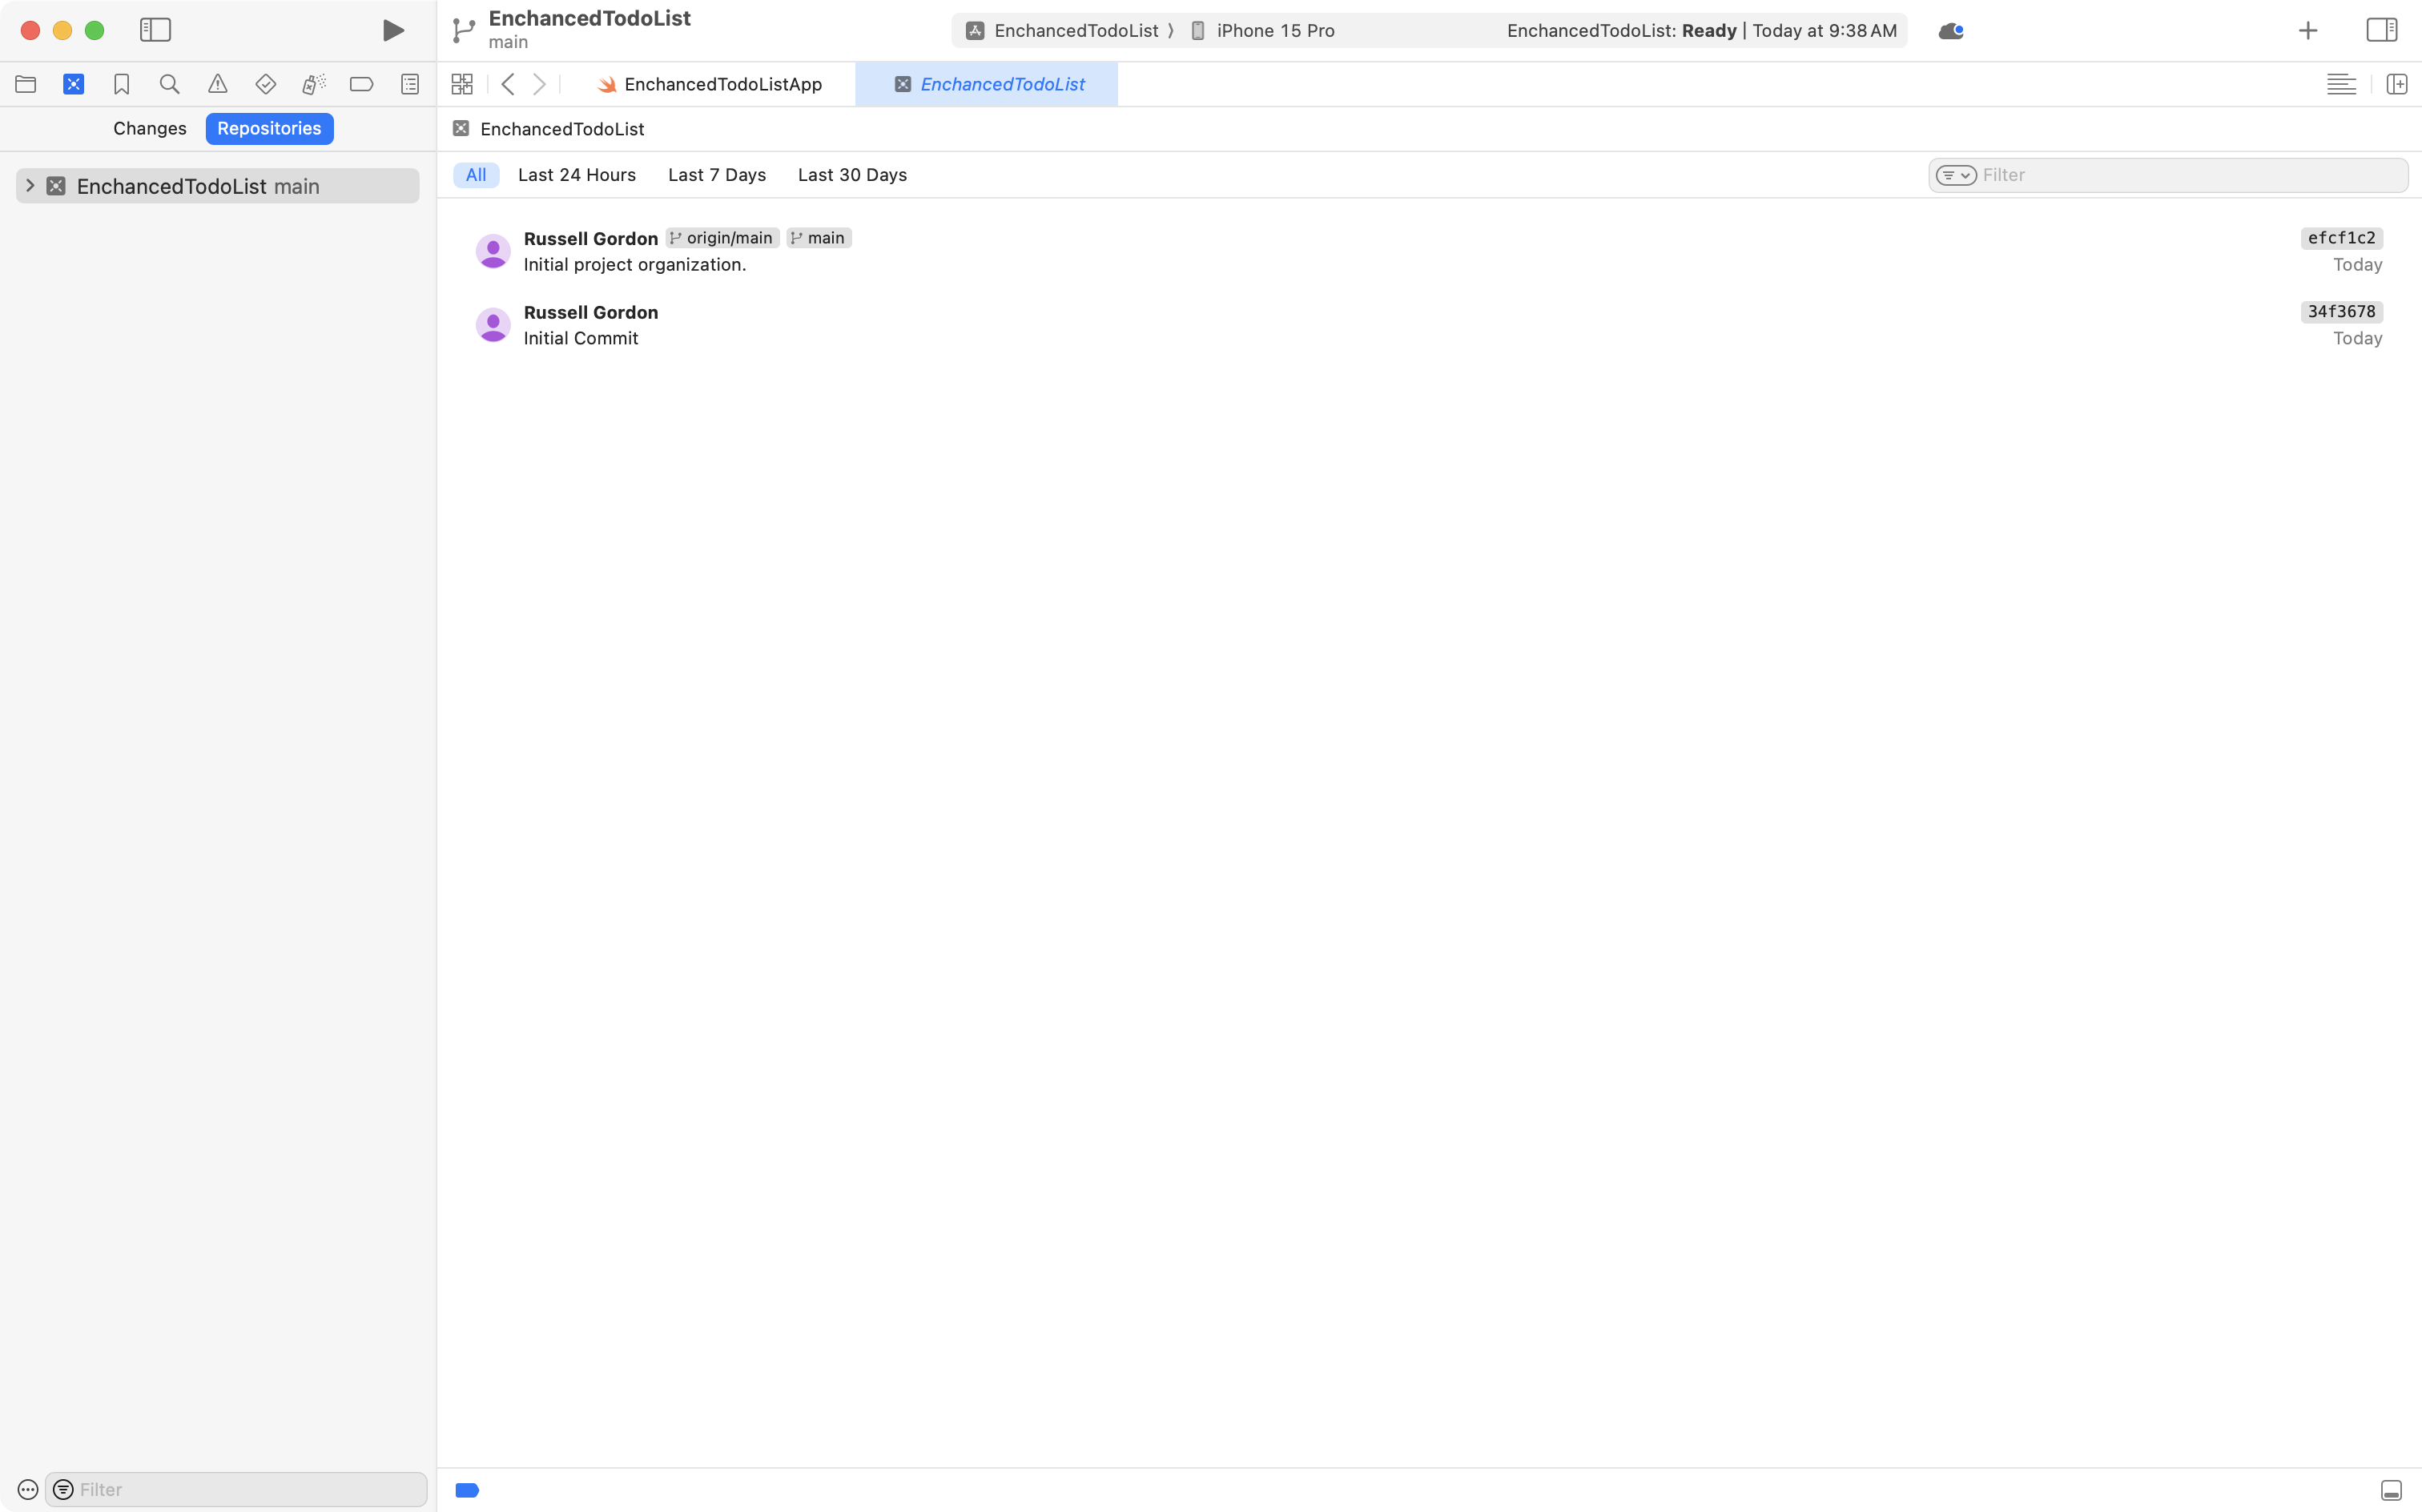
When complete, your local list of commits should look something like this:
Create tab view
LandingView will serve as a tab view for navigating between the to-do list and the statistics view.
Begin by creating two more views.
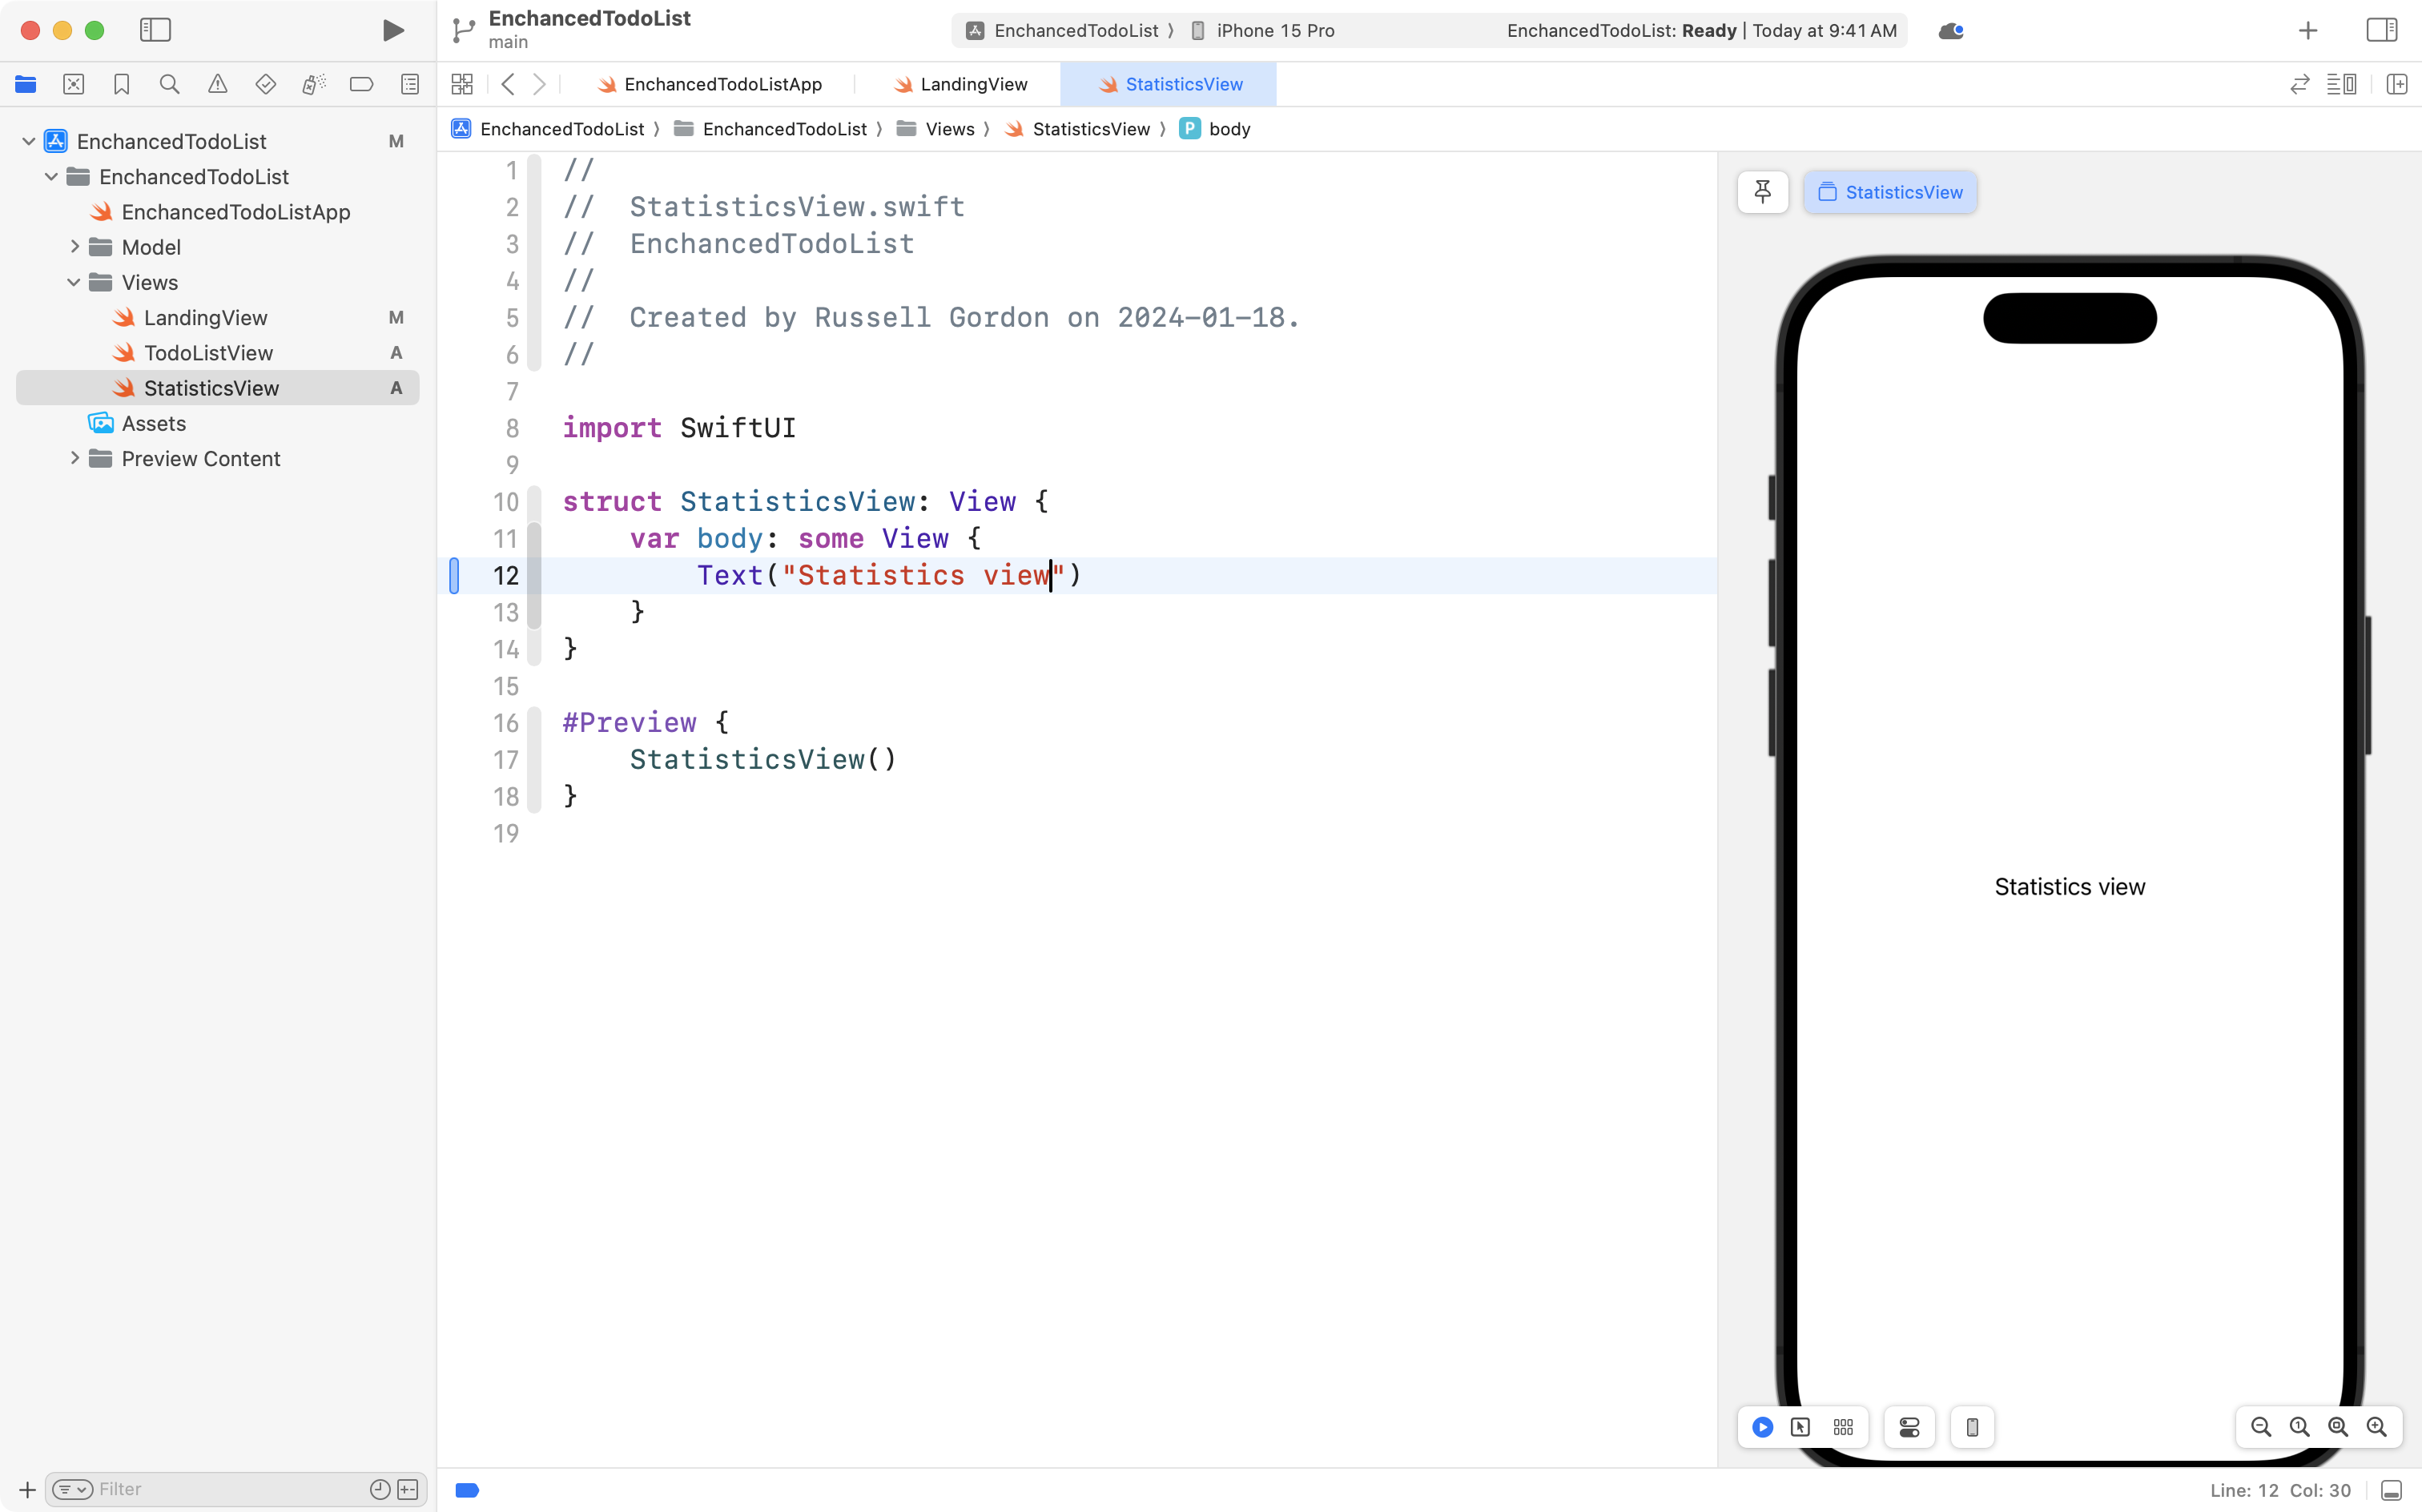
The first named StatisticsView:
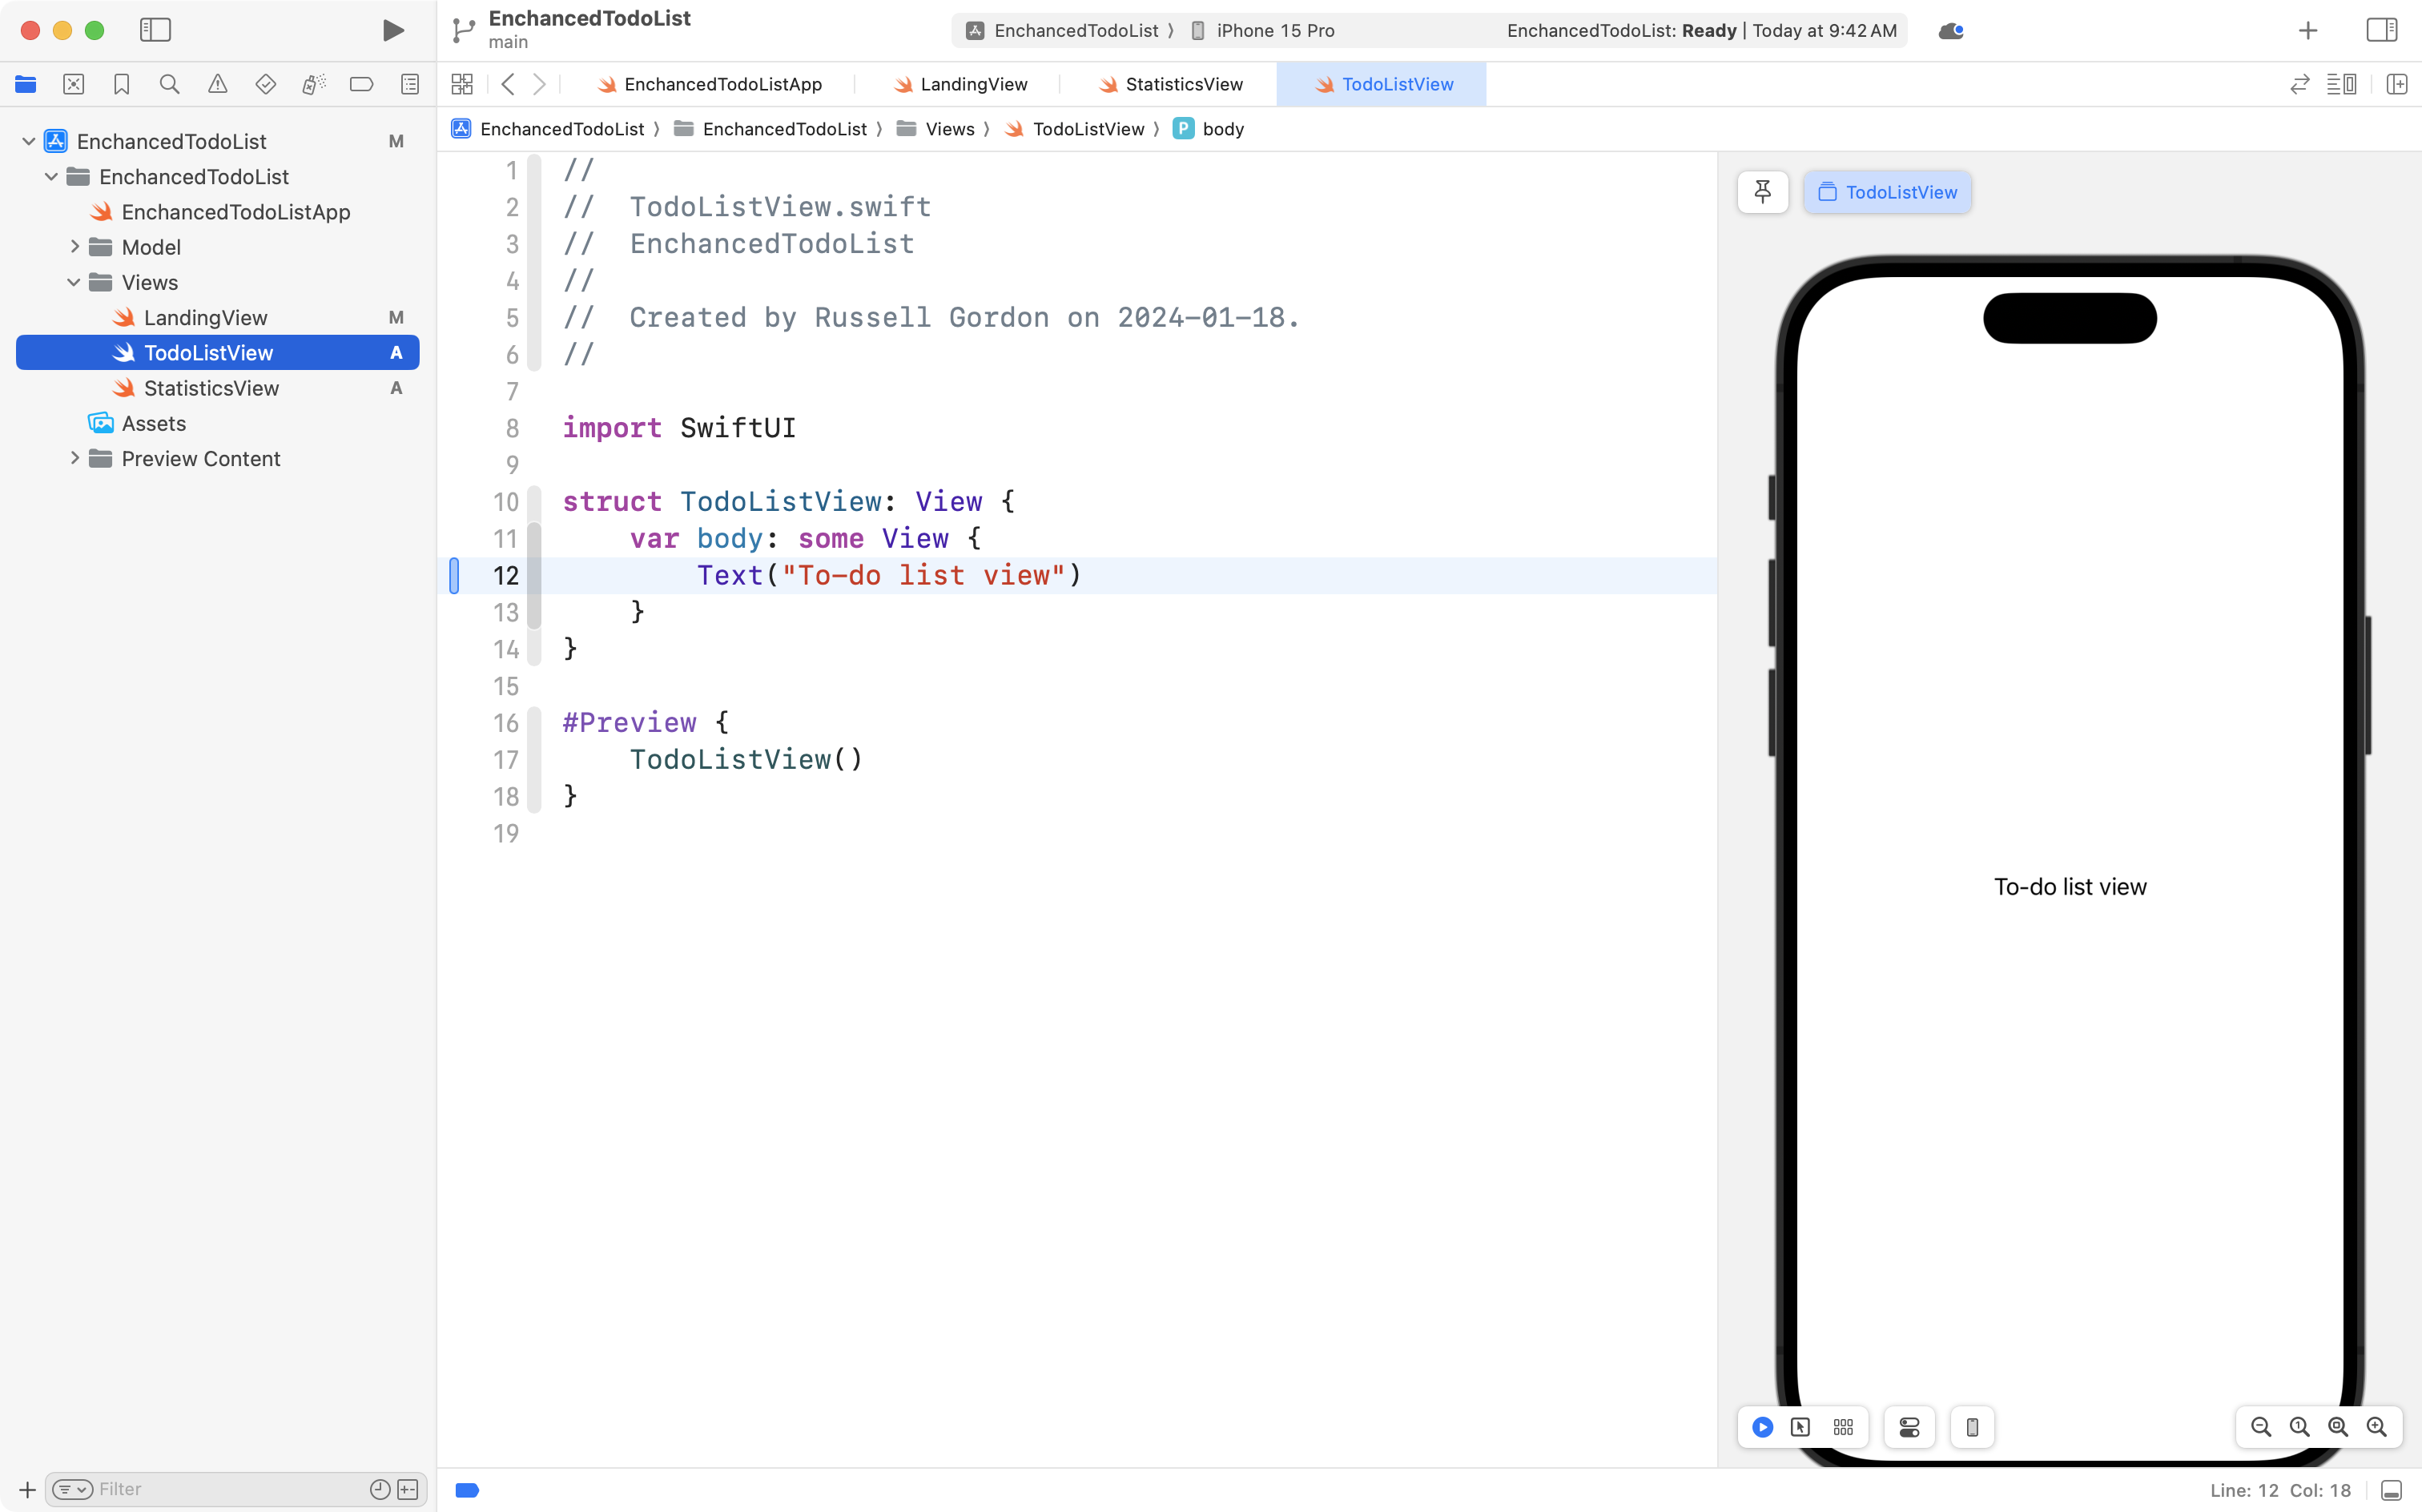
The second named TodoListView:
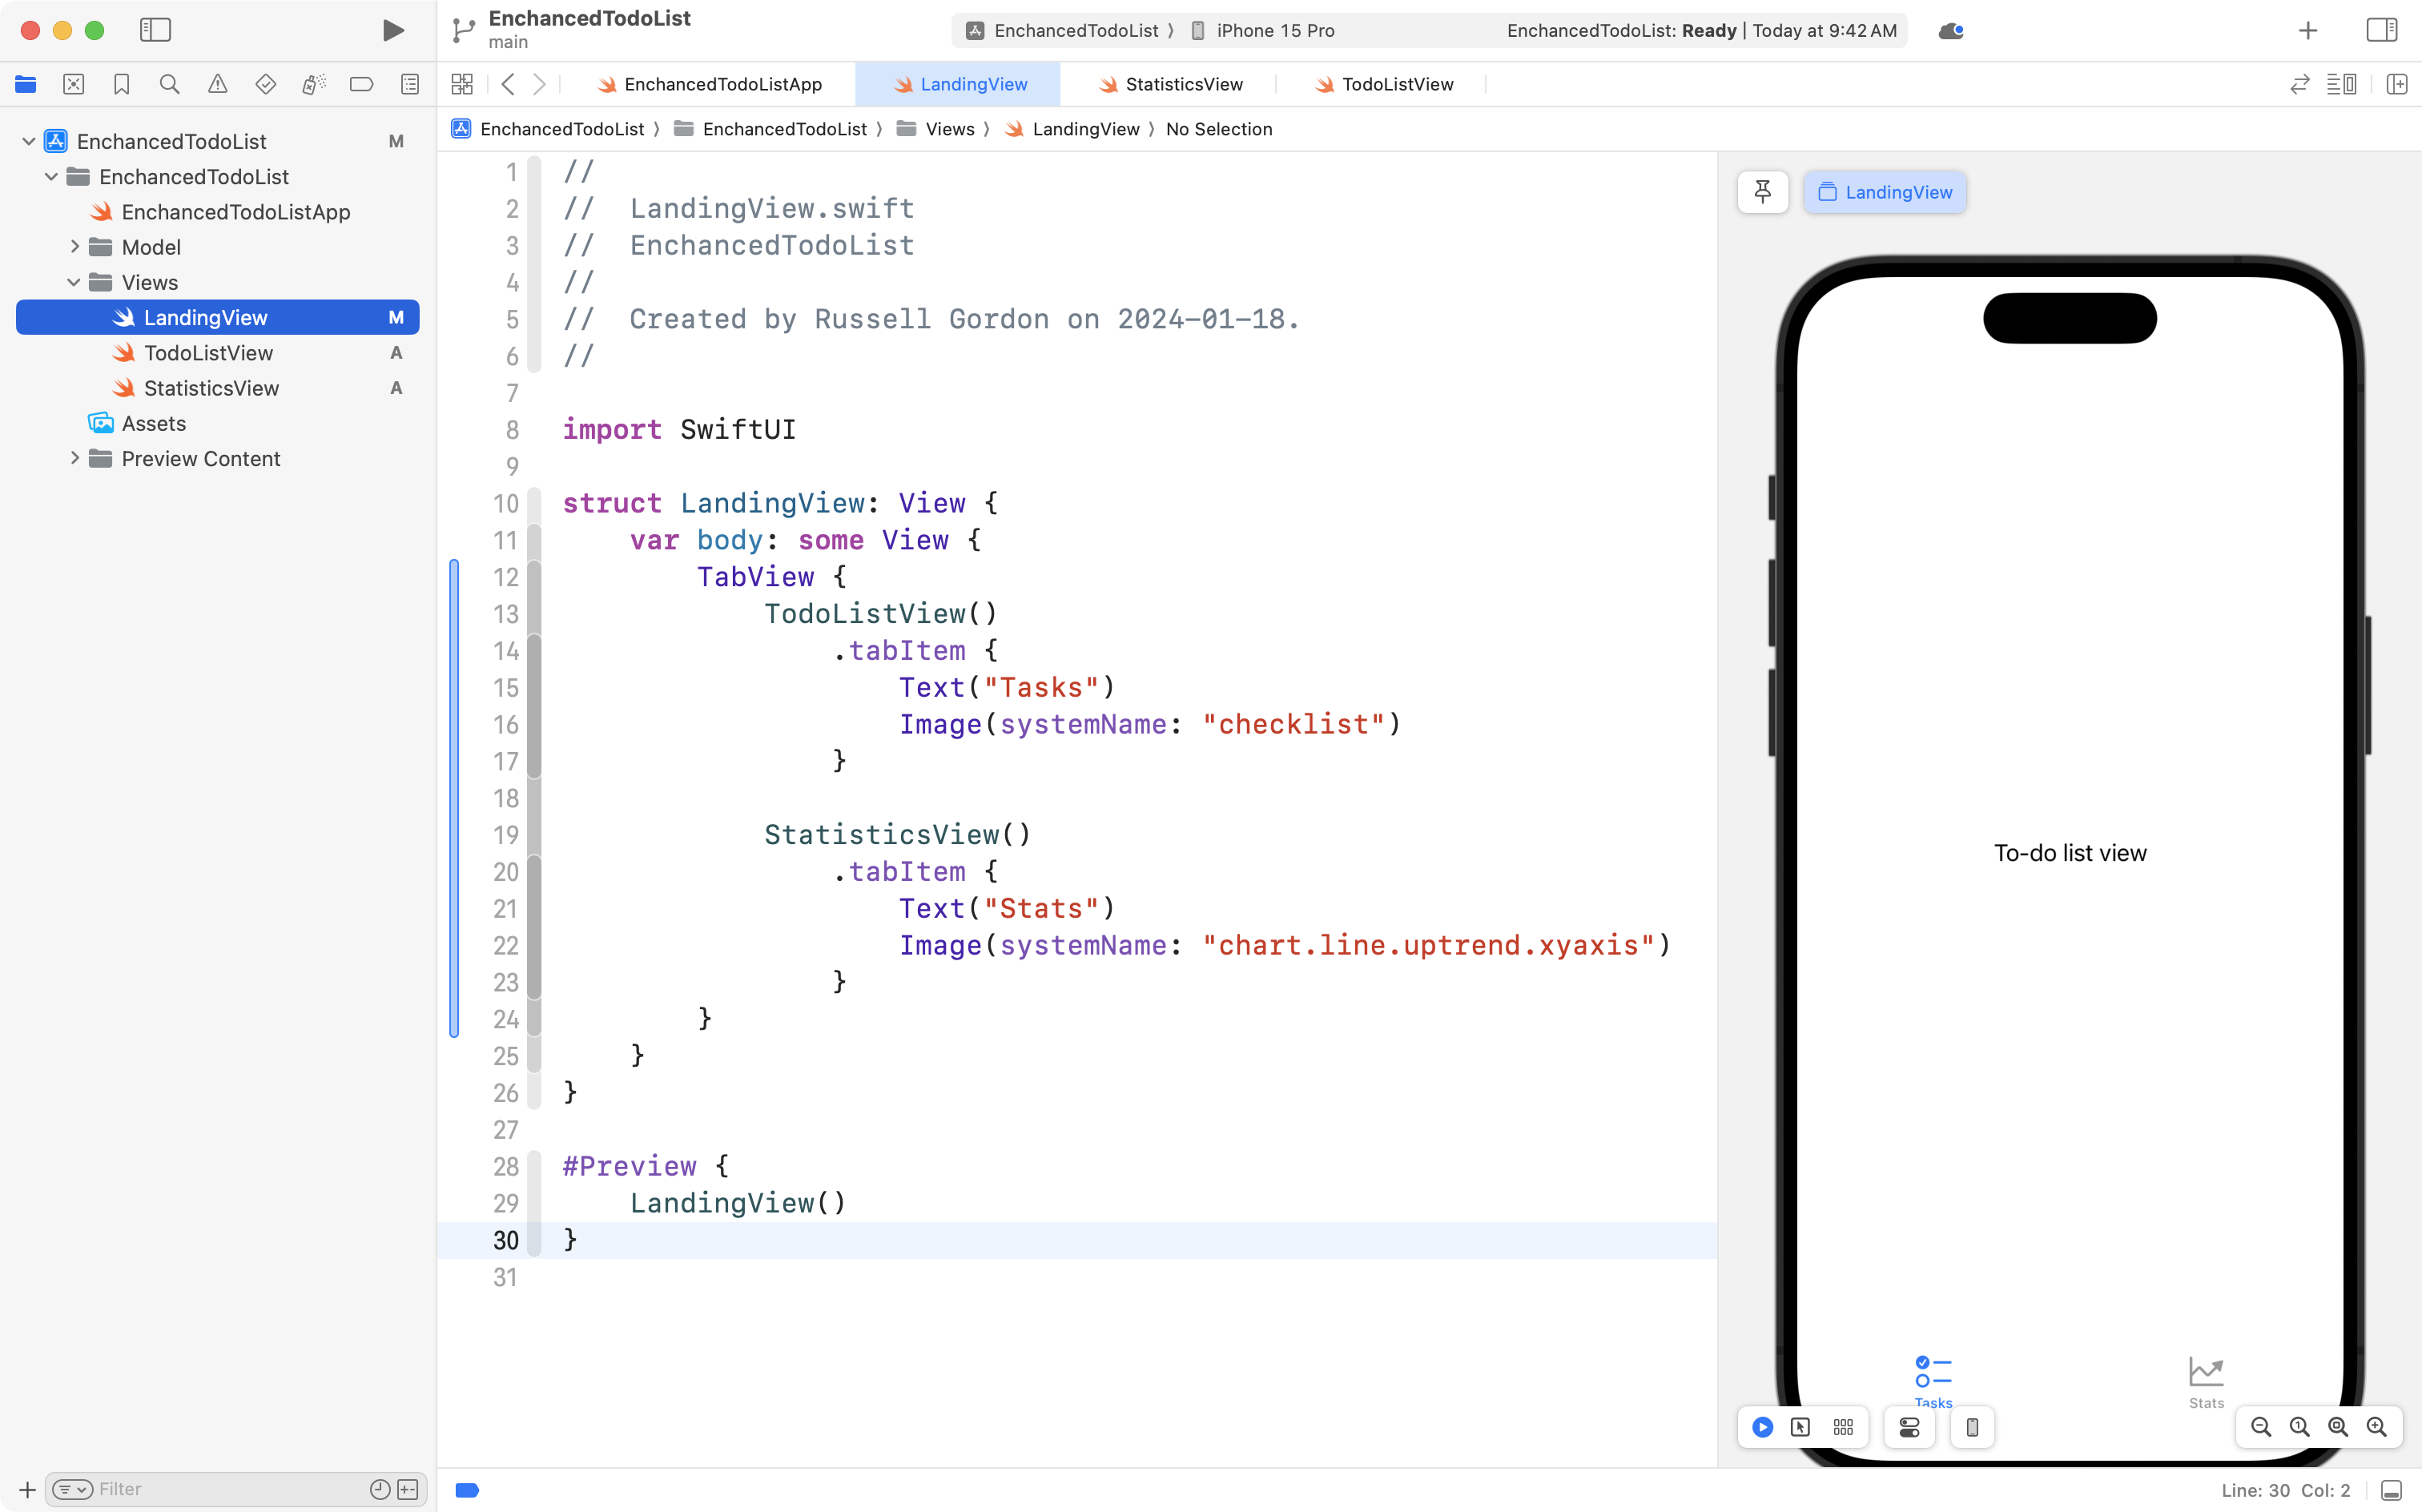
Then add the following code to LandingView:
import SwiftUI

struct LandingView: View {
    var body: some View {
        TabView {
            TodoListView()
                .tabItem {
                    Text("Tasks")
                    Image(systemName: "checklist")
                }

            StatisticsView()
                .tabItem {
                    Text("Stats")
                    Image(systemName: "chart.line.uptrend.xyaxis")
                }
        }
    }
}

#Preview {
    LandingView()
}
When on LandingView you should see the following:
Commit and push your work with this message:
Added tab view.
Create the model
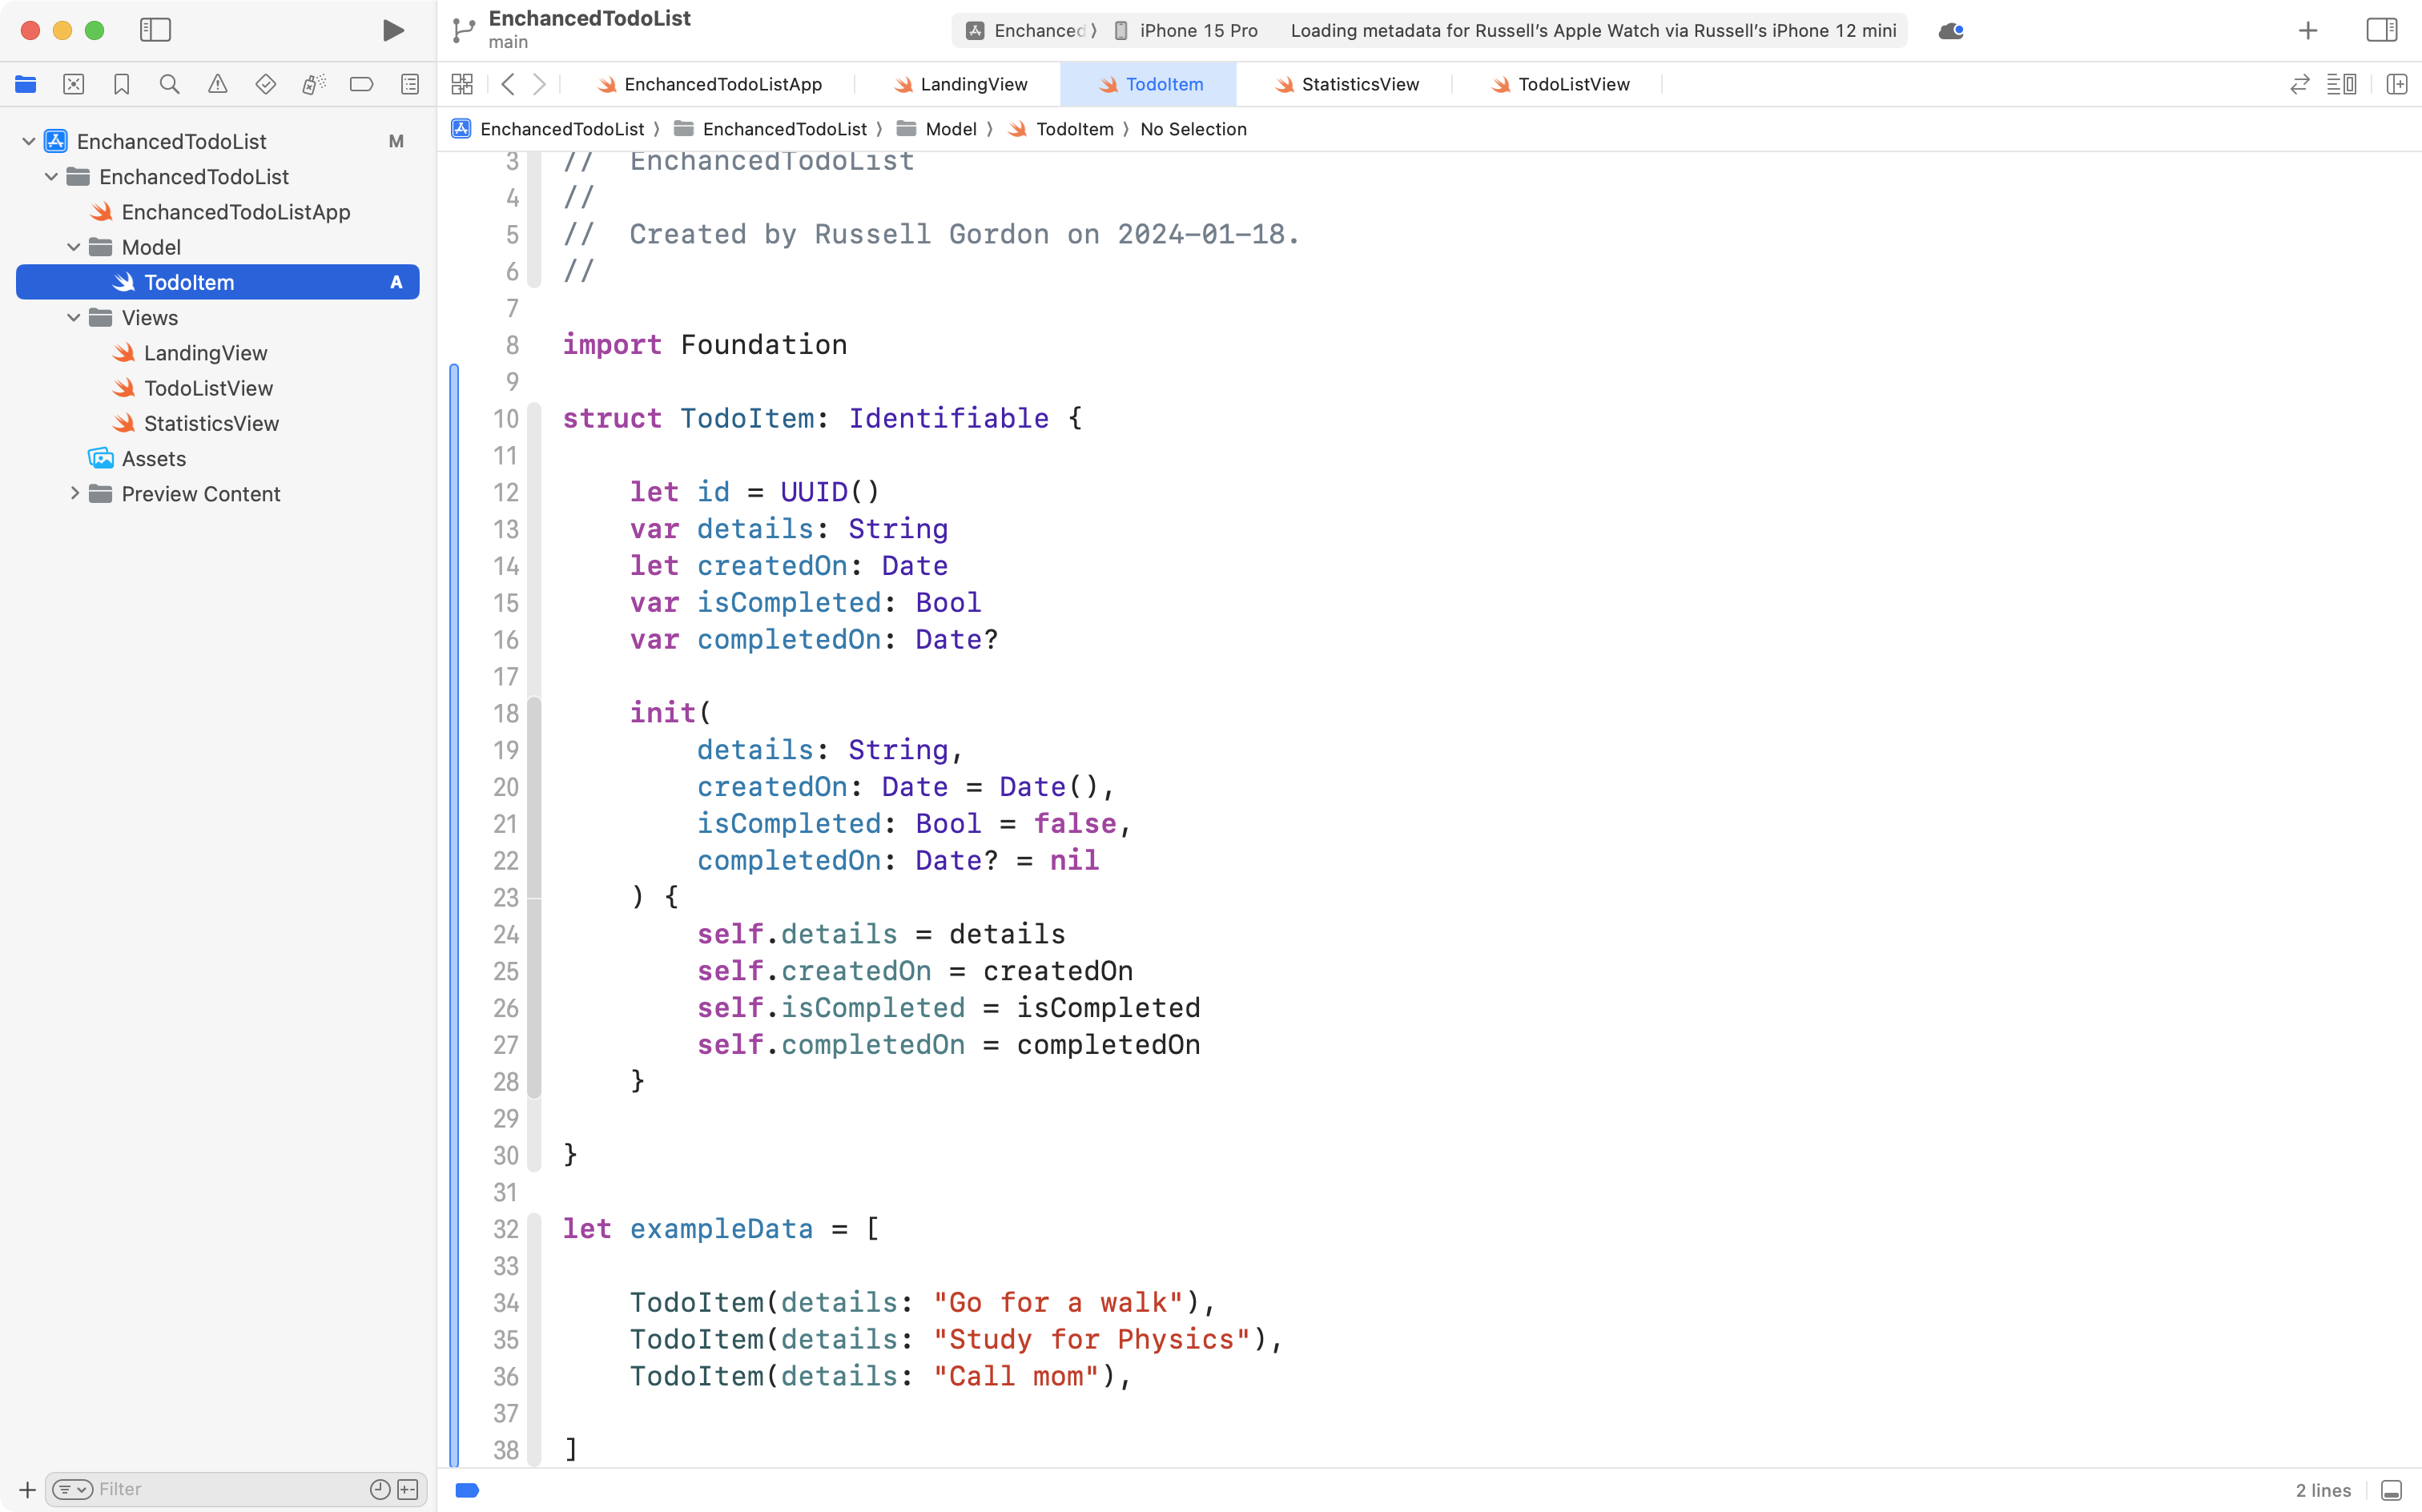
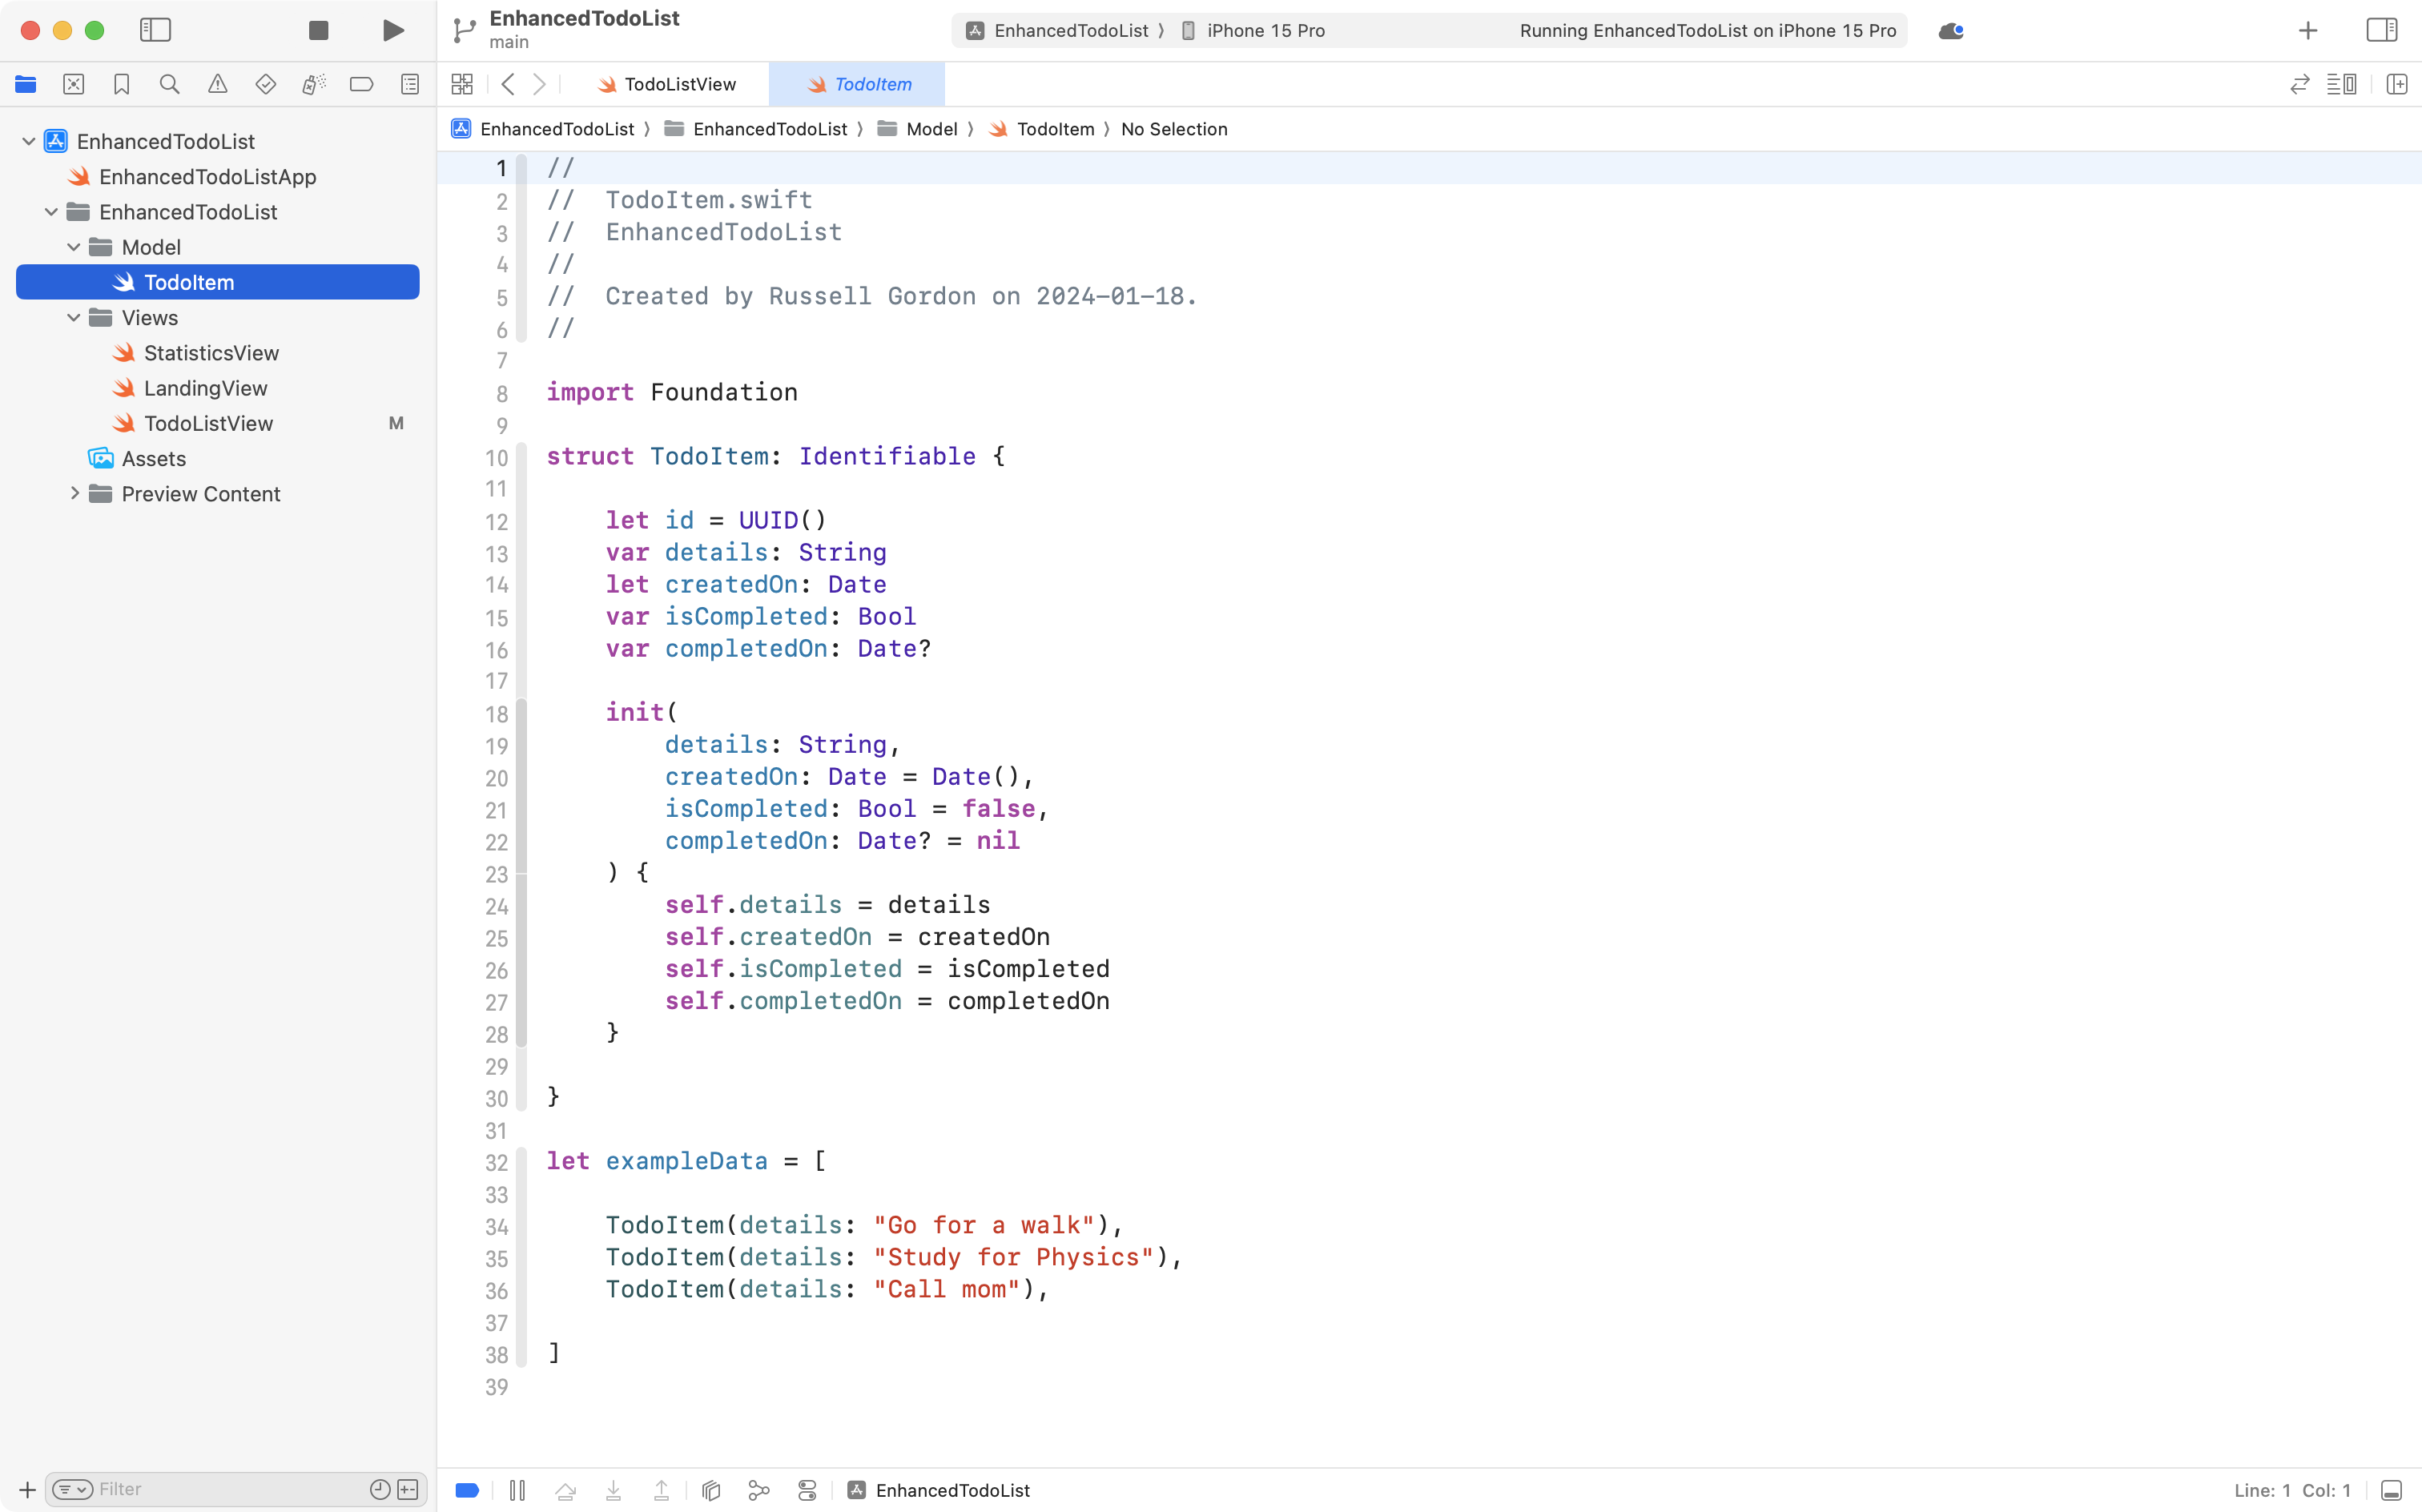
Make a new Swift file named TodoItem with the following code inside:
import Foundation

struct TodoItem: Identifiable {

    let id = UUID()
    var details: String
    let createdOn: Date
    var isCompleted: Bool
    var completedOn: Date?

    init(
        details: String,
        createdOn: Date = Date(),
        isCompleted: Bool = false,
        completedOn: Date? = nil
    ) {
        self.details = details
        self.createdOn = createdOn
        self.isCompleted = isCompleted
        self.completedOn = completedOn
    }

}

let exampleData = [

    TodoItem(details: "Go for a walk"),
    TodoItem(details: "Study for Physics"),
    TodoItem(details: "Call mom"),

]
That will look like this:
Although we do not strictly need to add an initializer when creating a structure, it's helpful here to make it clear that we are assigning default values for certain properties.
createdOnis of typeDateand assigning it an instance of theDate()type sets the value to the current date and timeisCompletedwill of course befalsefor a newly created to-do itemcompletedOnwill be set tonilsince the date the to-do item is completed is not known until it is completed
We make the TodoItem structure conform to the Identifiable protocol so that we can use an array of instances of this structure in a scrollable List structure in our user interface.
Commit and push your work with this note:
Added the initial data model.
Show a scrollable list of data
In TodoListView change the preview so that it shows LandingView instead:
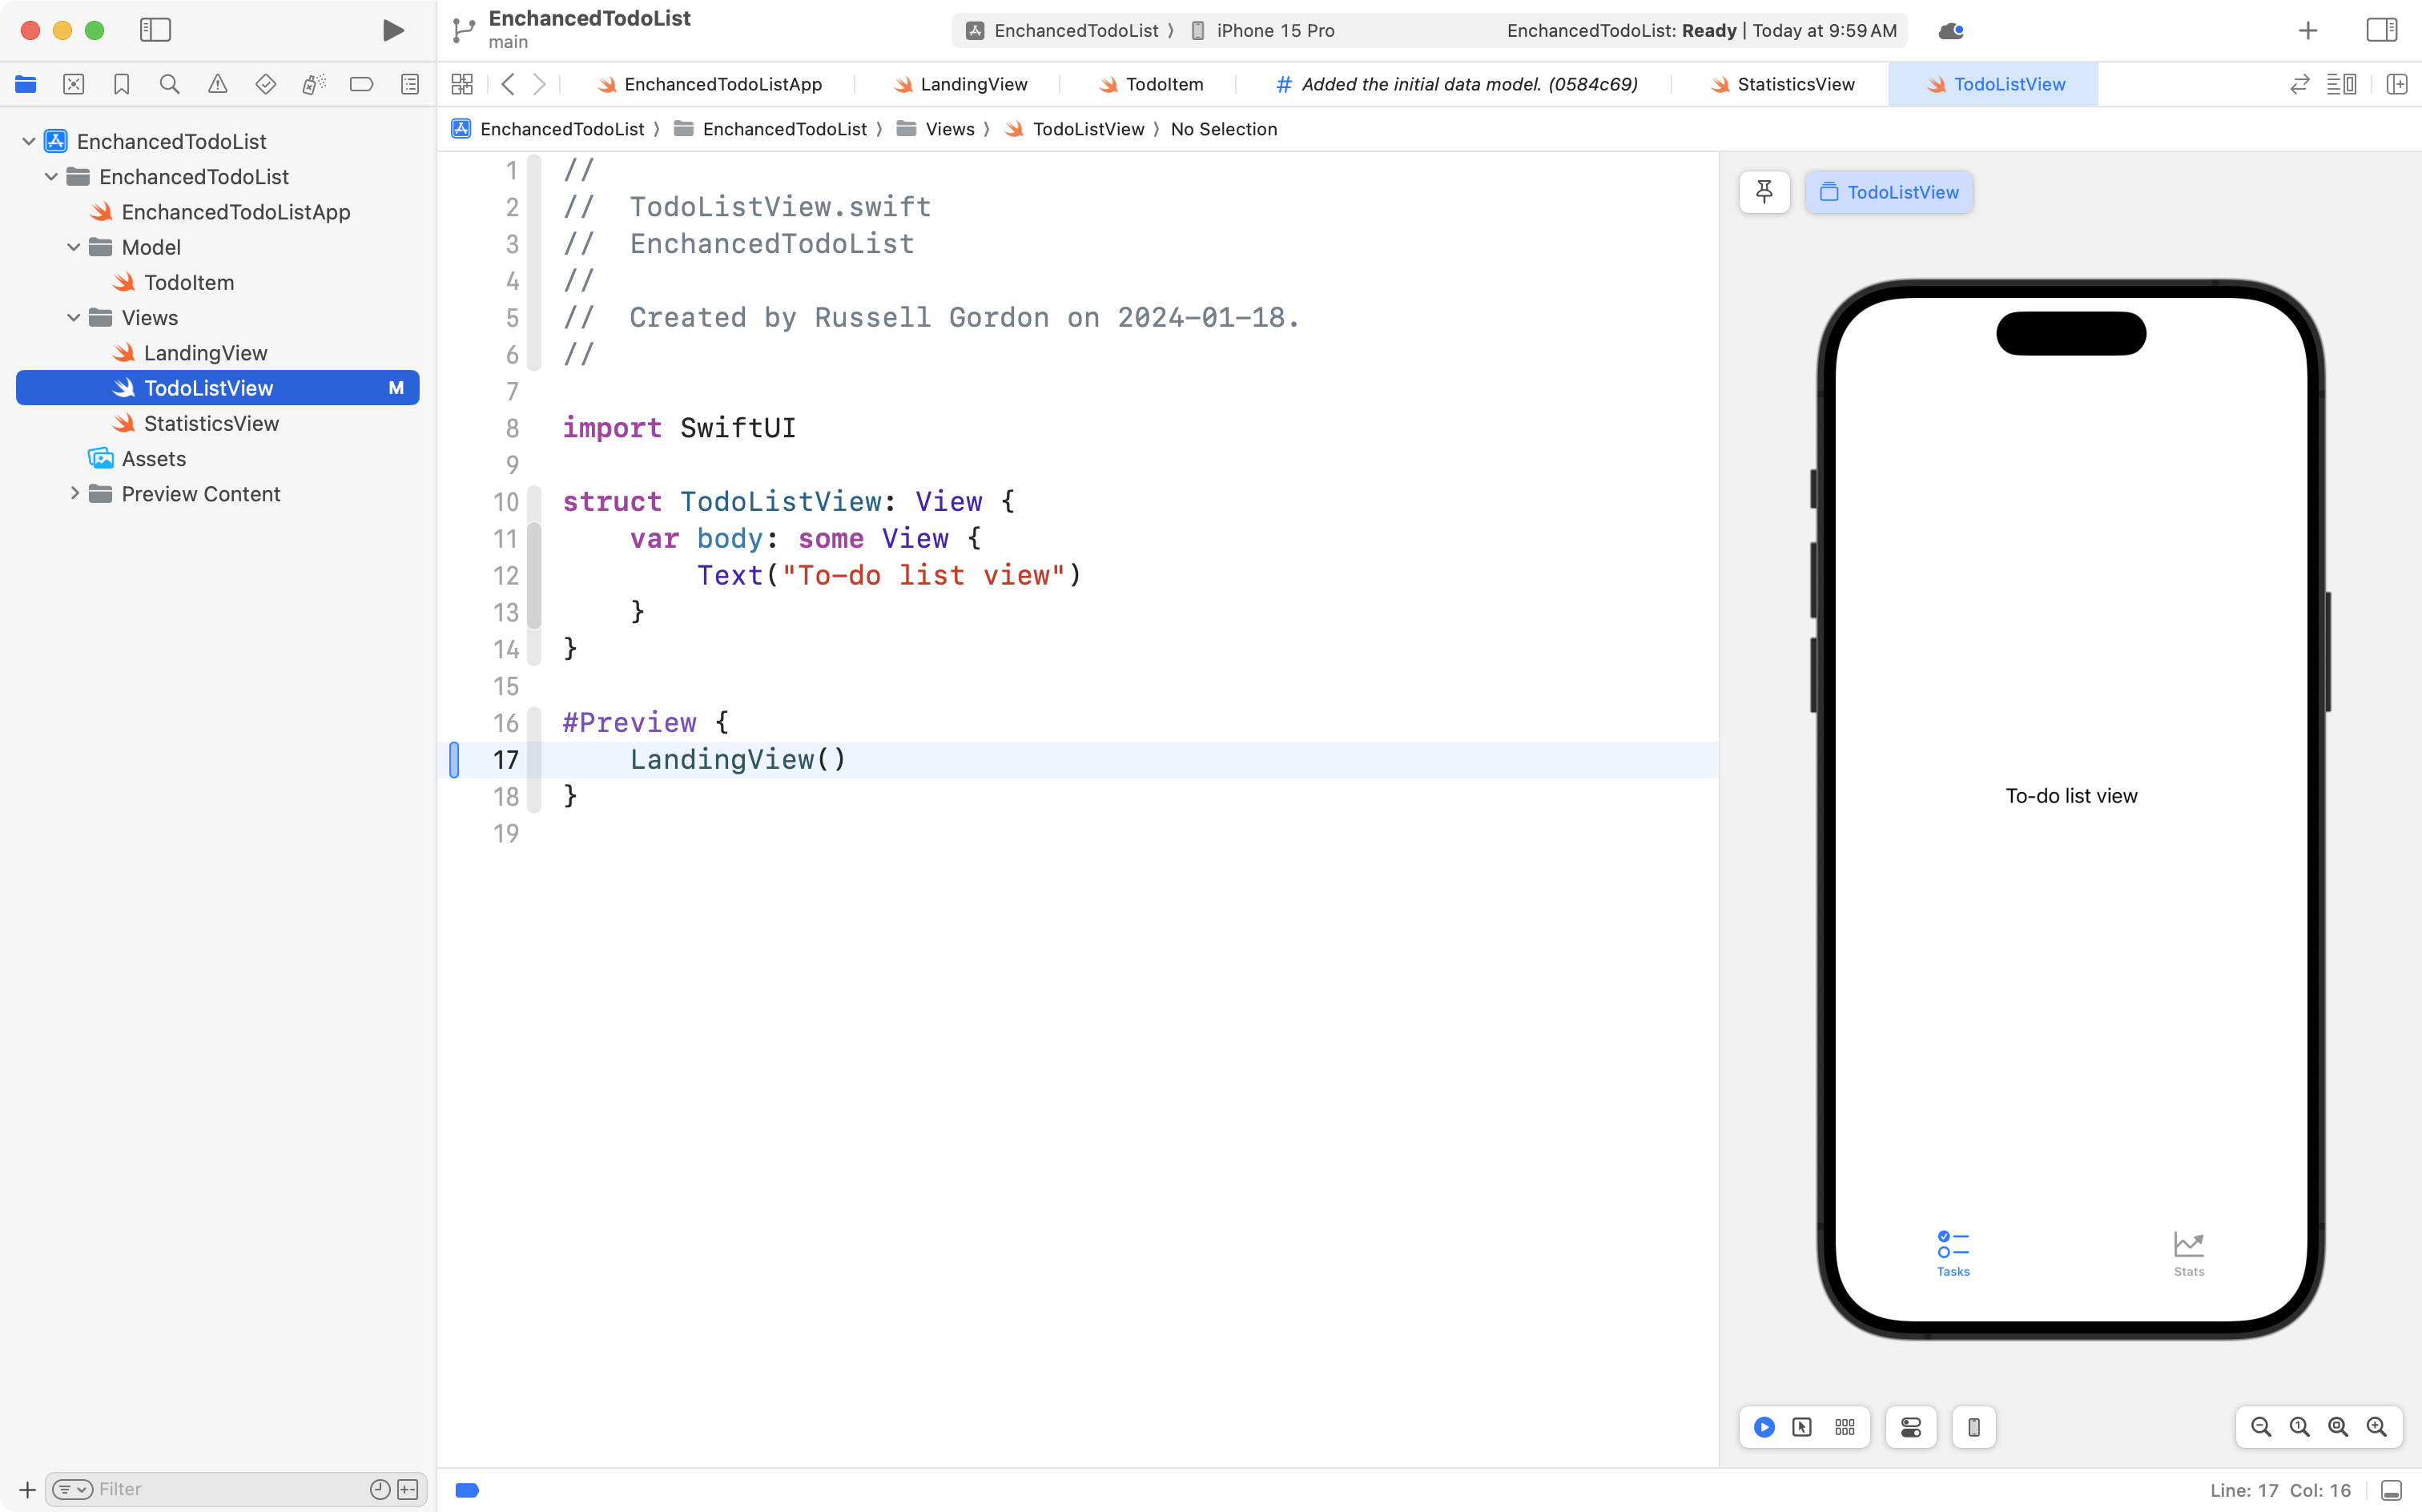
This gives a more realistic preview of what we will see when running the app on a device.
Replace the contents of the TodoListView structure with this code instead:
struct TodoListView: View {

    // MARK: Stored properties

    // Our list of items to complete
    @State private var items: [TodoItem] = []

    // MARK: Computed properties
    var body: some View {
        NavigationStack {
            VStack {

                List(items) { currentItem in
                    Label {
                        Text(currentItem.details)
                    } icon: {
                        Image(systemName: currentItem.isCompleted ? "checkmark.circle" : "circle")
                    }
                }
            }
            .navigationTitle("Tasks")
        }
        .onAppear {
            // Populate with example data
            if items.isEmpty {
                items.append(contentsOf: exampleData)
            }
        }
    }

}
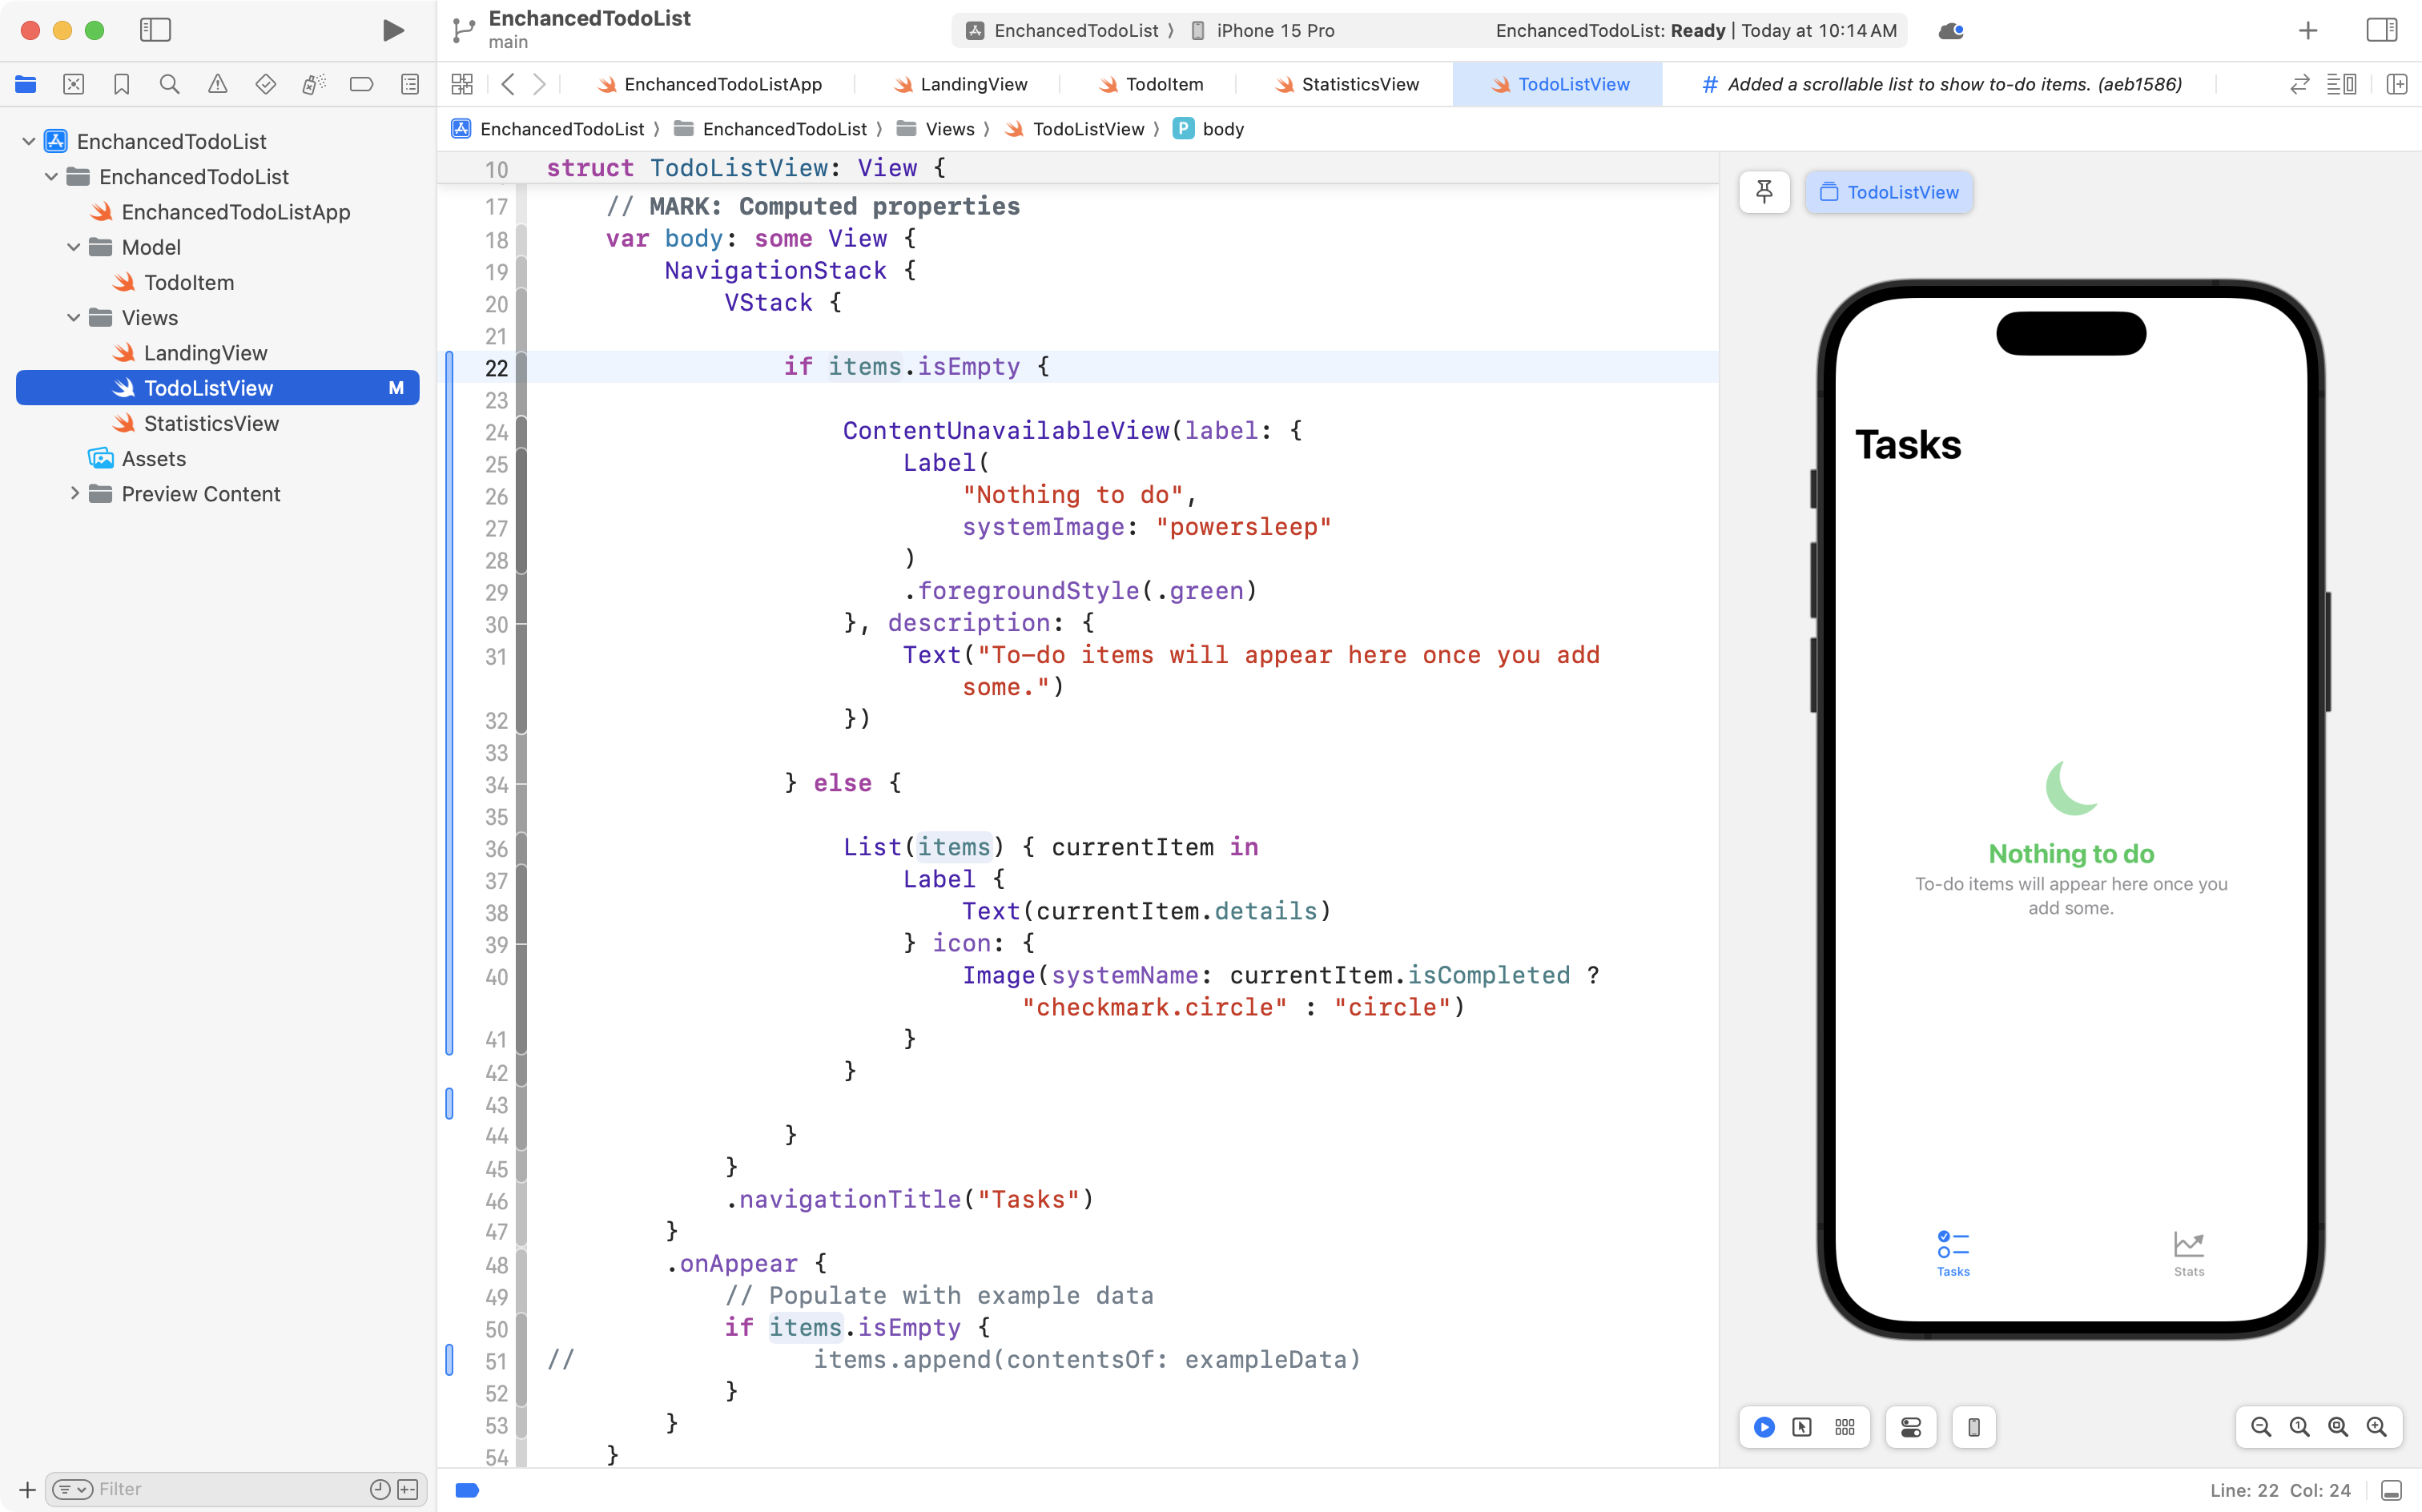
That will look like this:
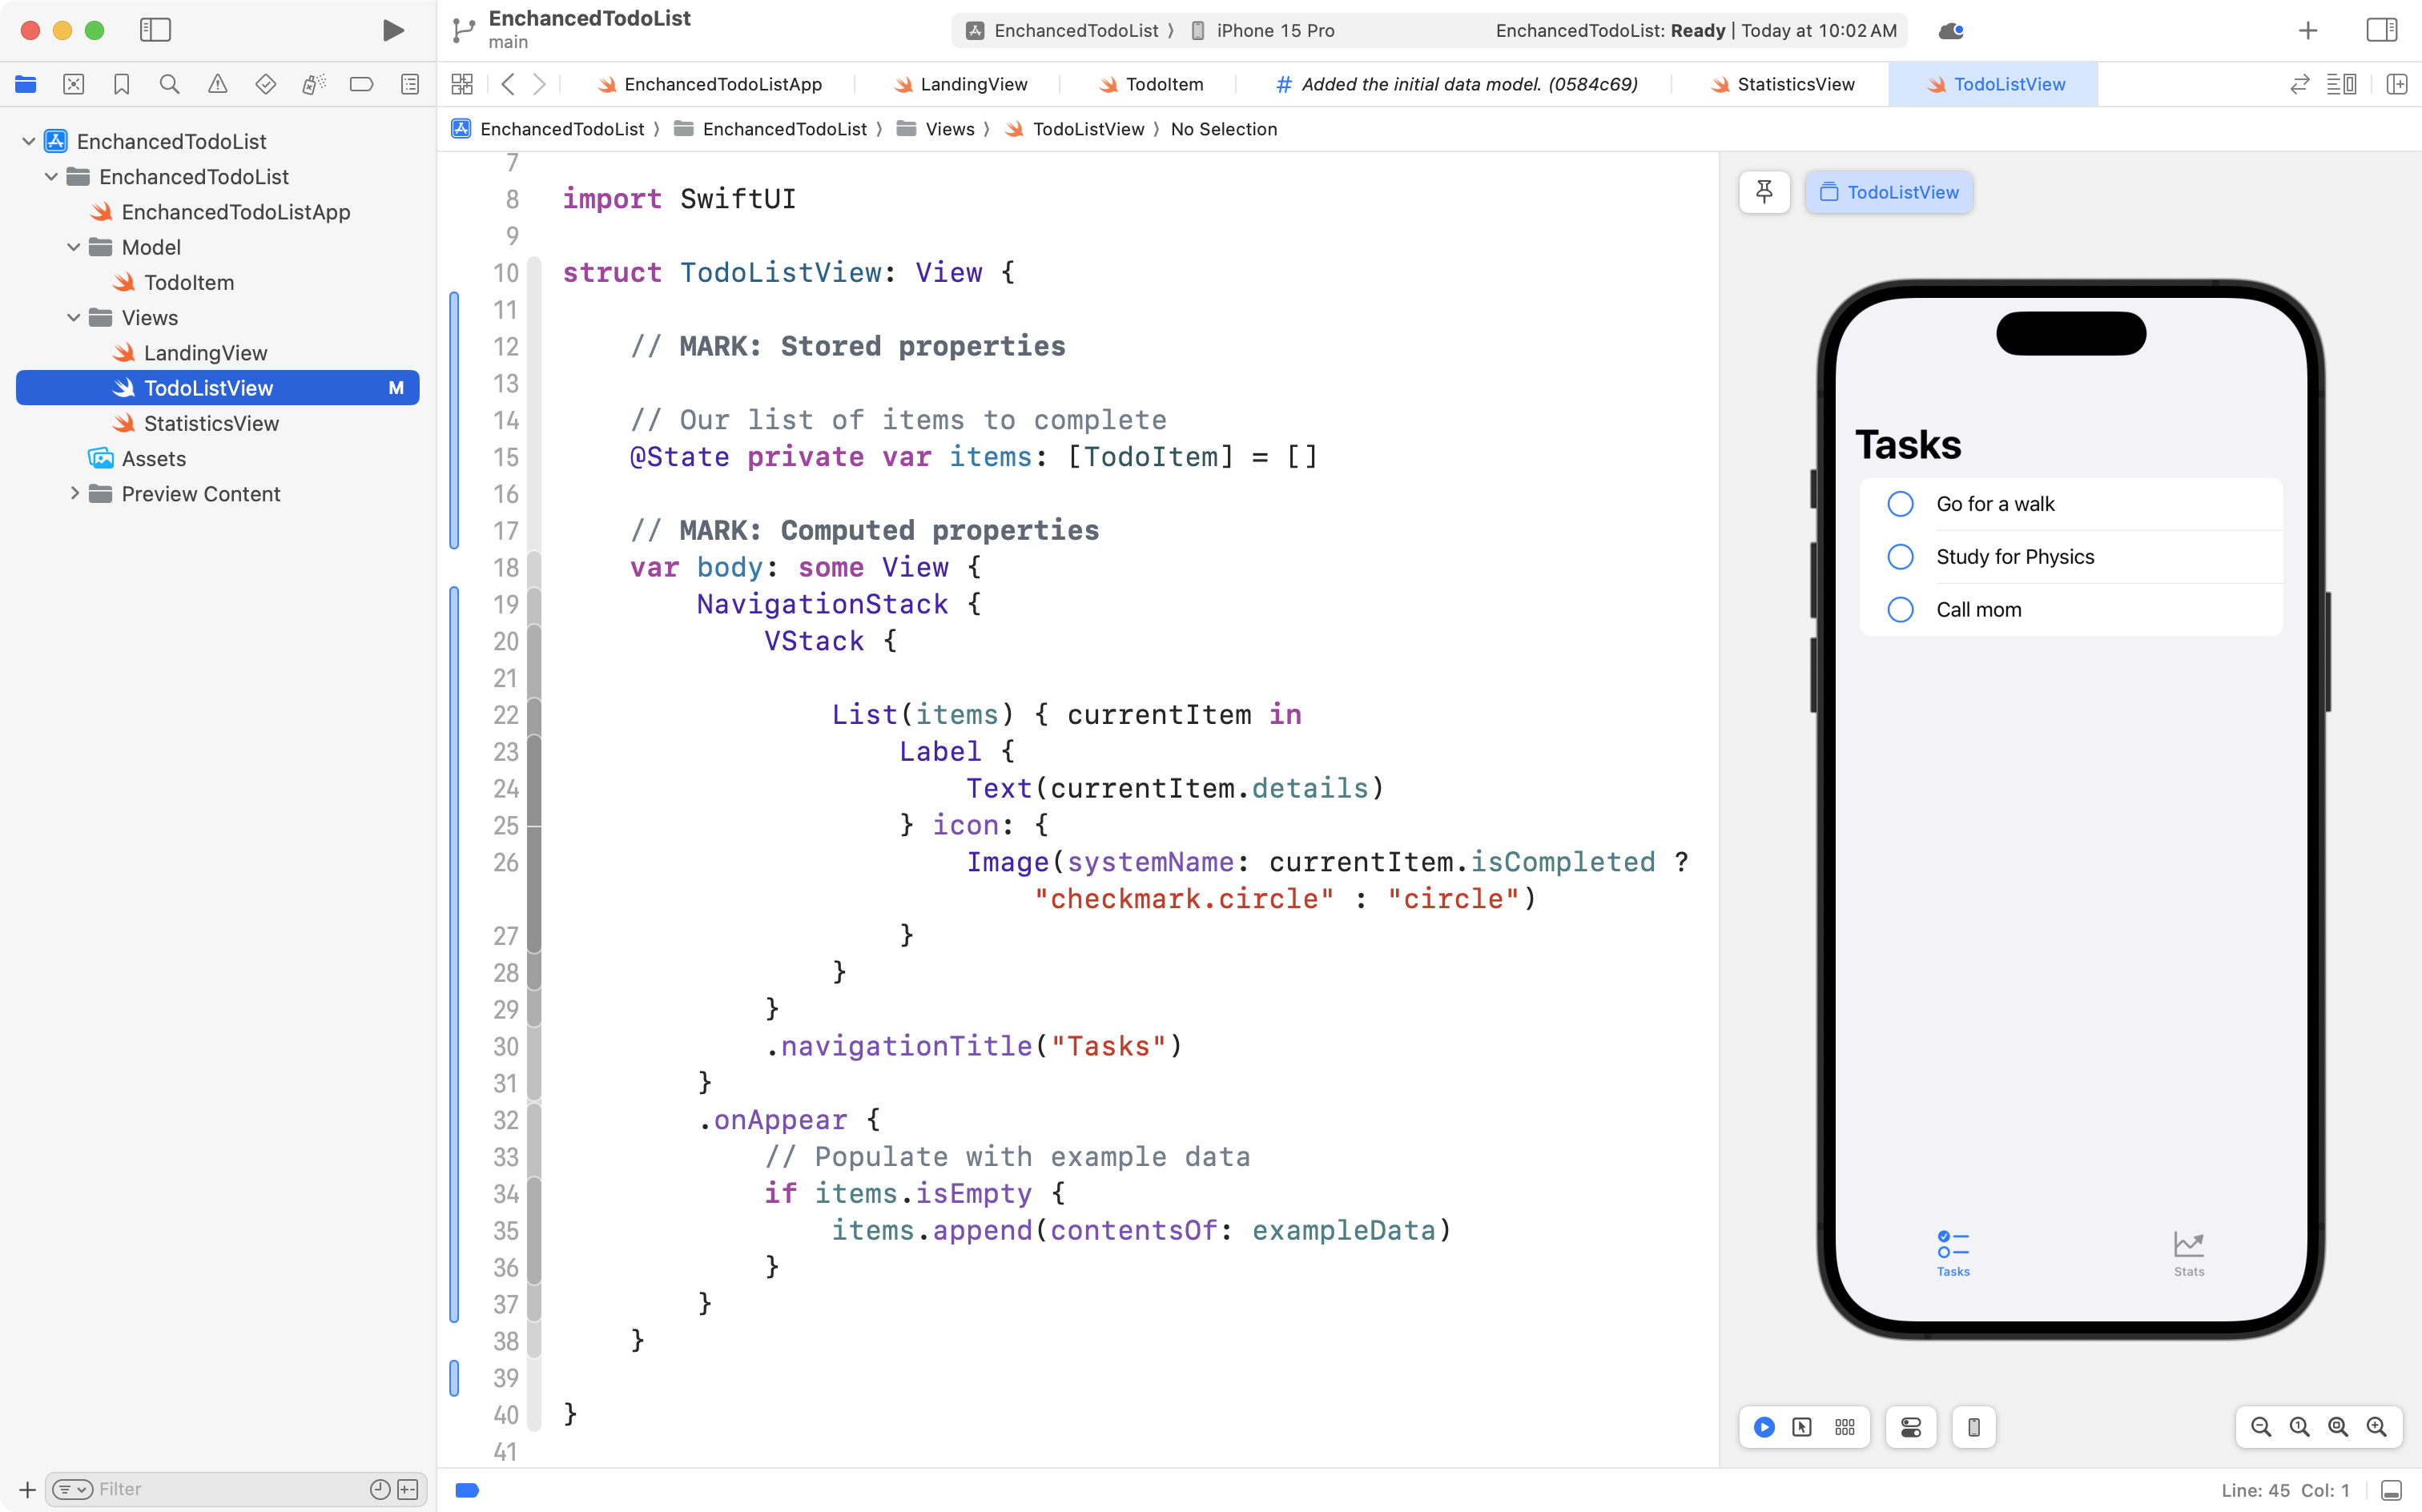
We use the .onAppear closure attached to the NavigationStack to append our example data from the model to the items array.
This will save us from repeatedly having to enter data to test out the interface.
Commit and push your work with this message:
Added a scrollable list to show to-do items.
Create placeholder content
If we comment out the line of code that pre-populates the list of to-do items:
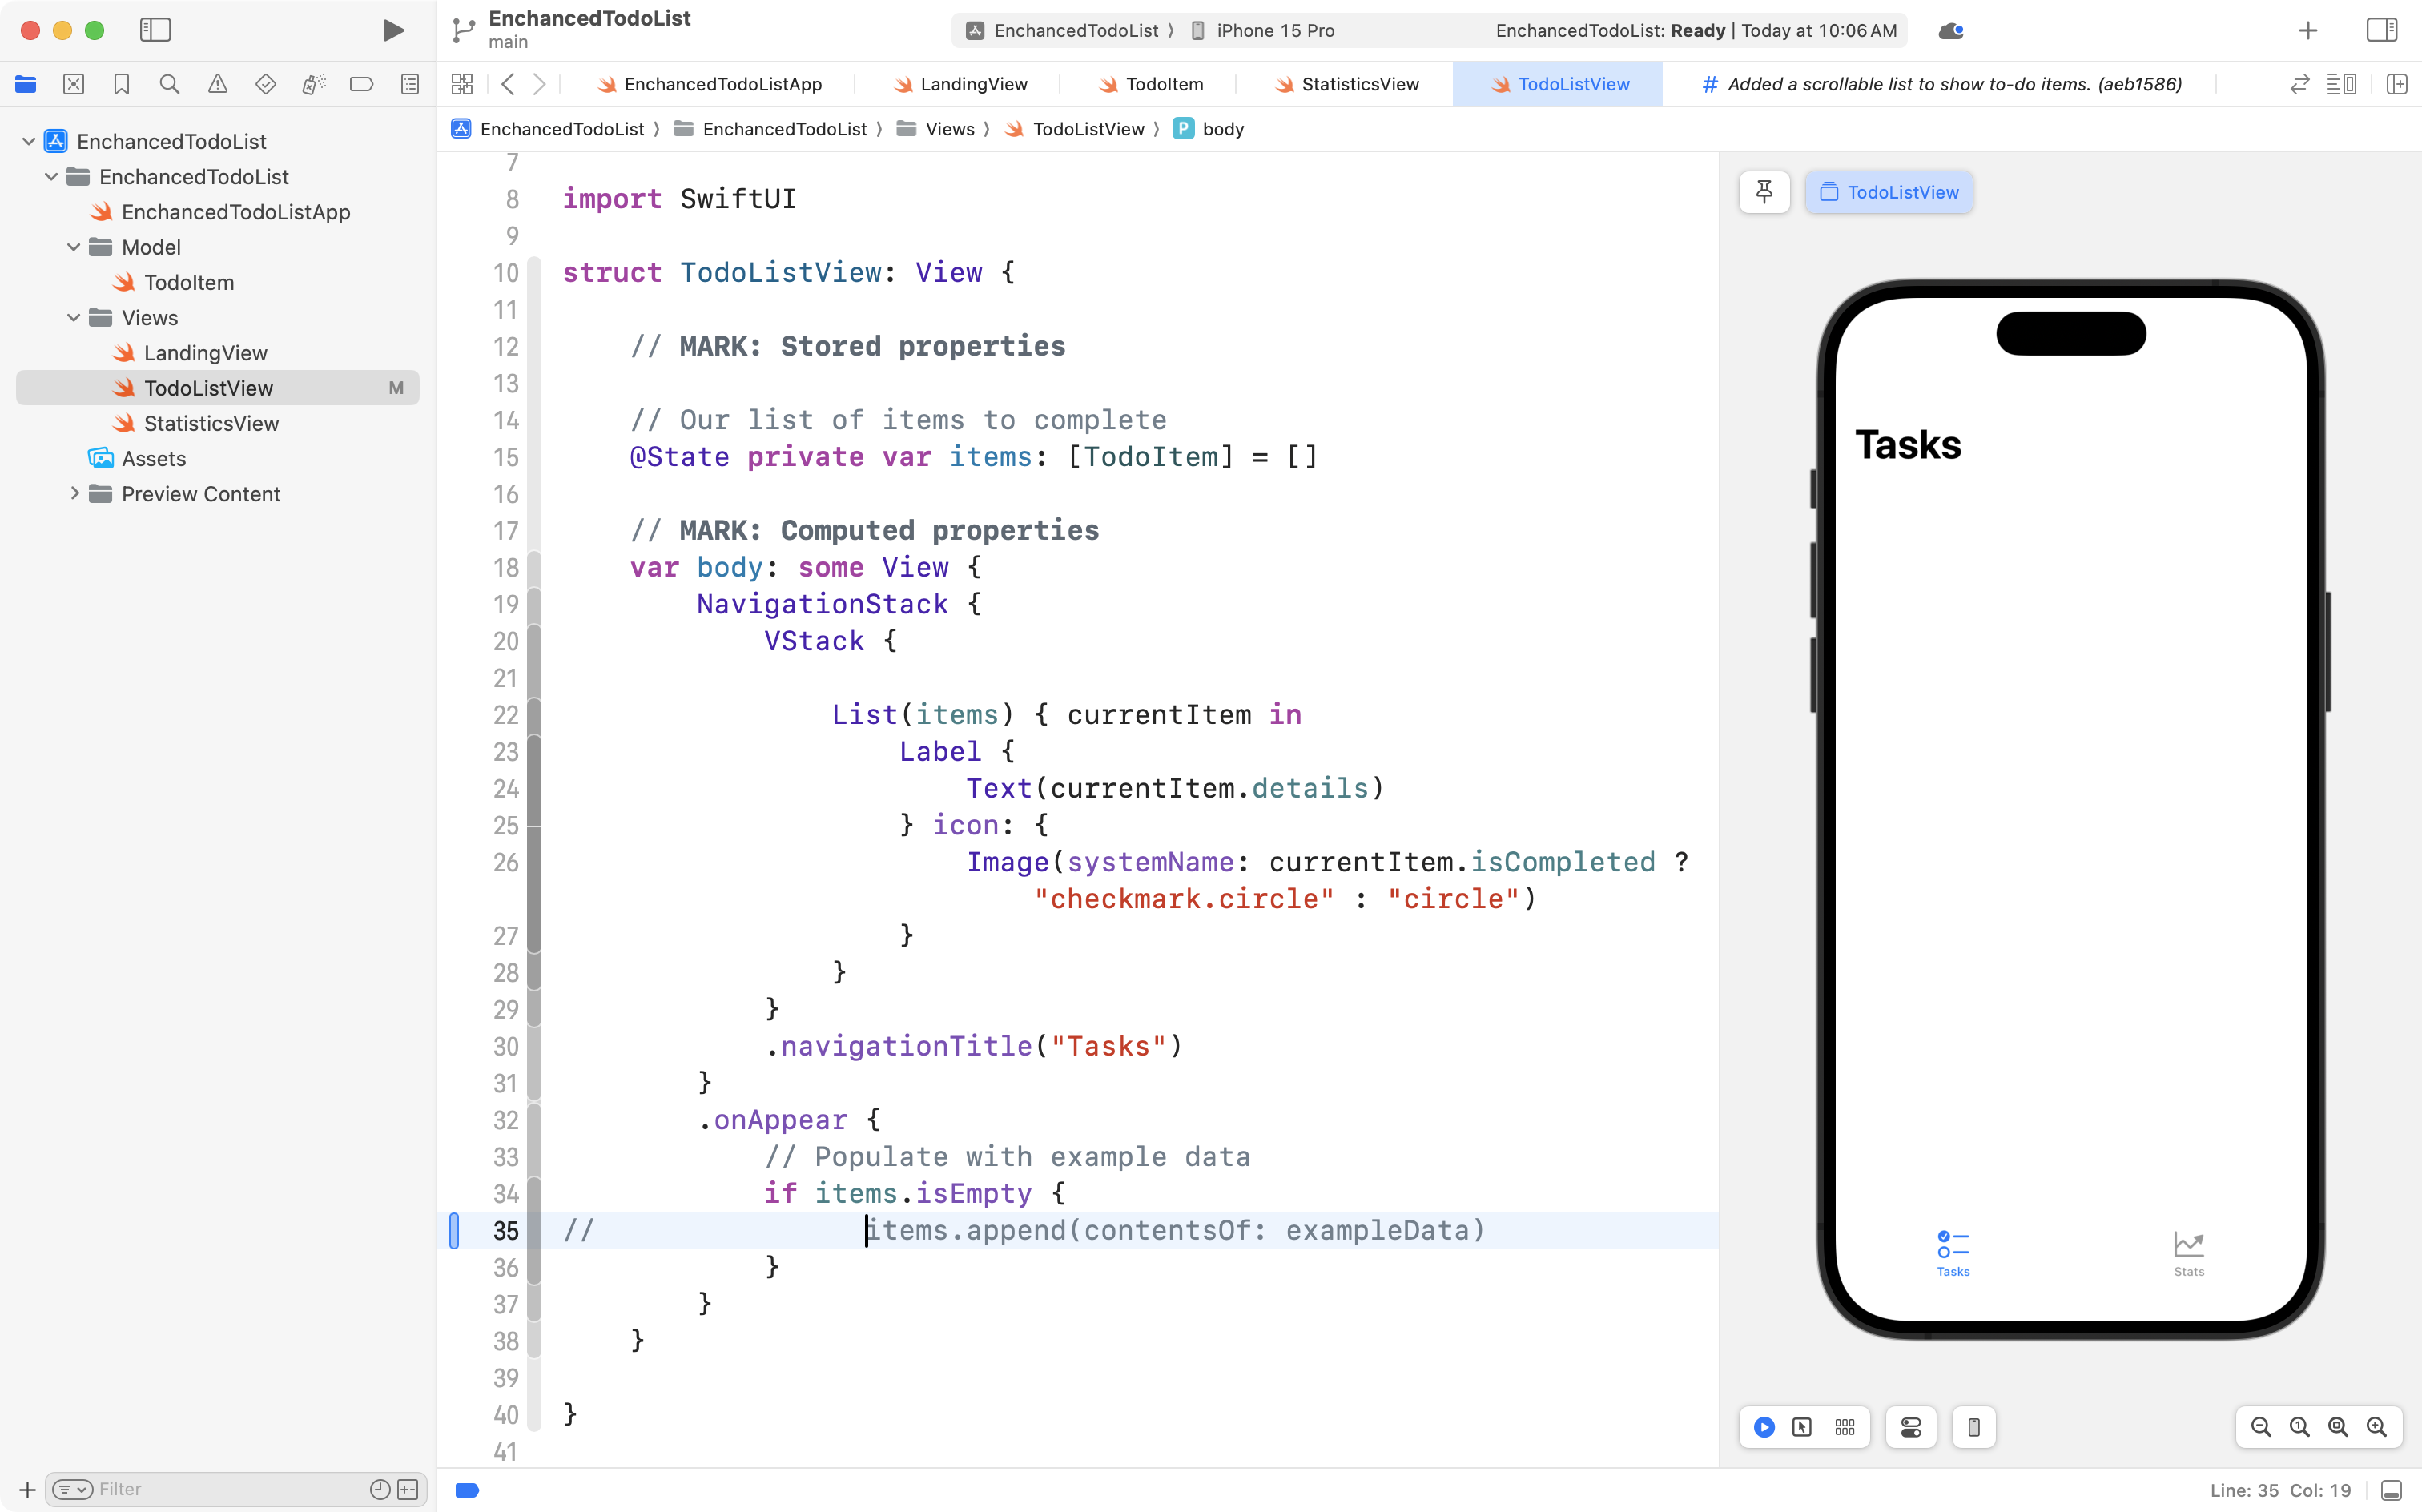
... the intial interface looks quite bare.
This is what the app would look like on first launch right now.
Apple's Human Interface Guidelines suggest that interfaces give a suggestion of how to get started with using an app.
We can do this by adding an if-else statement to the TodoListView structure and using the ContentUnavailableView that is provided by Apple as part of the SwiftUI framework:
Make the same change in your own code by highlighting all the code contained within the VStack and replacing it with this code:
VStack {

	if items.isEmpty {

		ContentUnavailableView(label: {
			Label(
				"Nothing to do",
				systemImage: "powersleep"
			)
			.foregroundStyle(.green)
		}, description: {
			Text("To-do items will appear here once you add some.")
		})

	} else {

		List(items) { currentItem in
			Label {
				Text(currentItem.details)
			} icon: {
				Image(systemName: currentItem.isCompleted ? "checkmark.circle" : "circle")
			}
		}

	}
}
After making that change, try removing the comment on line 51 so that example data is added back in:
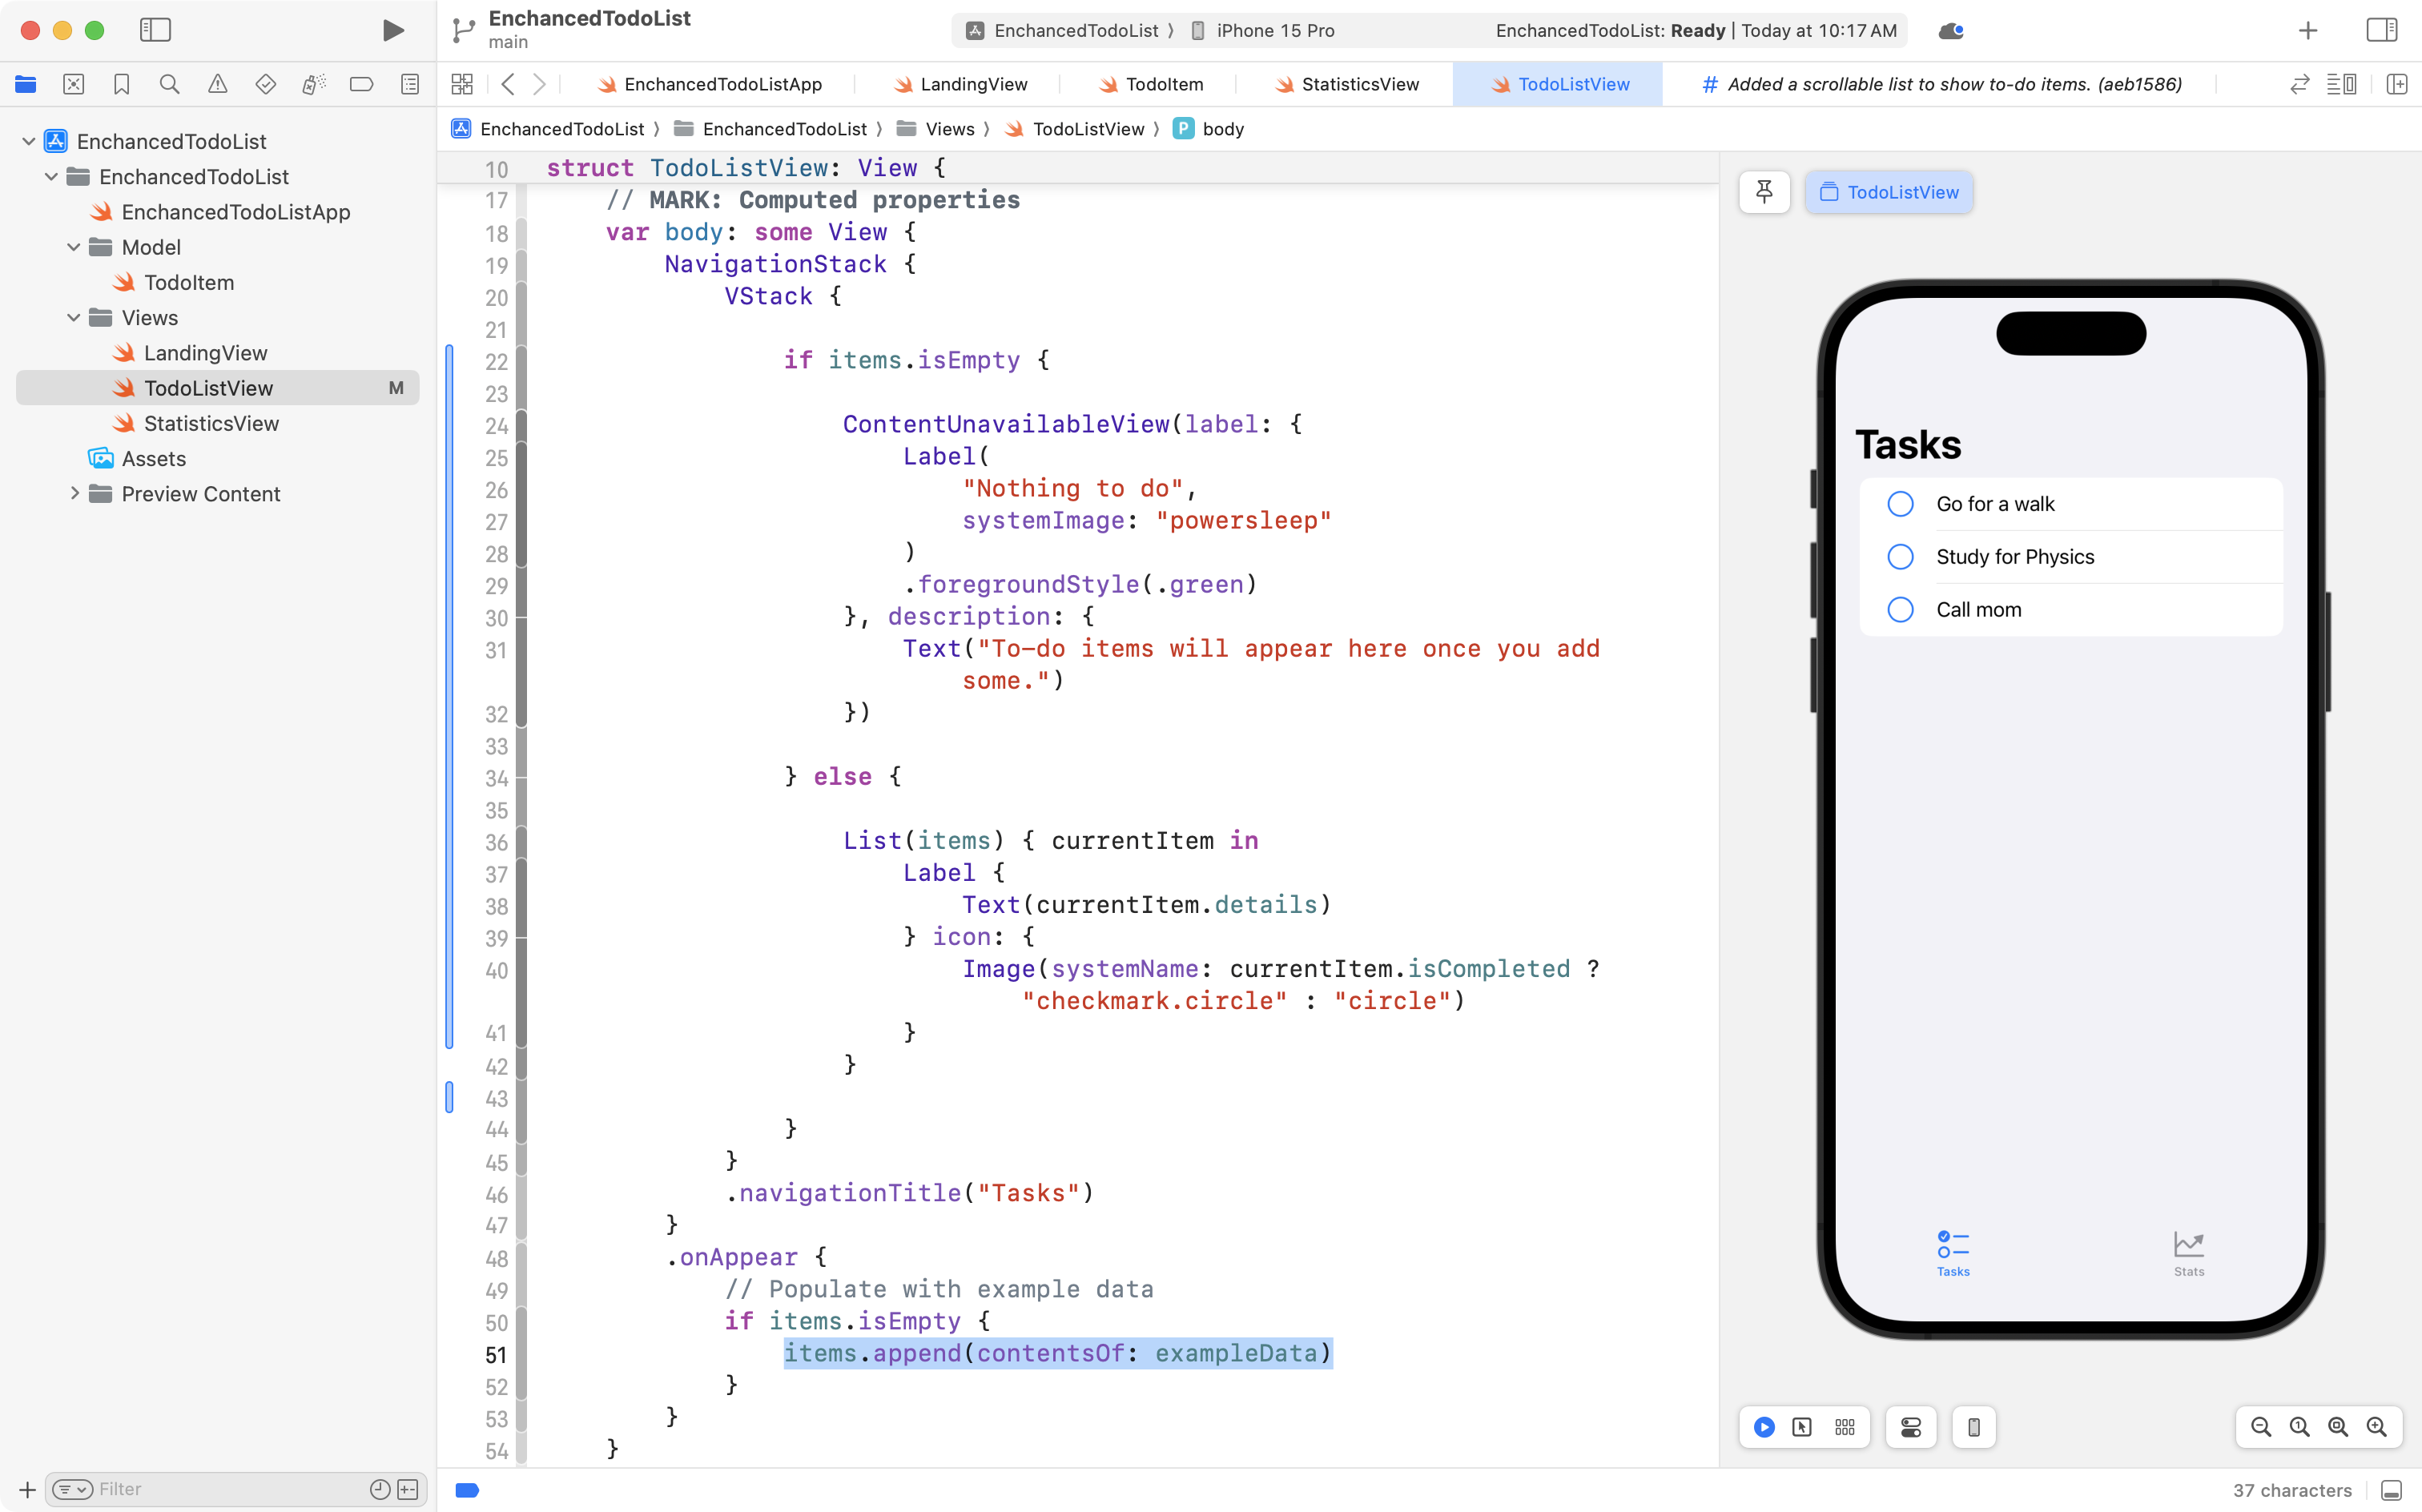
In this case, we see the list.
Now comment out the code on line 51 again:
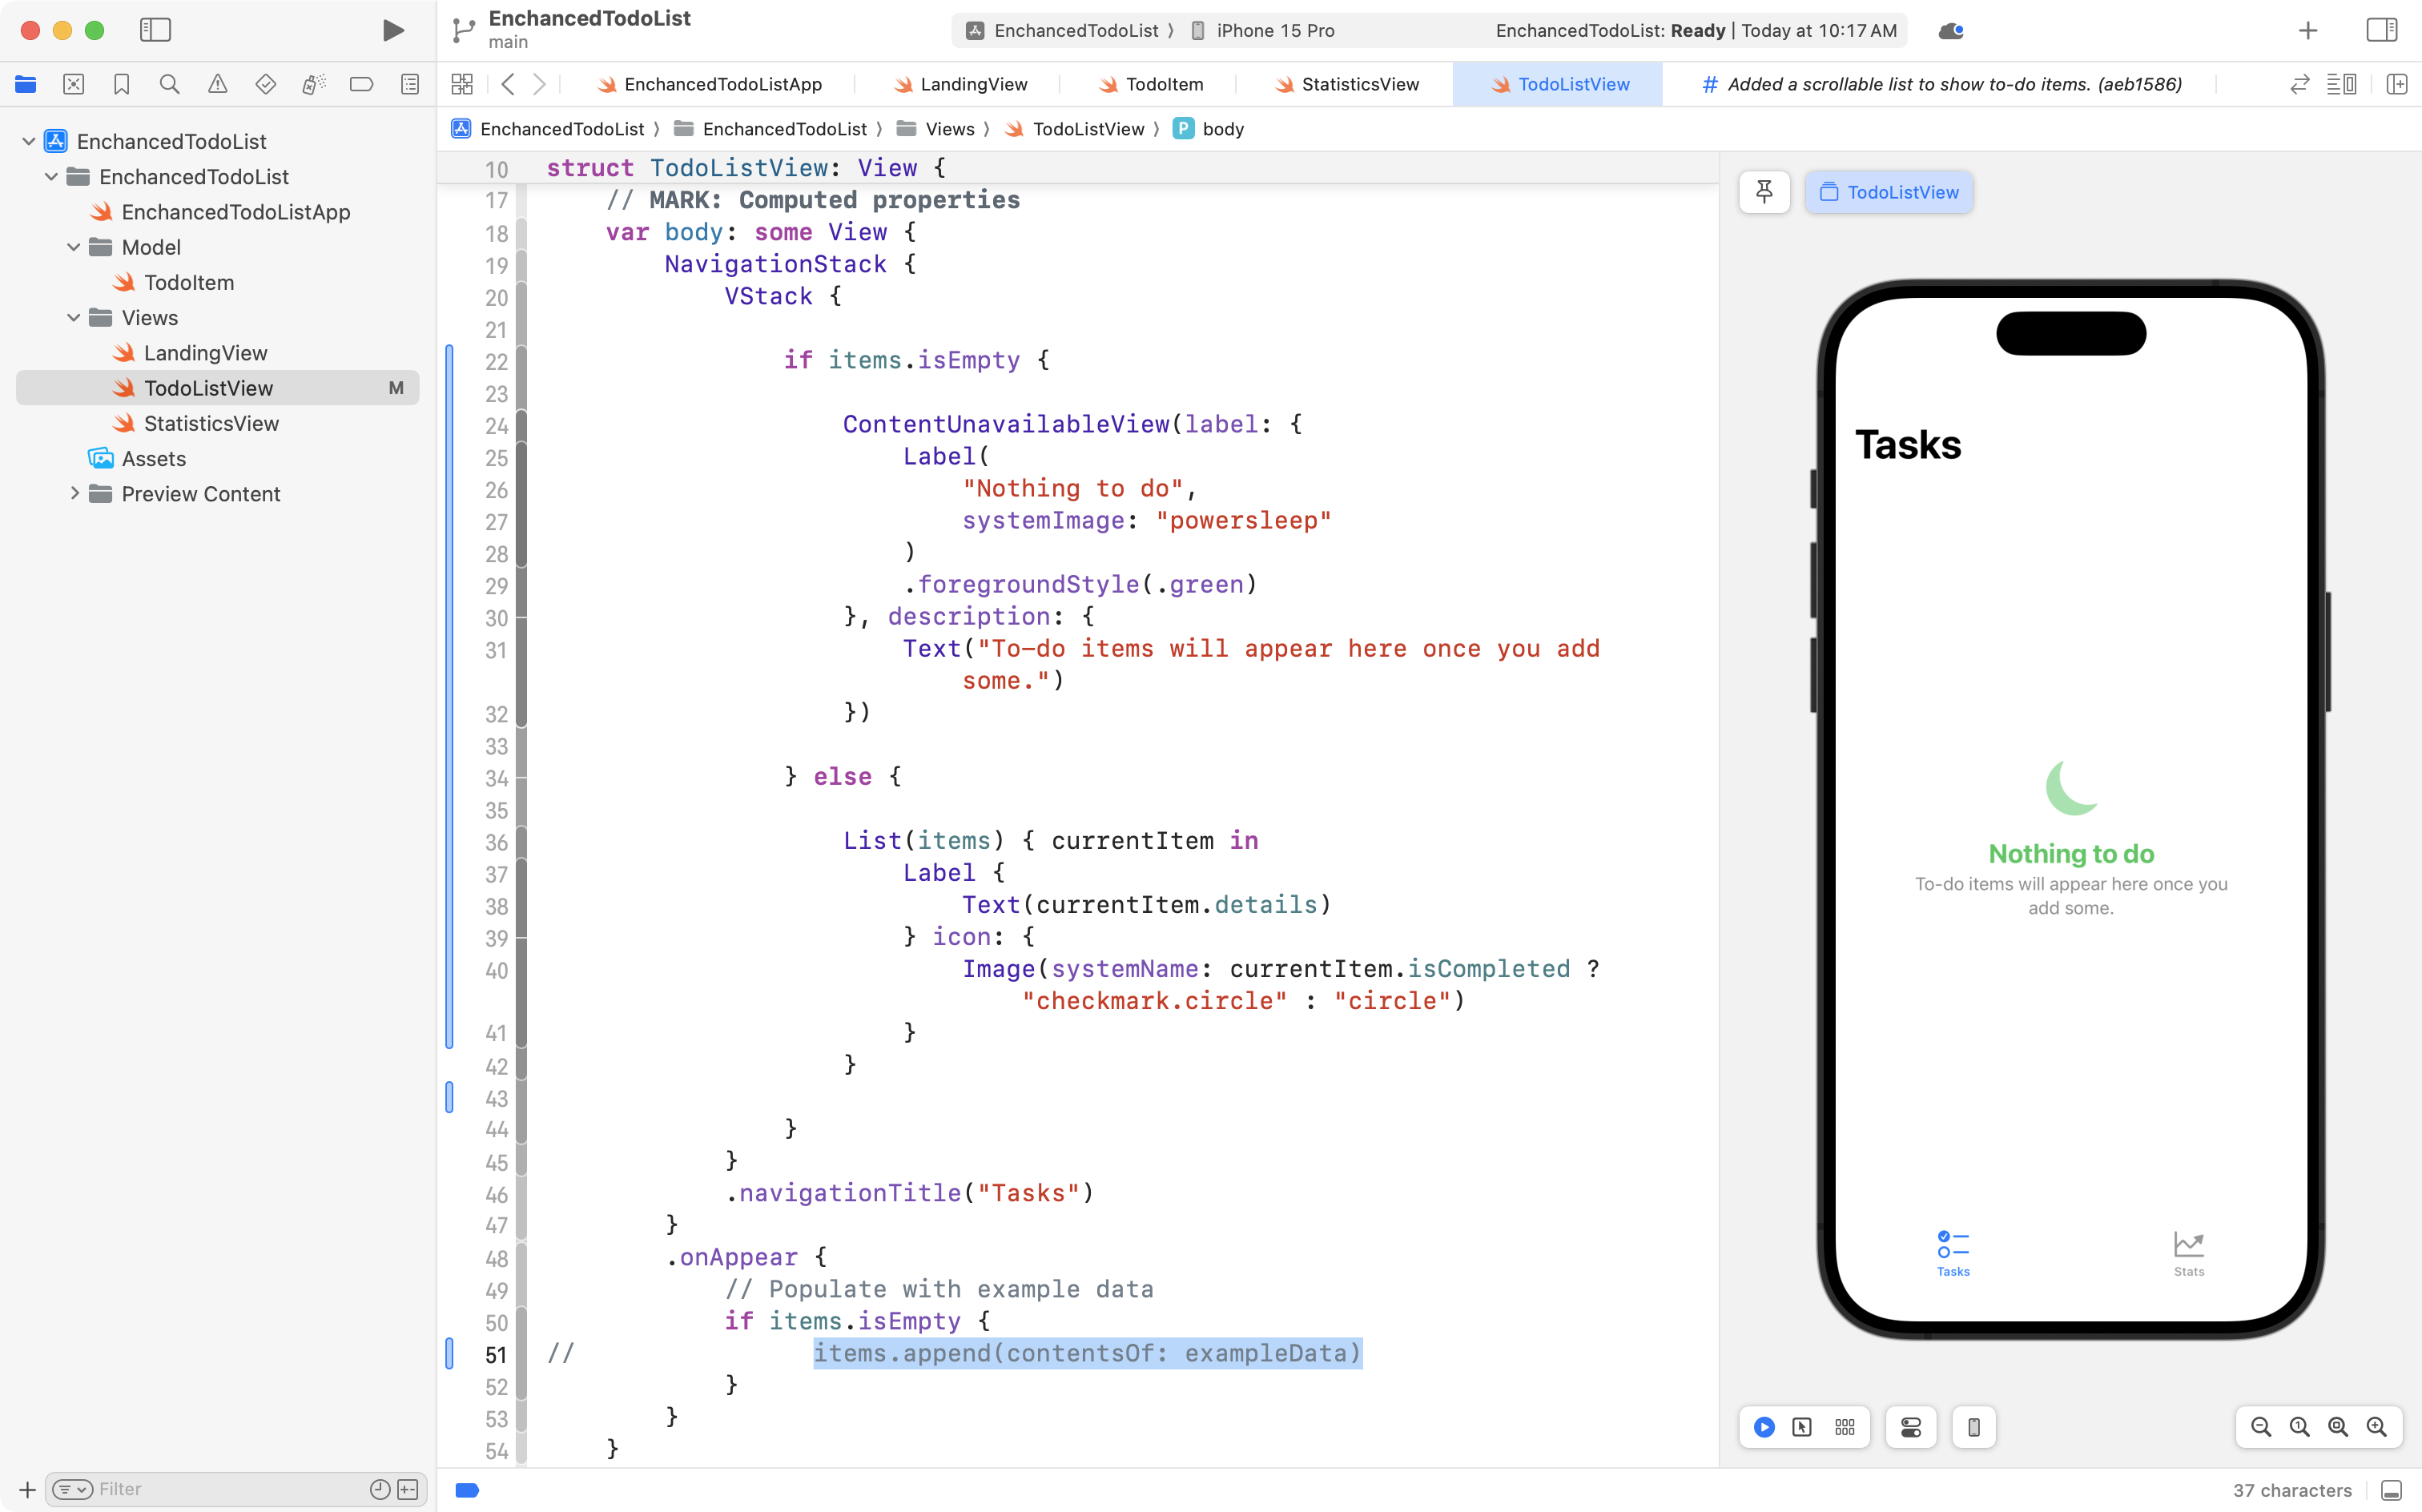
You see the ContentUnavailableView show up.
Commit and push your work with this message:
Added a view to tell the user what to do when the app first launches without any data existing yet.
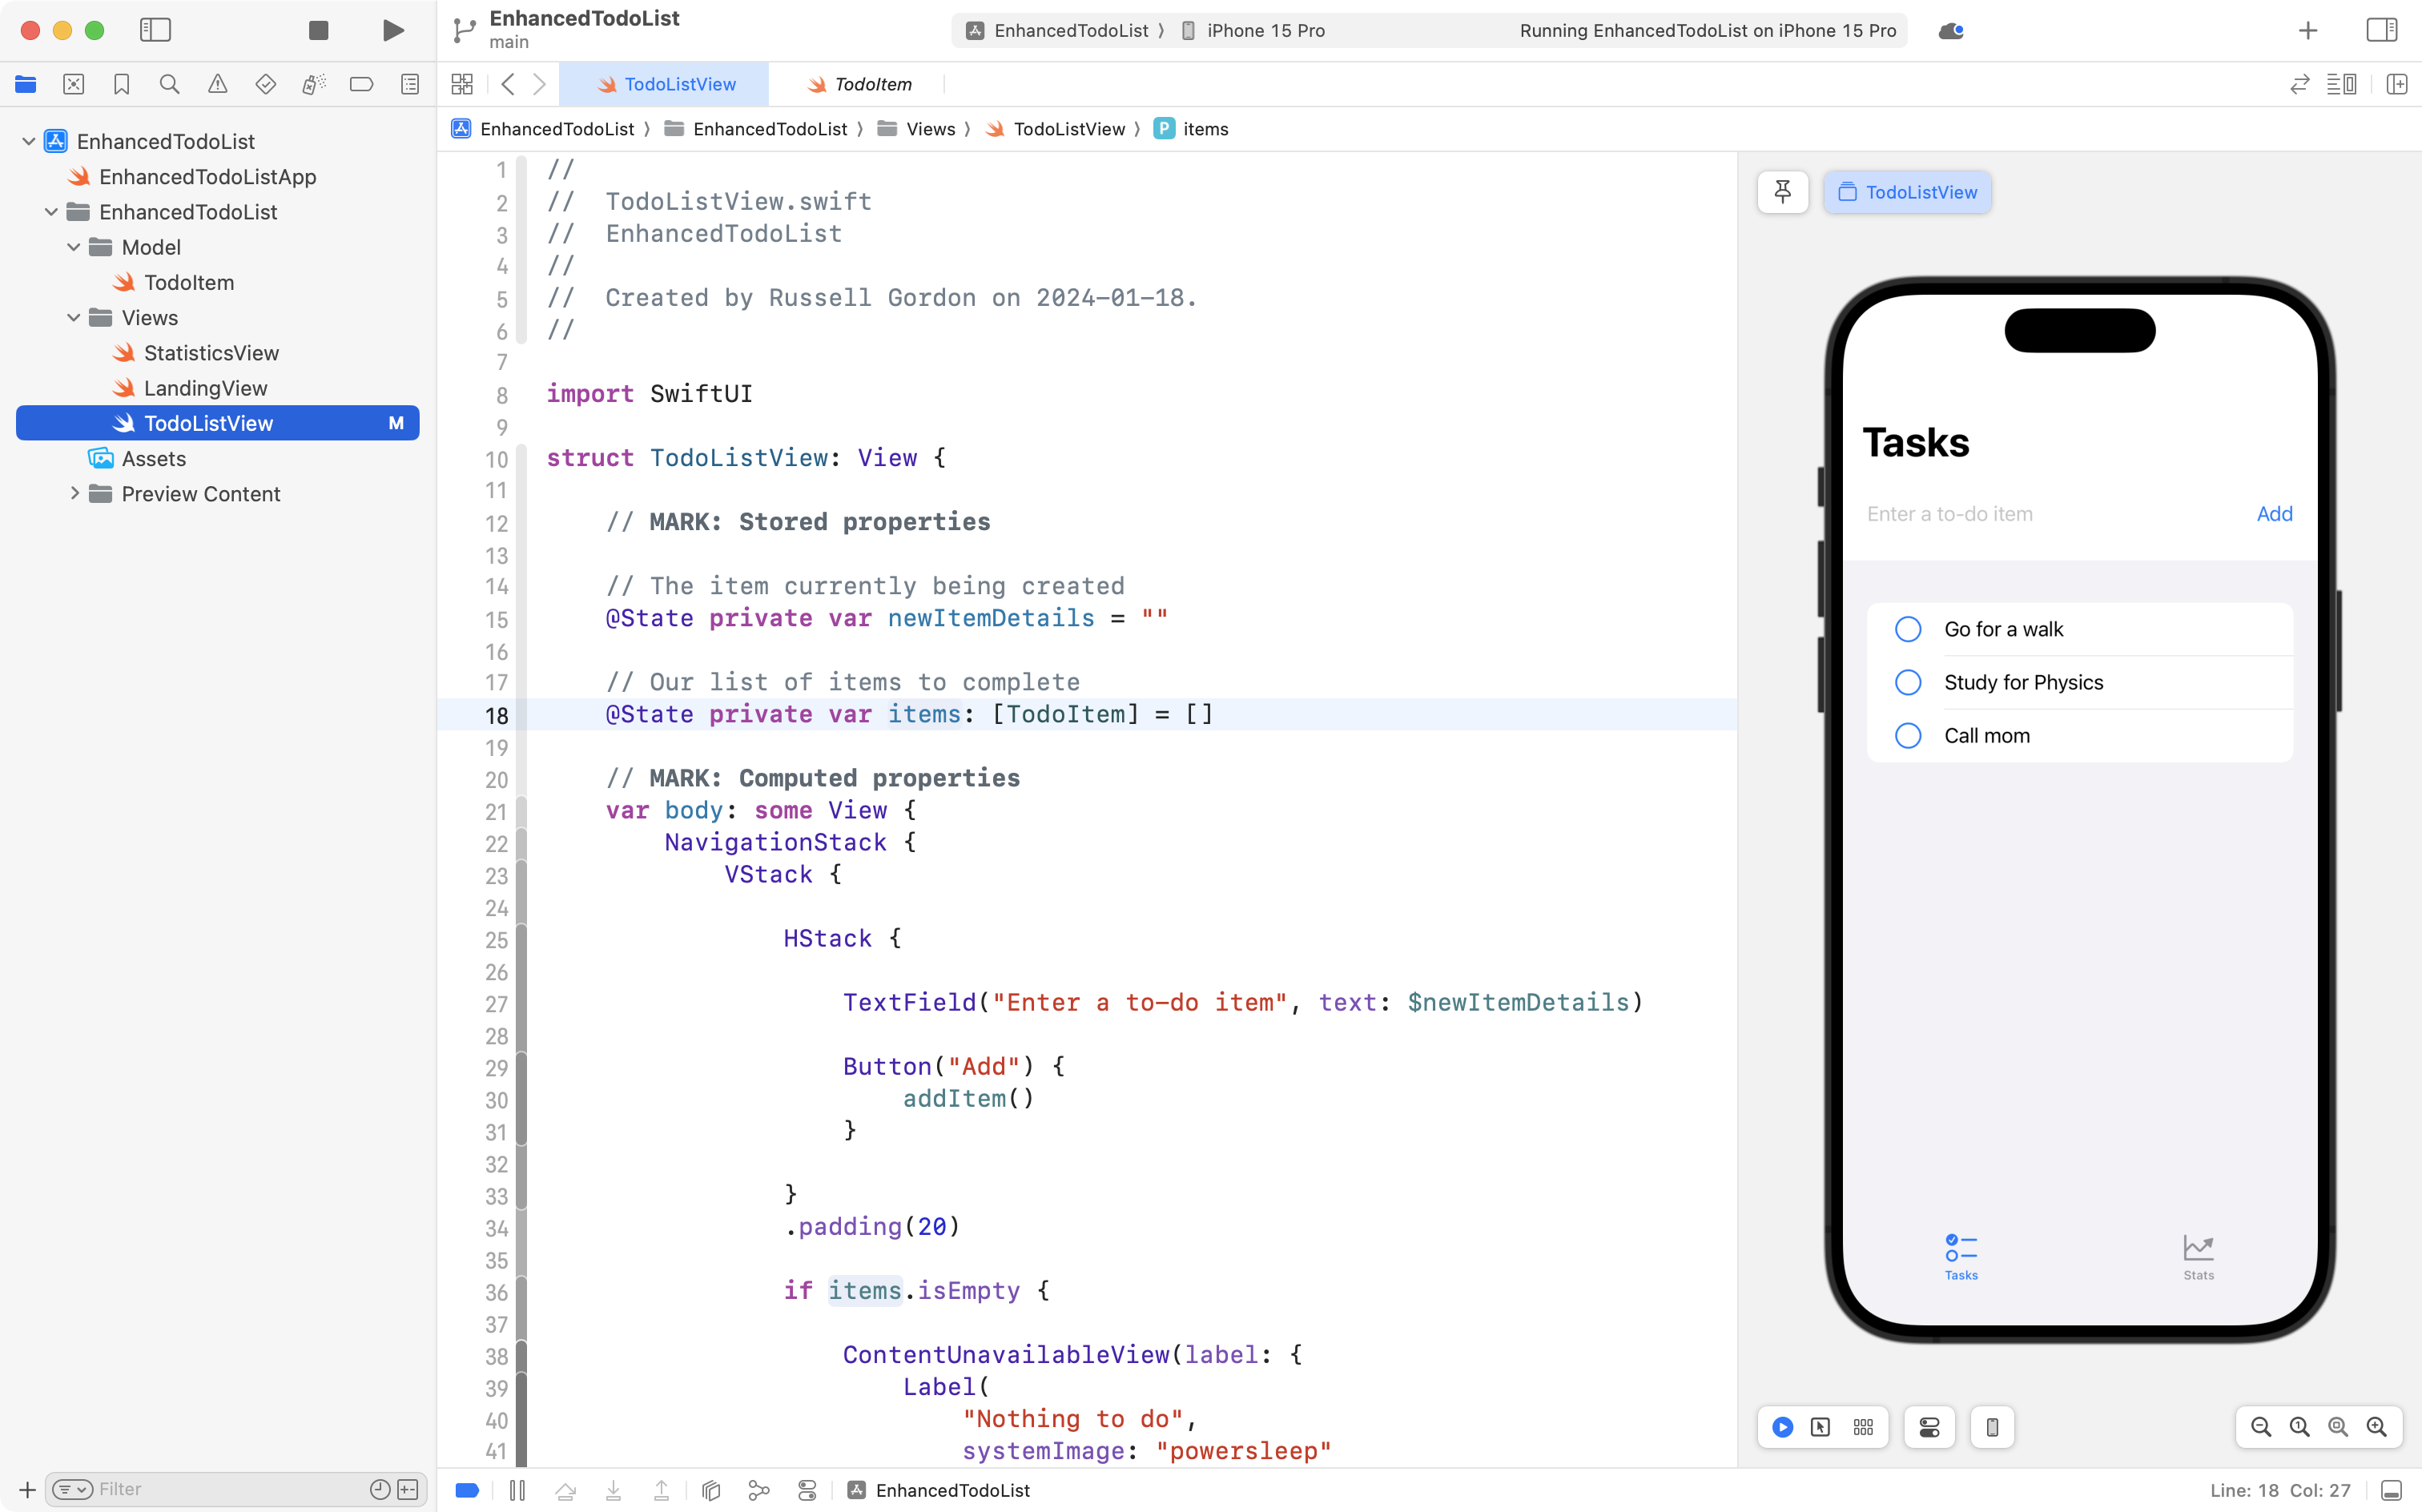
Allow tasks to be added
It follows that we need a way for users to add a task.
Add the following stored property:
// The item currently being created
@State private var newItemDetails = ""
...like this:
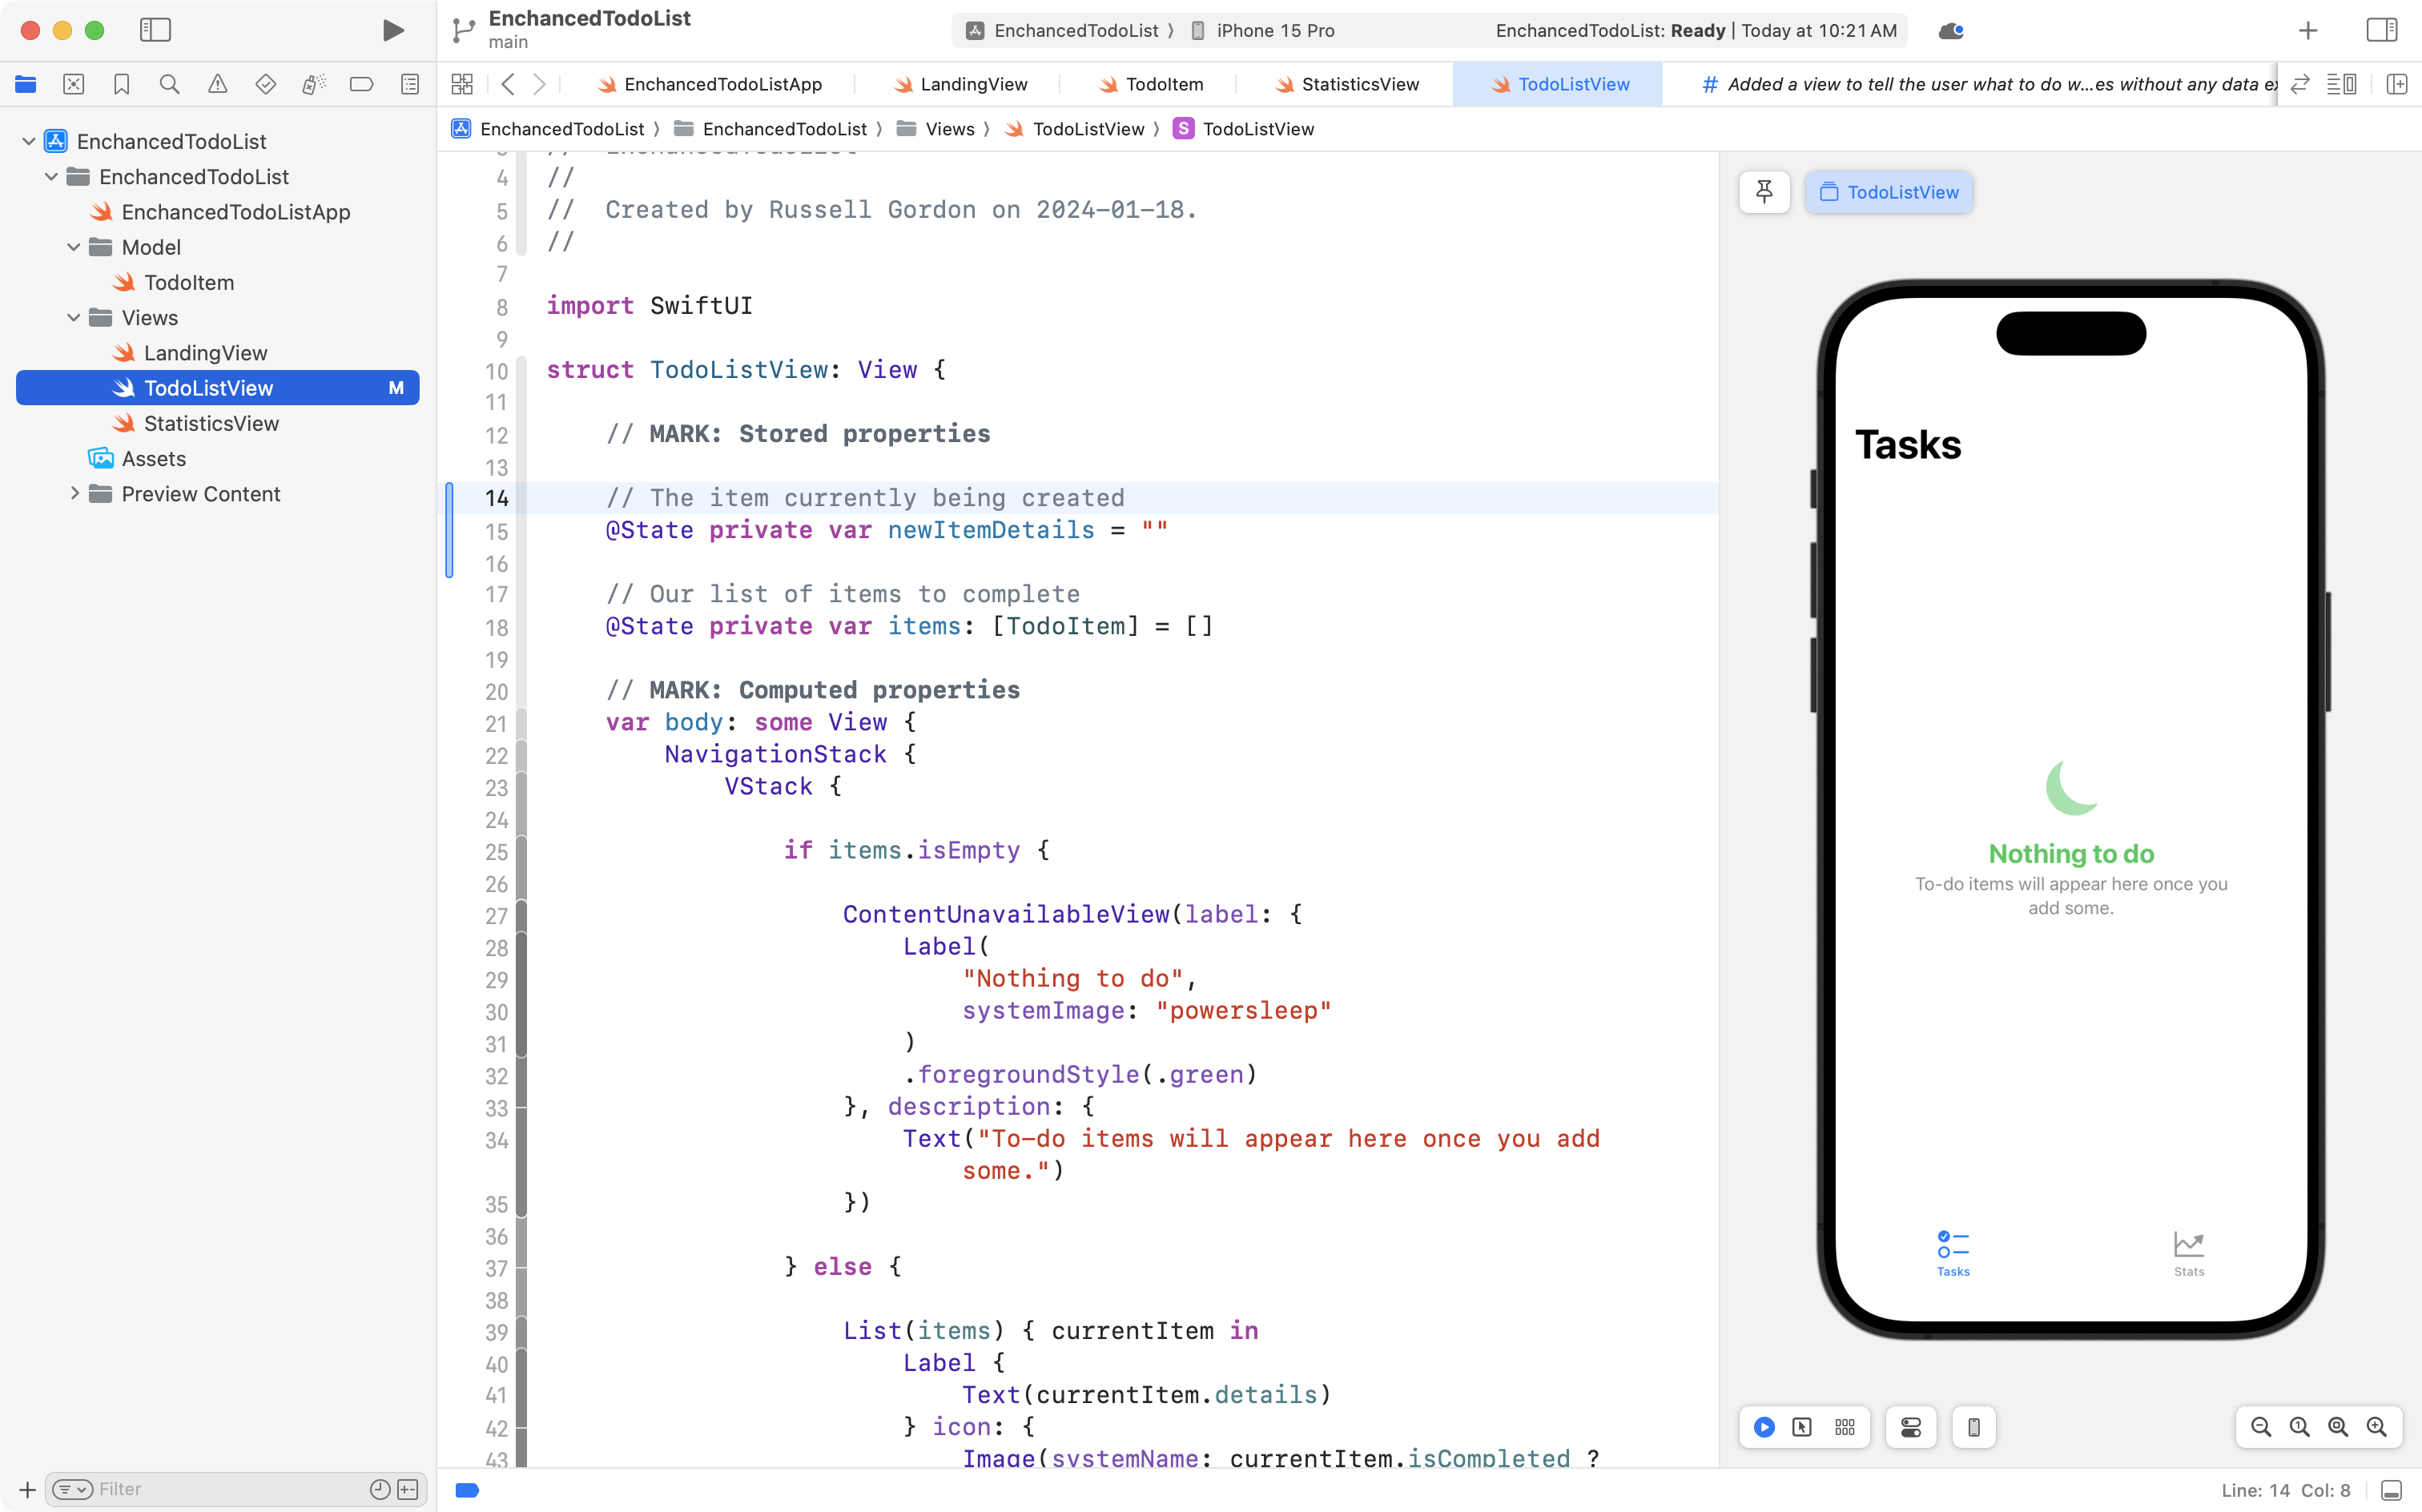
That will hold the text of the new to-do item being entered by a user.
Next, use code folding to hide the contents of the body property that builds the user interface:
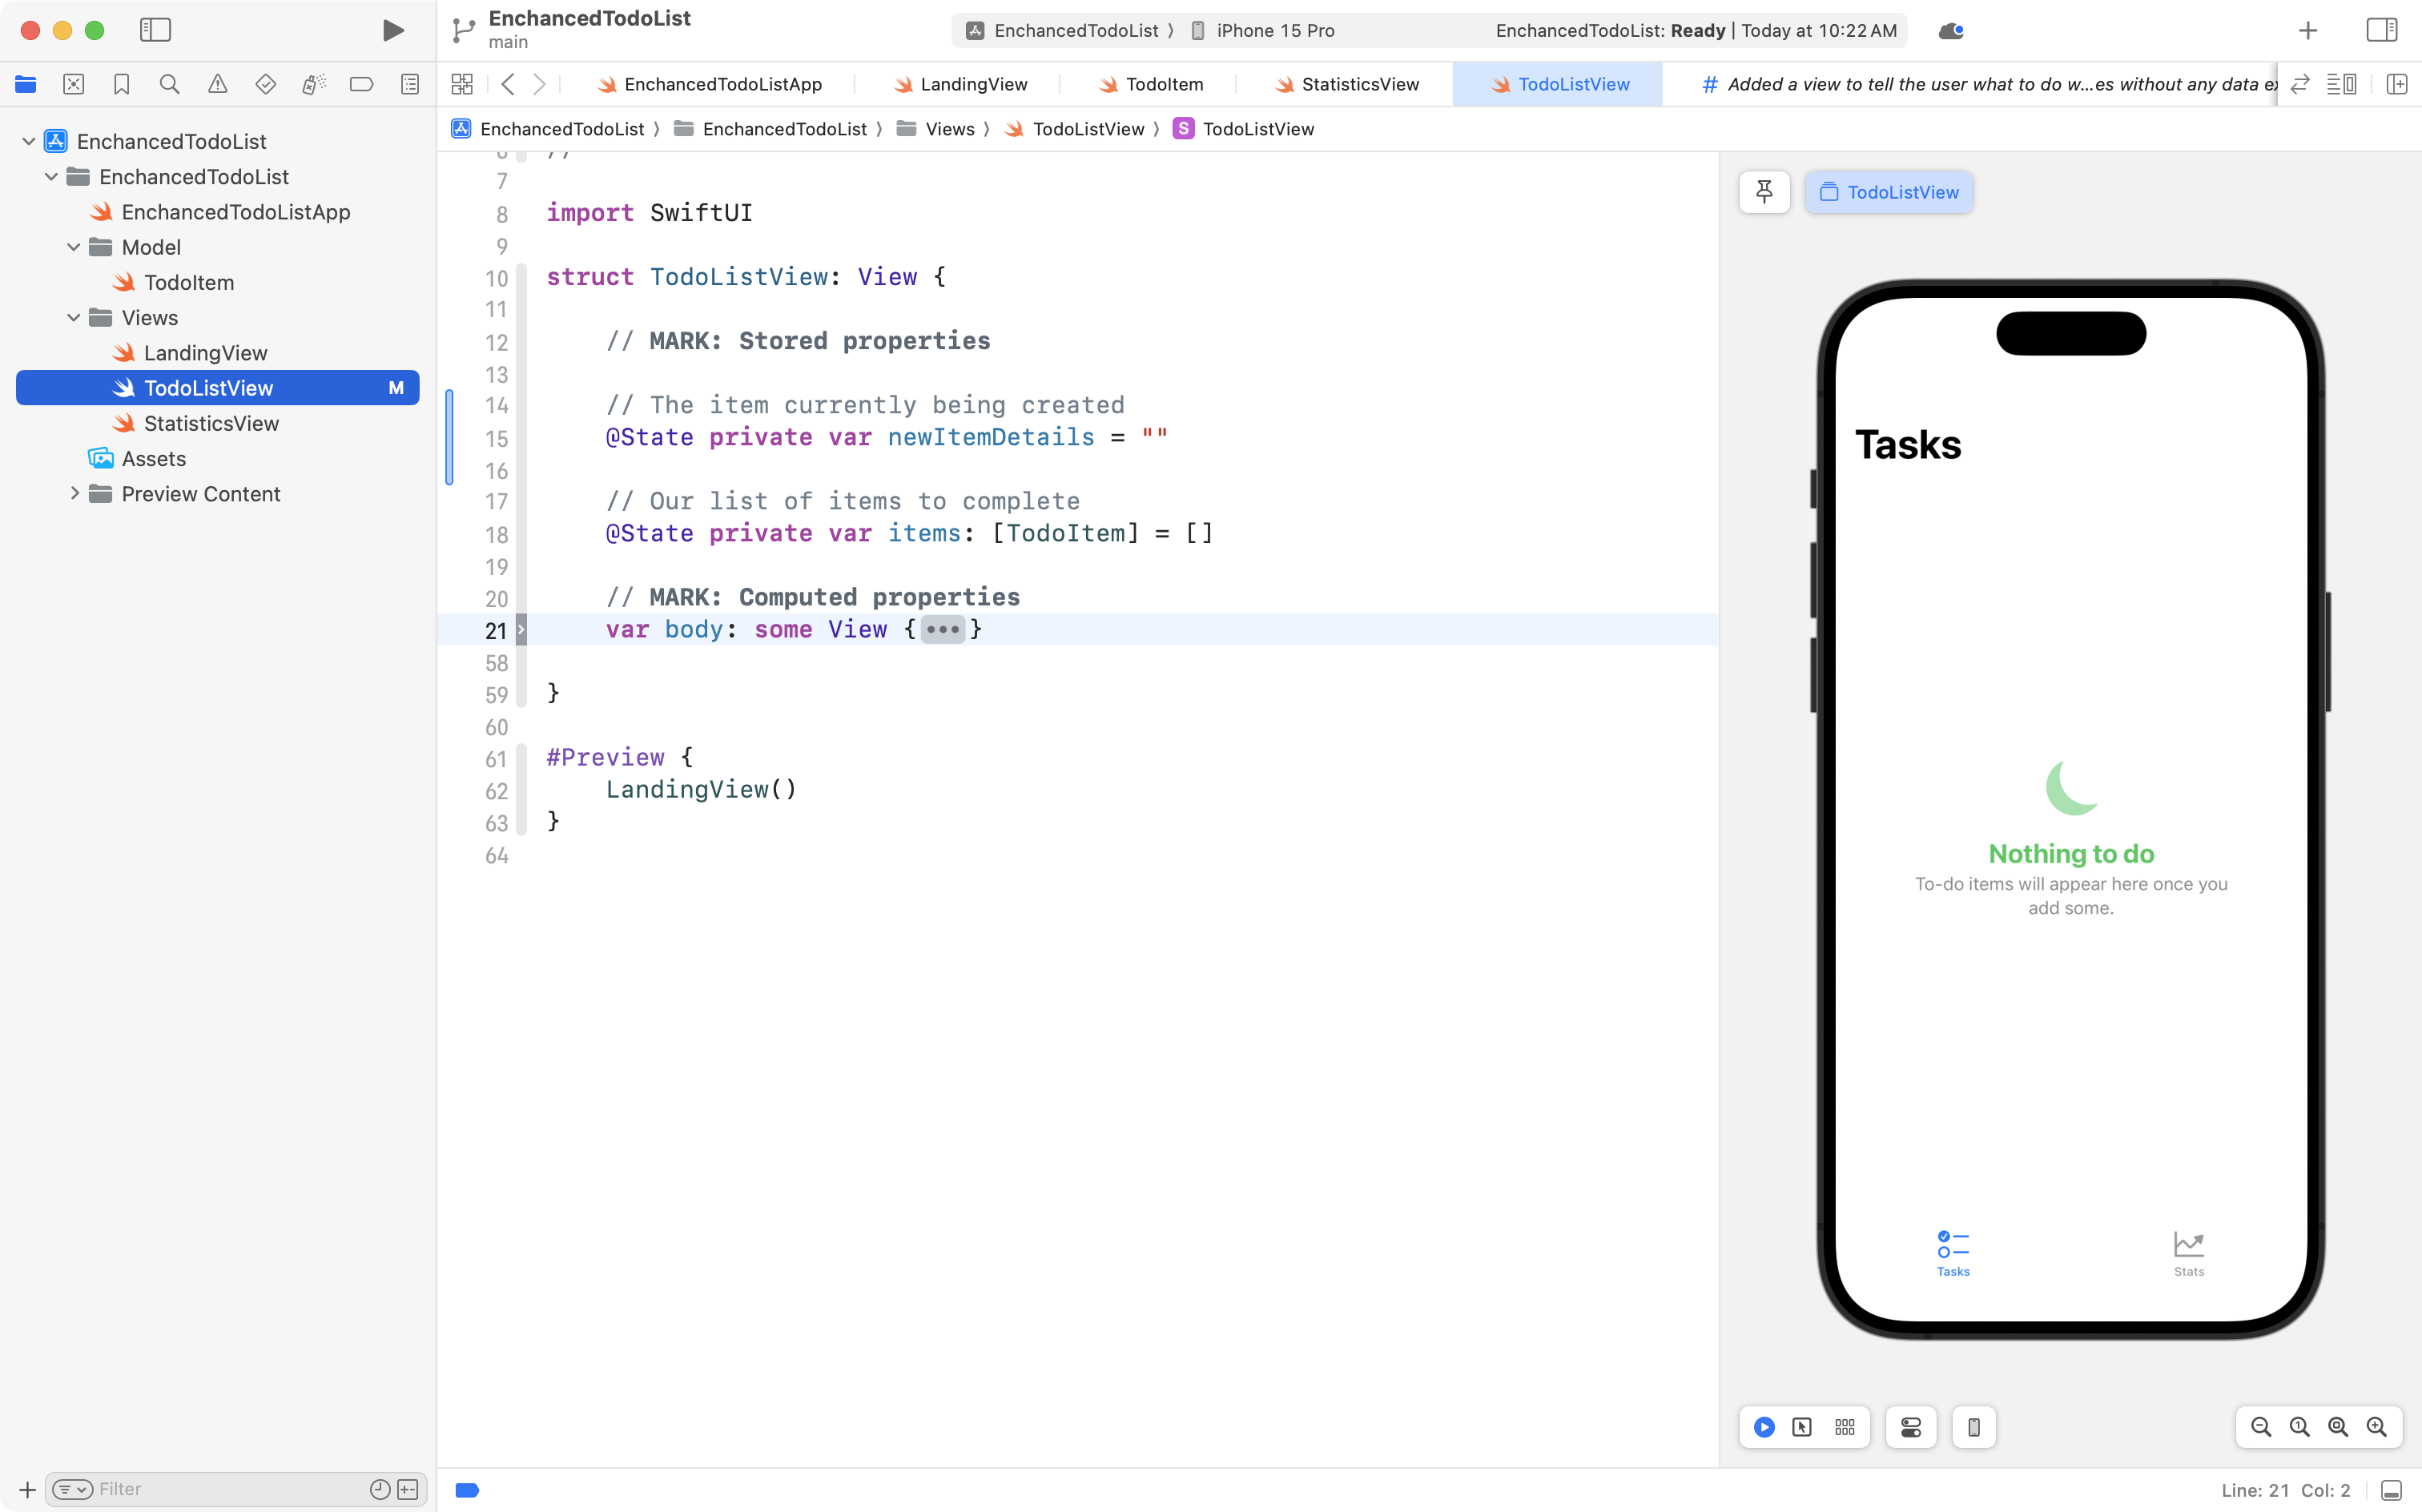
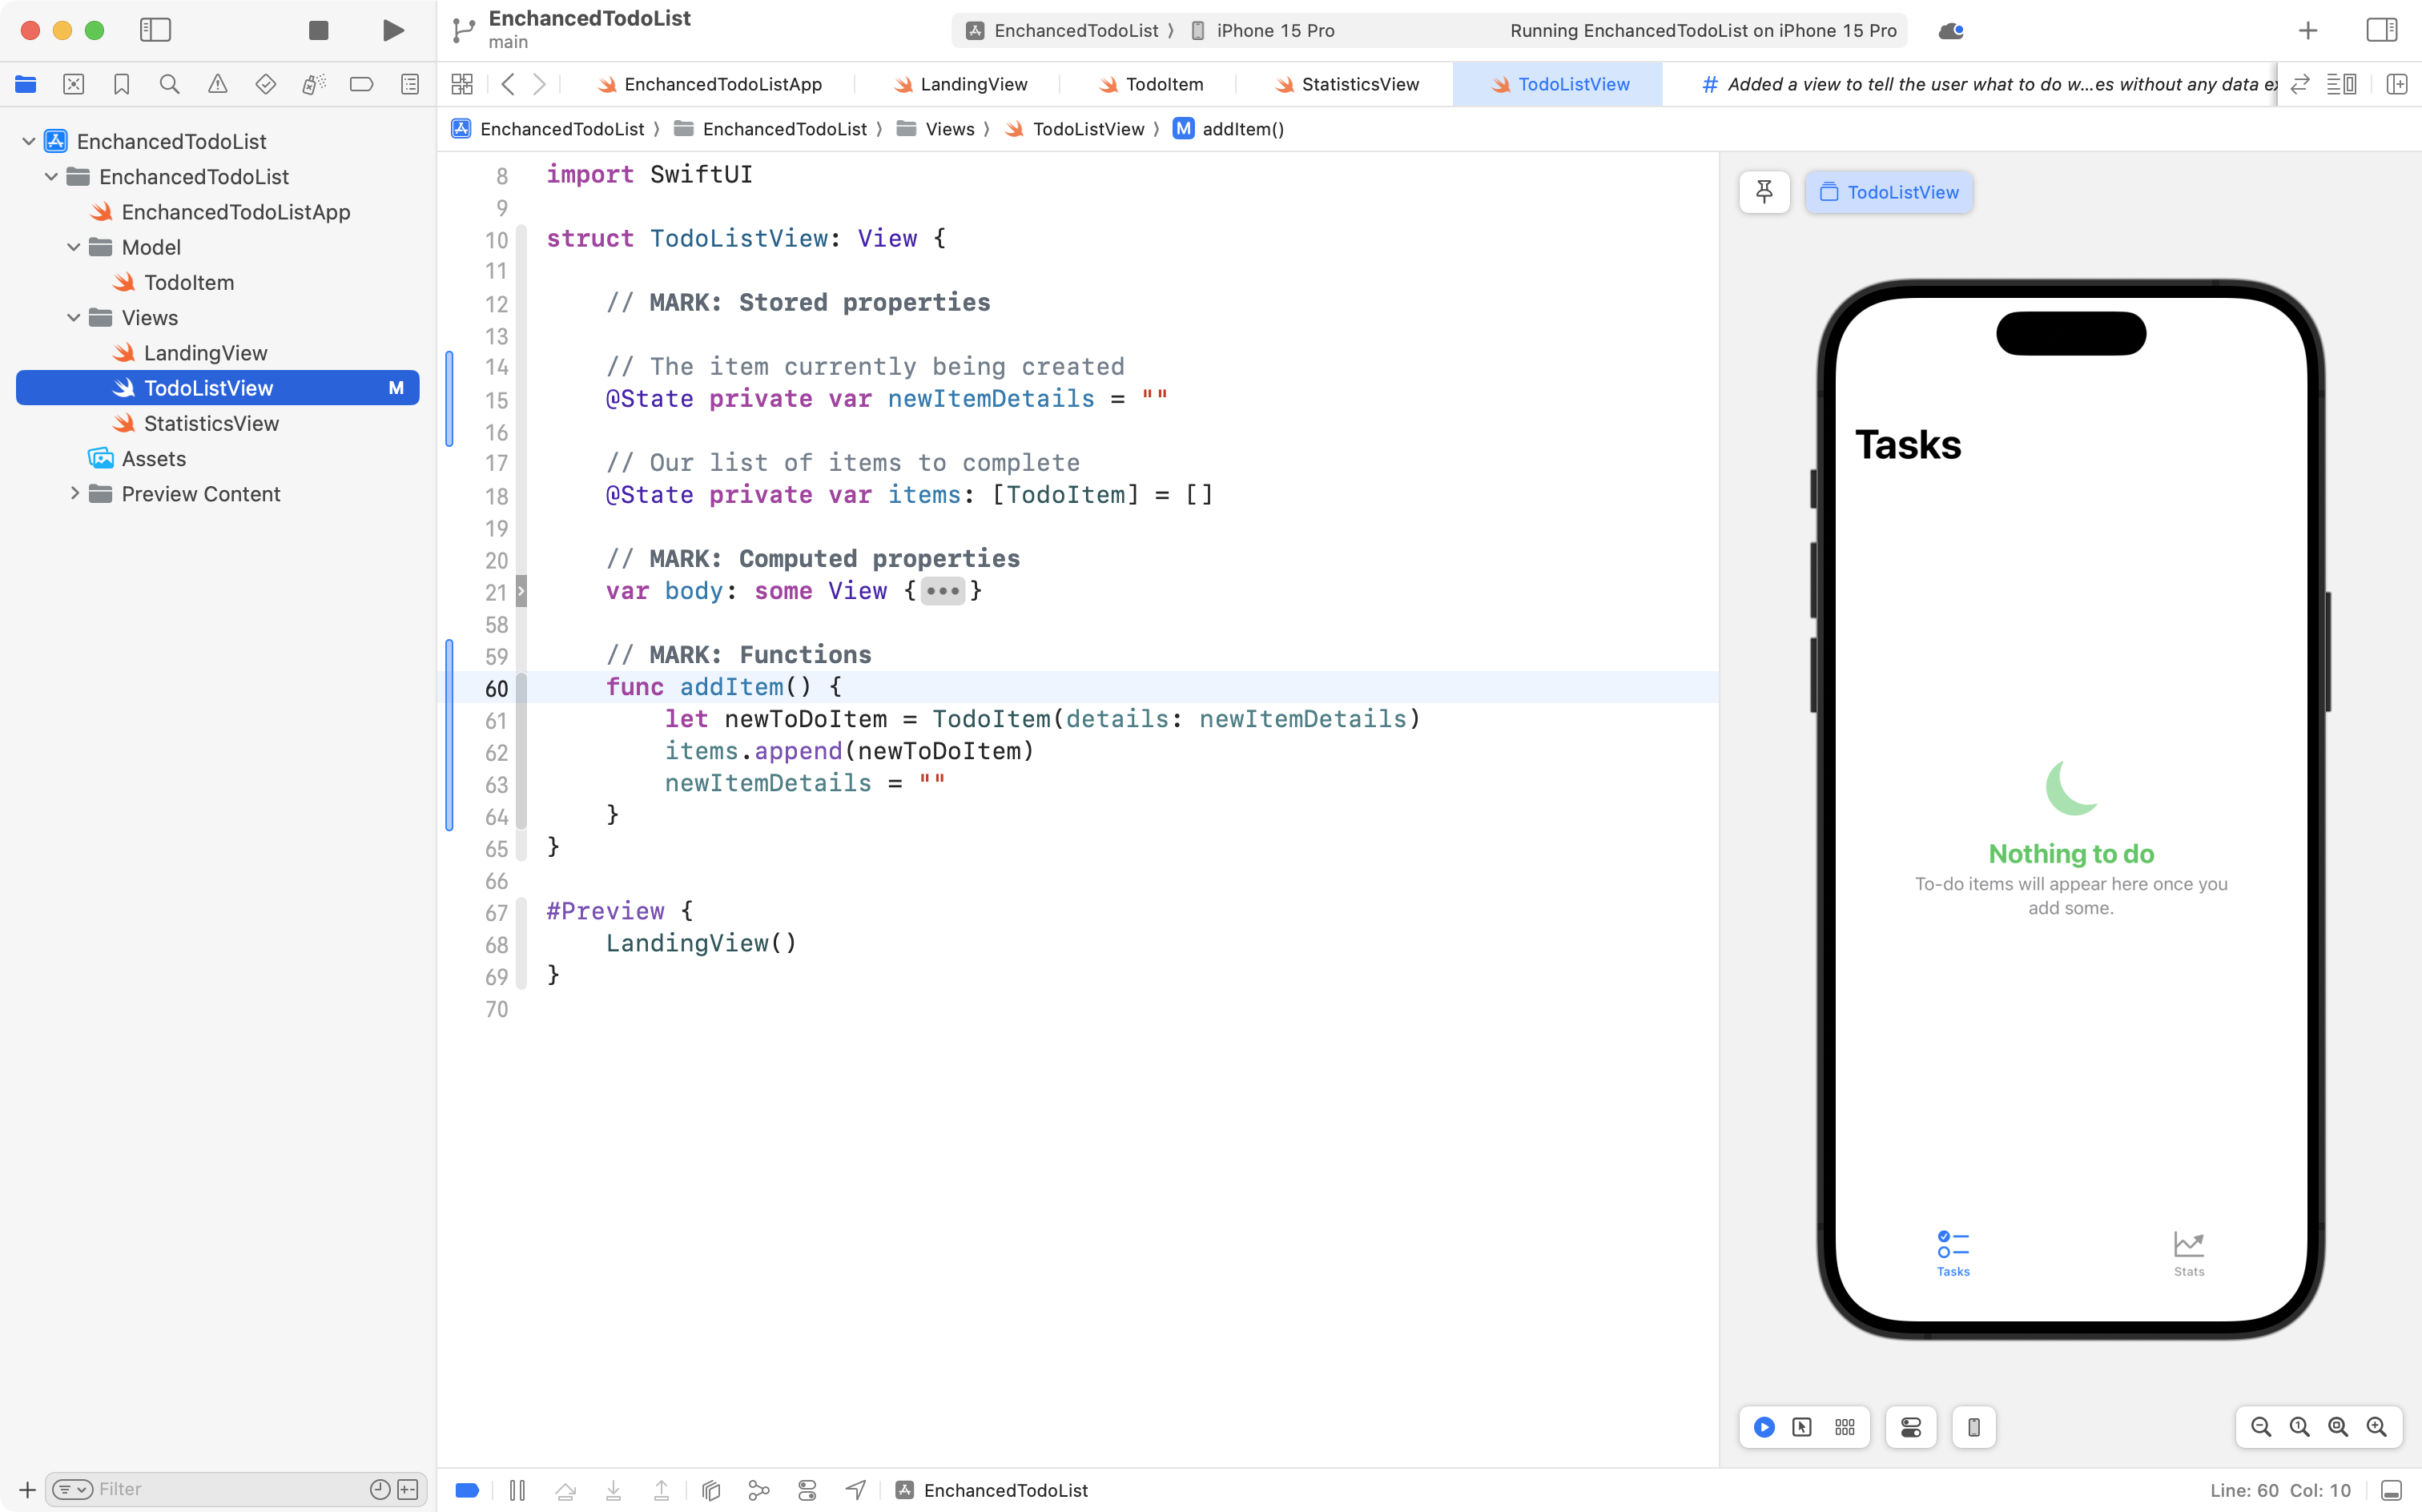
Now, add the following code after the body property, taking care to place it before the closing } of the TodoListView structure:
// MARK: Functions
func addItem() {
	let newToDoItem = TodoItem(details: newItemDetails)
	items.insert(newToDoItem, at: 0)
	newItemDetails = ""
}
... like this:
Finally, unfold the body property again, and add this code just before if-else statement:
HStack {

	TextField("Enter a to-do item", text: $newItemDetails)

	Button("Add") {
		addItem()
	}

}
.padding(20)
... like this:
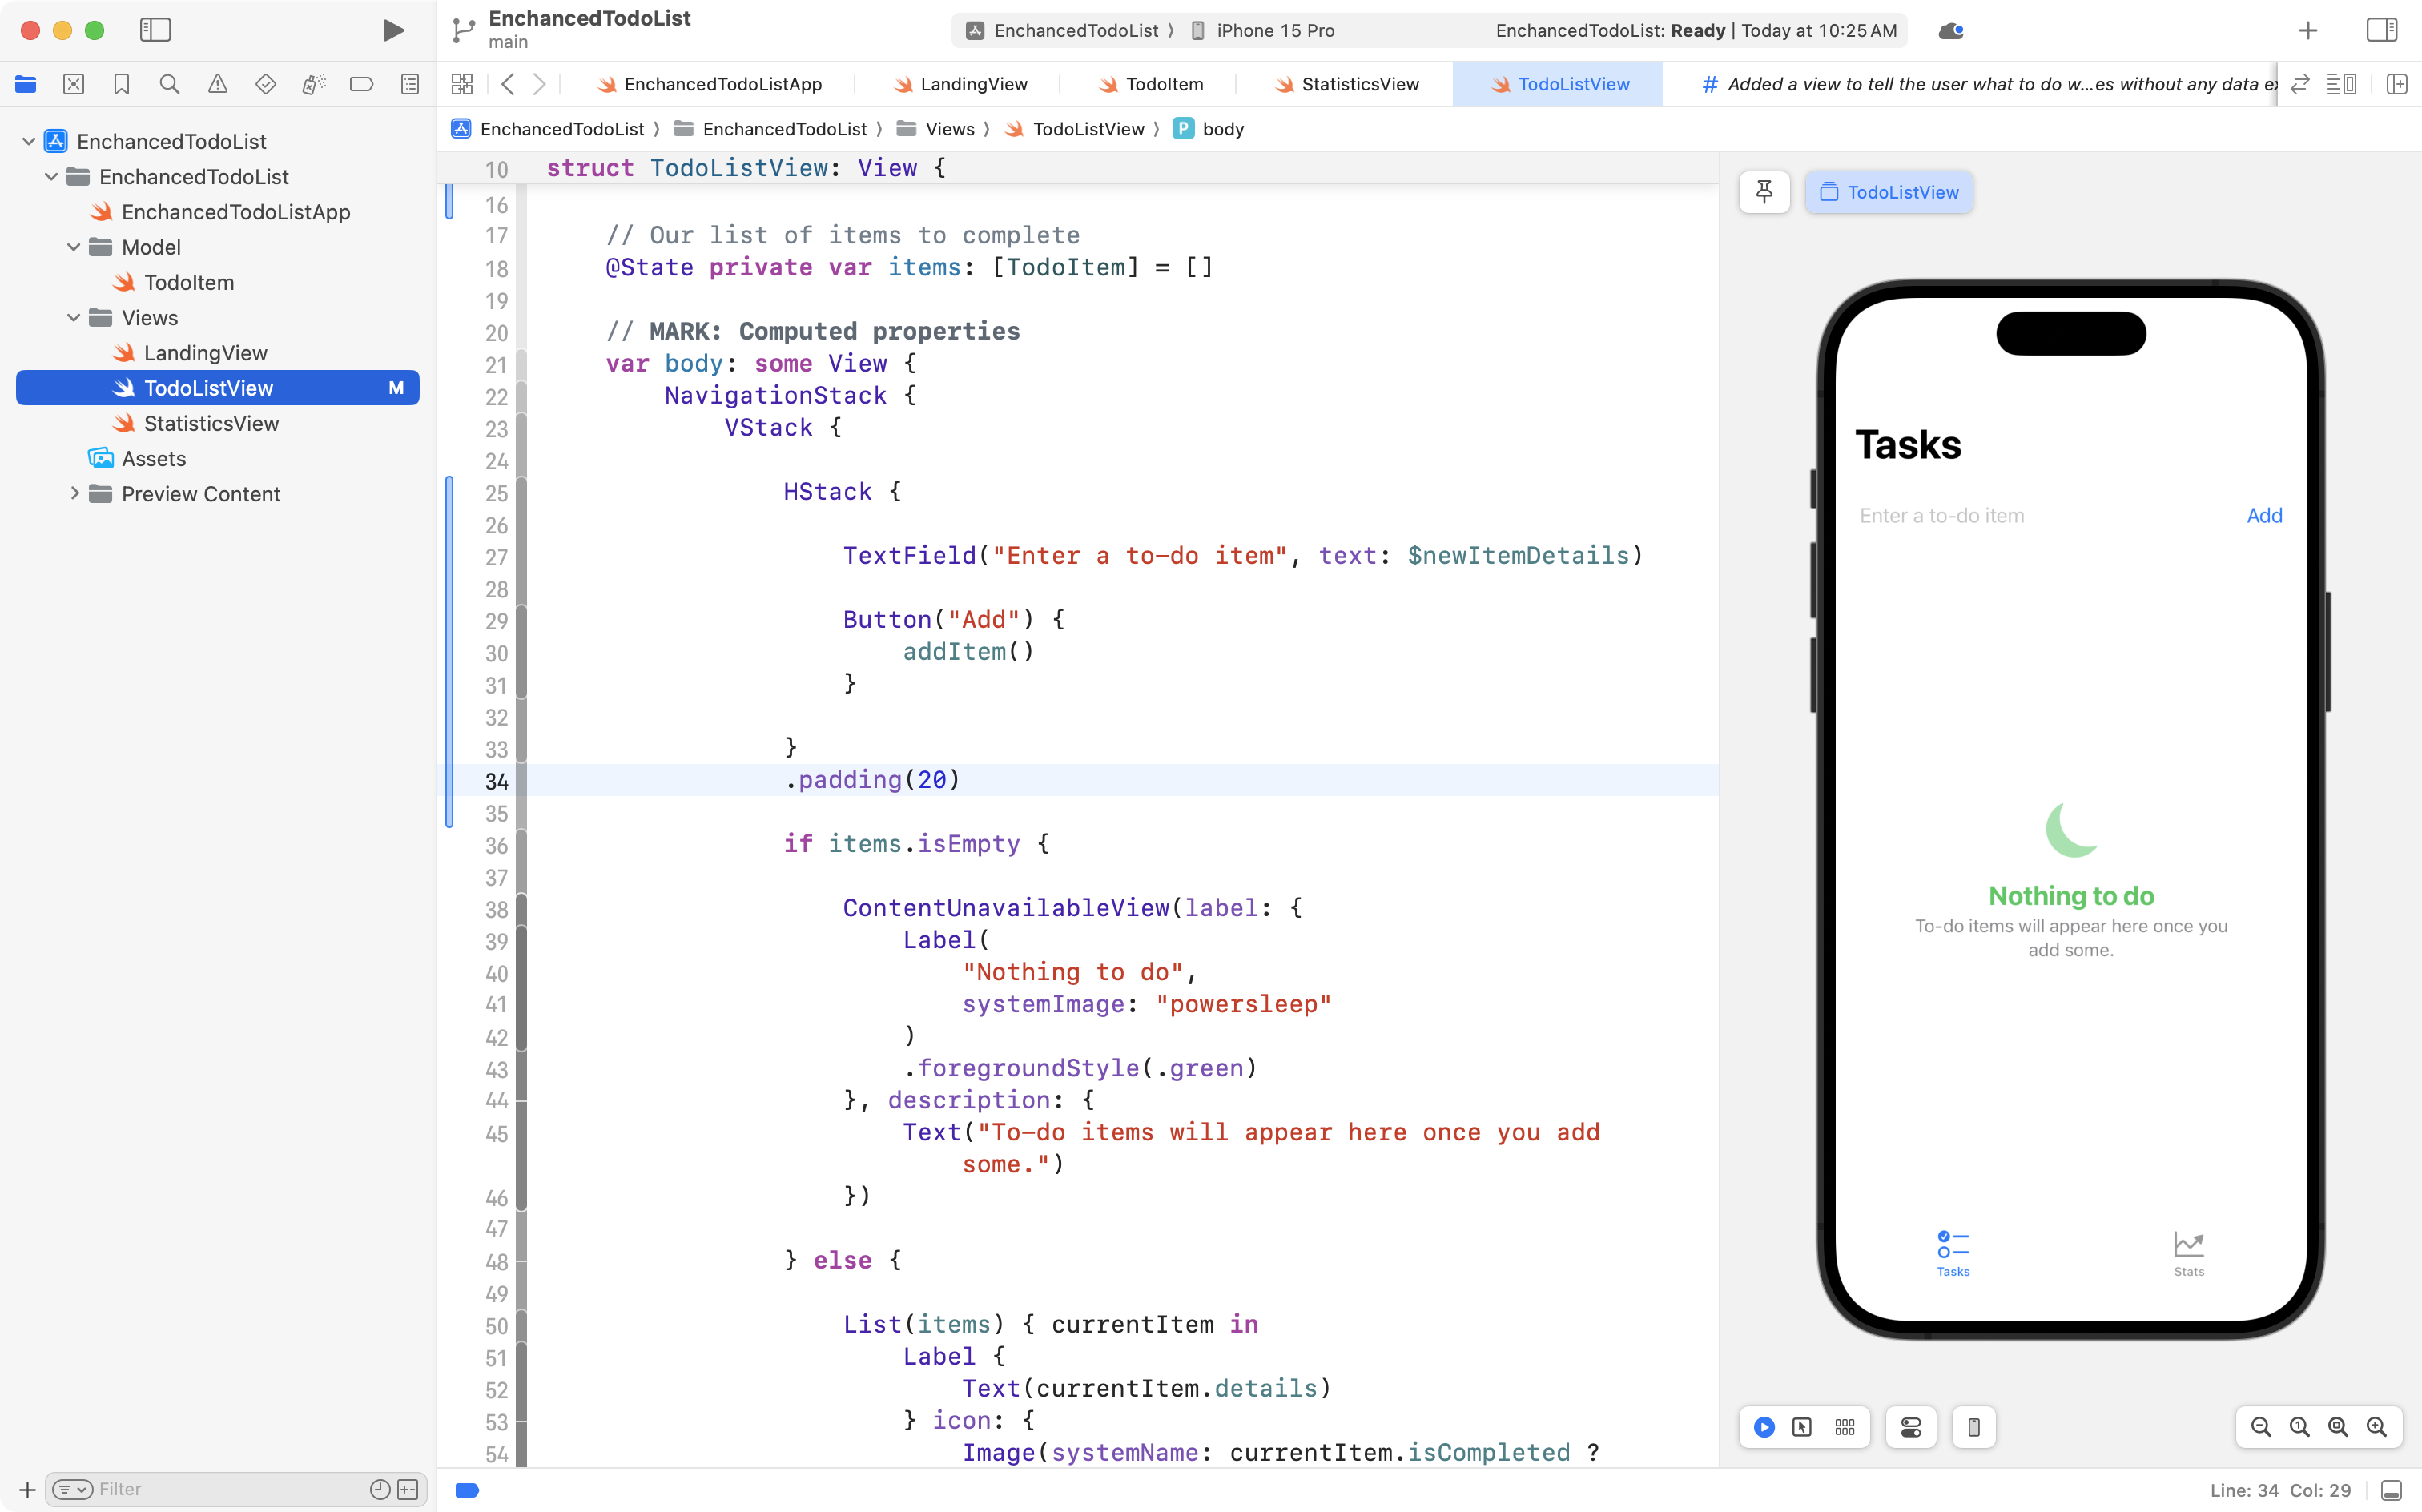
You should now be able to add new items to your list.
If the keyboard appears to be frozen, quit Xcode using Command-Q, then re-open your project.
Another option is to run the app in the full Simulator to test the addition of new entries:

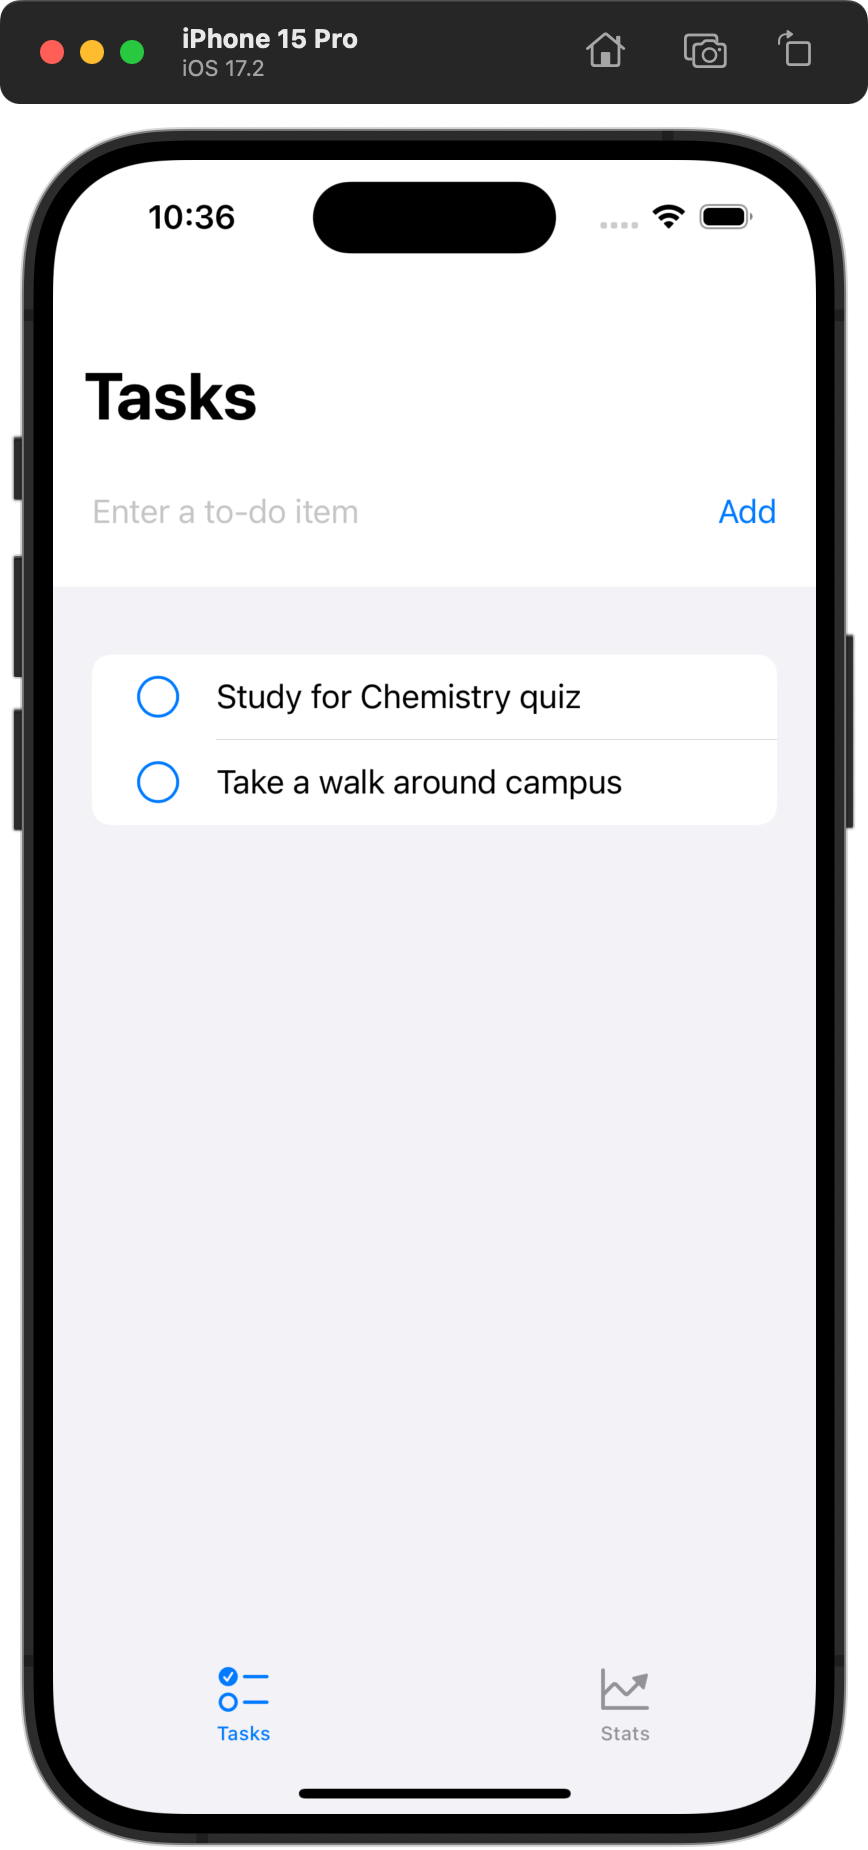
Commit and push your work with this message:
Made it possible to add new items to the list.
Begin using the Observation framework
If you've added a few items, you probably tried out marking them as complete.
You will note that this does not work.
First, we need to add code to make this happen.
Below the addItem function, but before the closing } of the TodoListView structure, add this code:
func toggle(item: TodoItem) {
	if item.isCompleted {
		item.completedOn = nil
		item.isCompleted = false
	} else {
		item.completedOn = Date()
		item.isCompleted = true
	}

}
... like this:
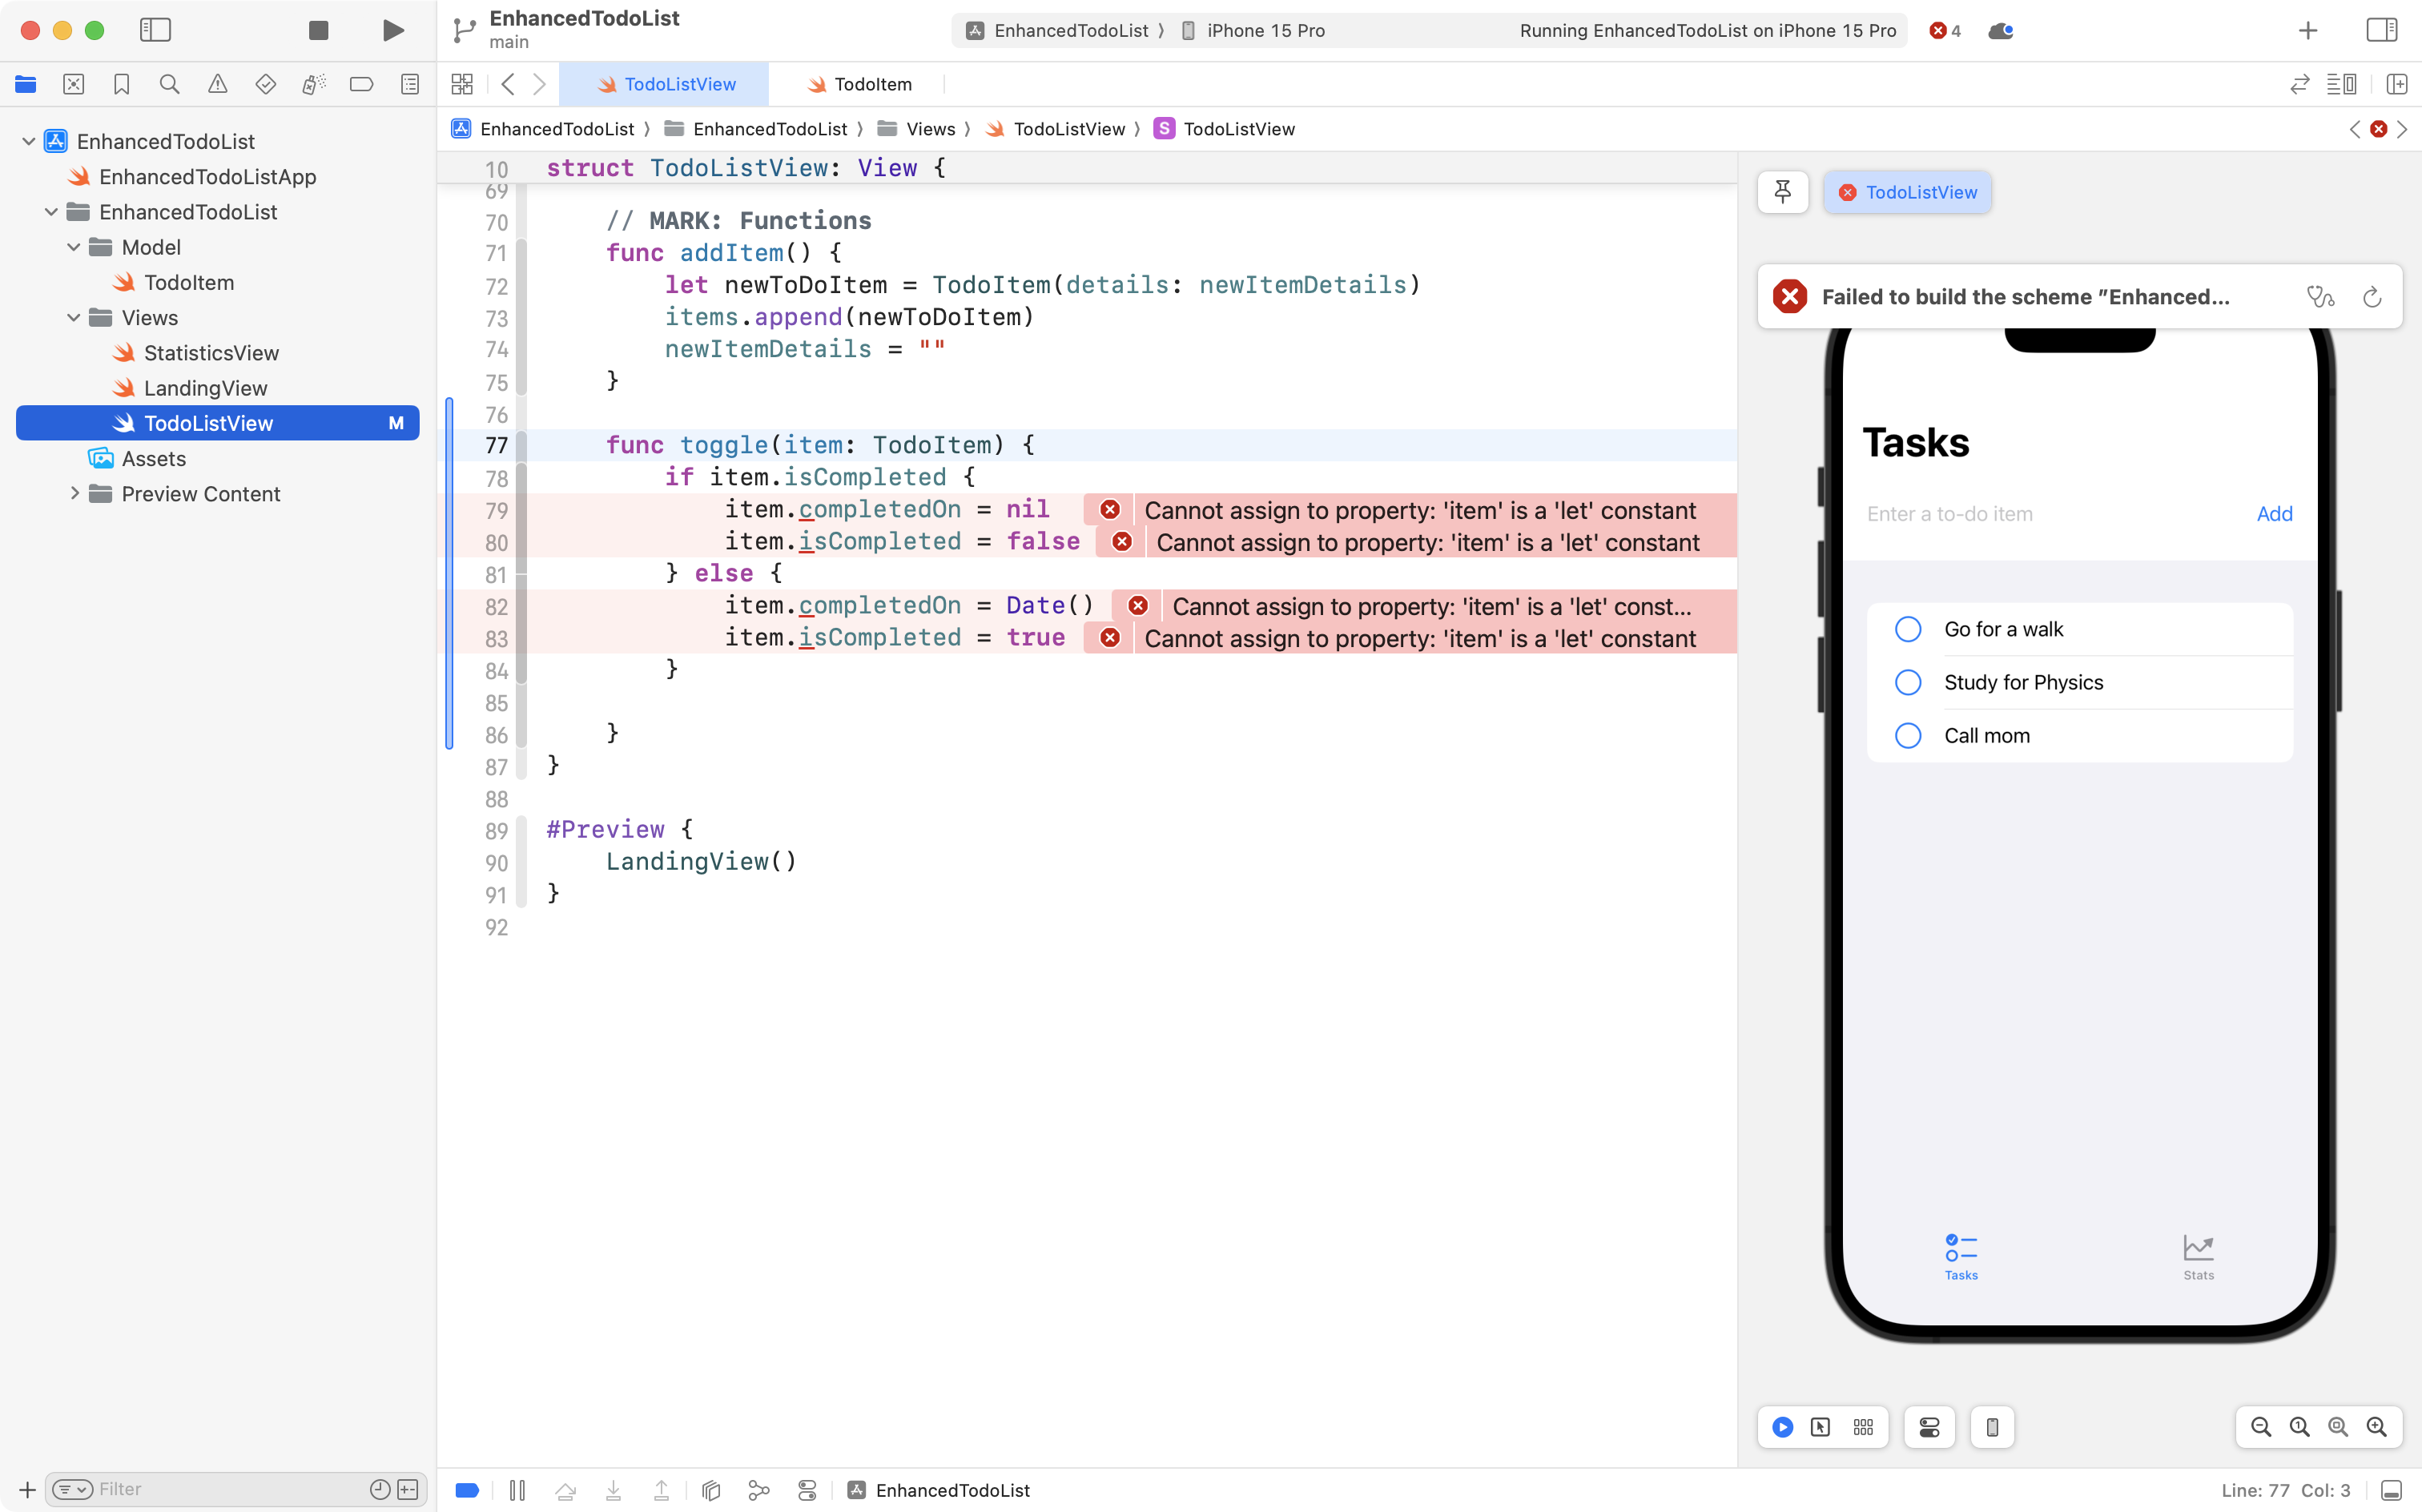
You will immediately see error messages.
That is because our model for each instance of a to-do item is a structure:
SwiftUI handles instances of structures as immutable by default, for performance reasons.
Because of this, individual properties of a structure instance within the items array cannot be modified. So we cannot change the isCompleted property value from false to true, for example.
SwiftUI can see changes in the items array itself that holds the list of to-do items:
... and that is why the interface updates when we add a new item.
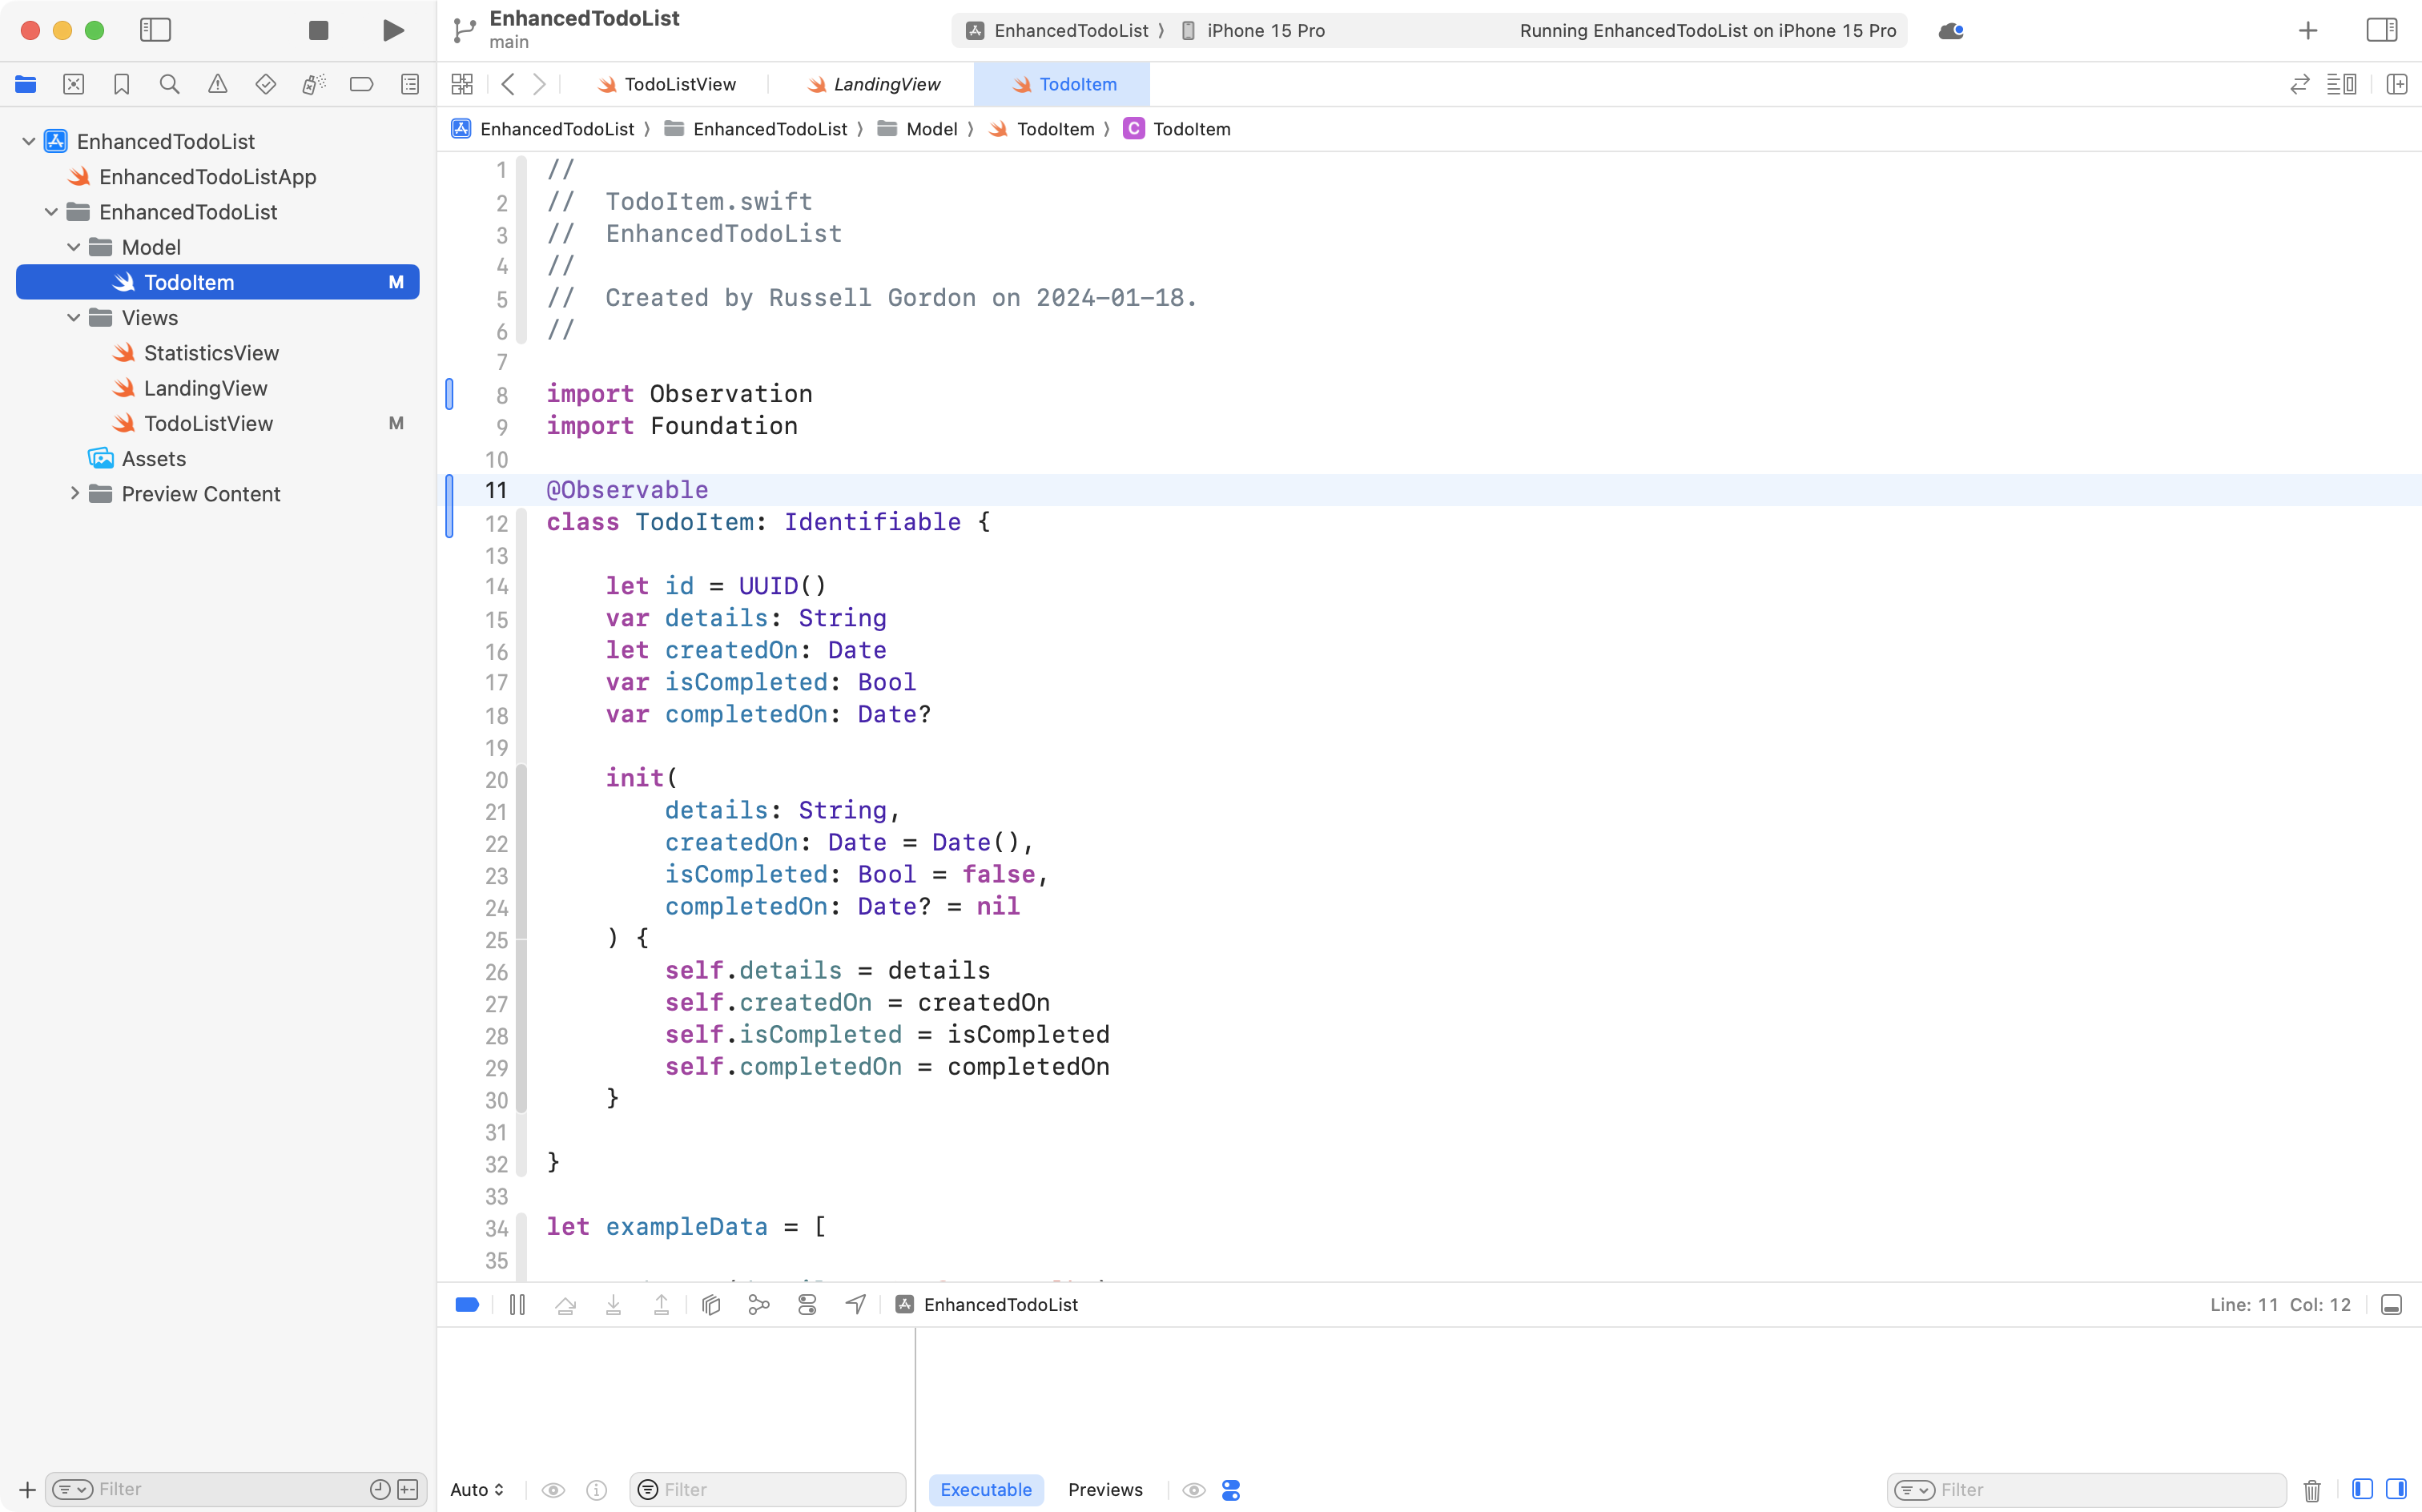
To fix this situation, we need to make TodoListItem into a class, rather than having it be a structure.
We must also use the Observation framework.
SwiftUI will take care of the remaining details for us – automatically updating the user interface when properties of an instance of TodoListItem are changed.
So, next, make these edits on lines 8, 11, and 12, to the TodoListItem model file:
Then, back on TodoListView, add the following code as a view modifier on the Image structure that shows the circle for a to-do item:
.onTapGesture {
	toggle(item: currentItem)
}
... like this:
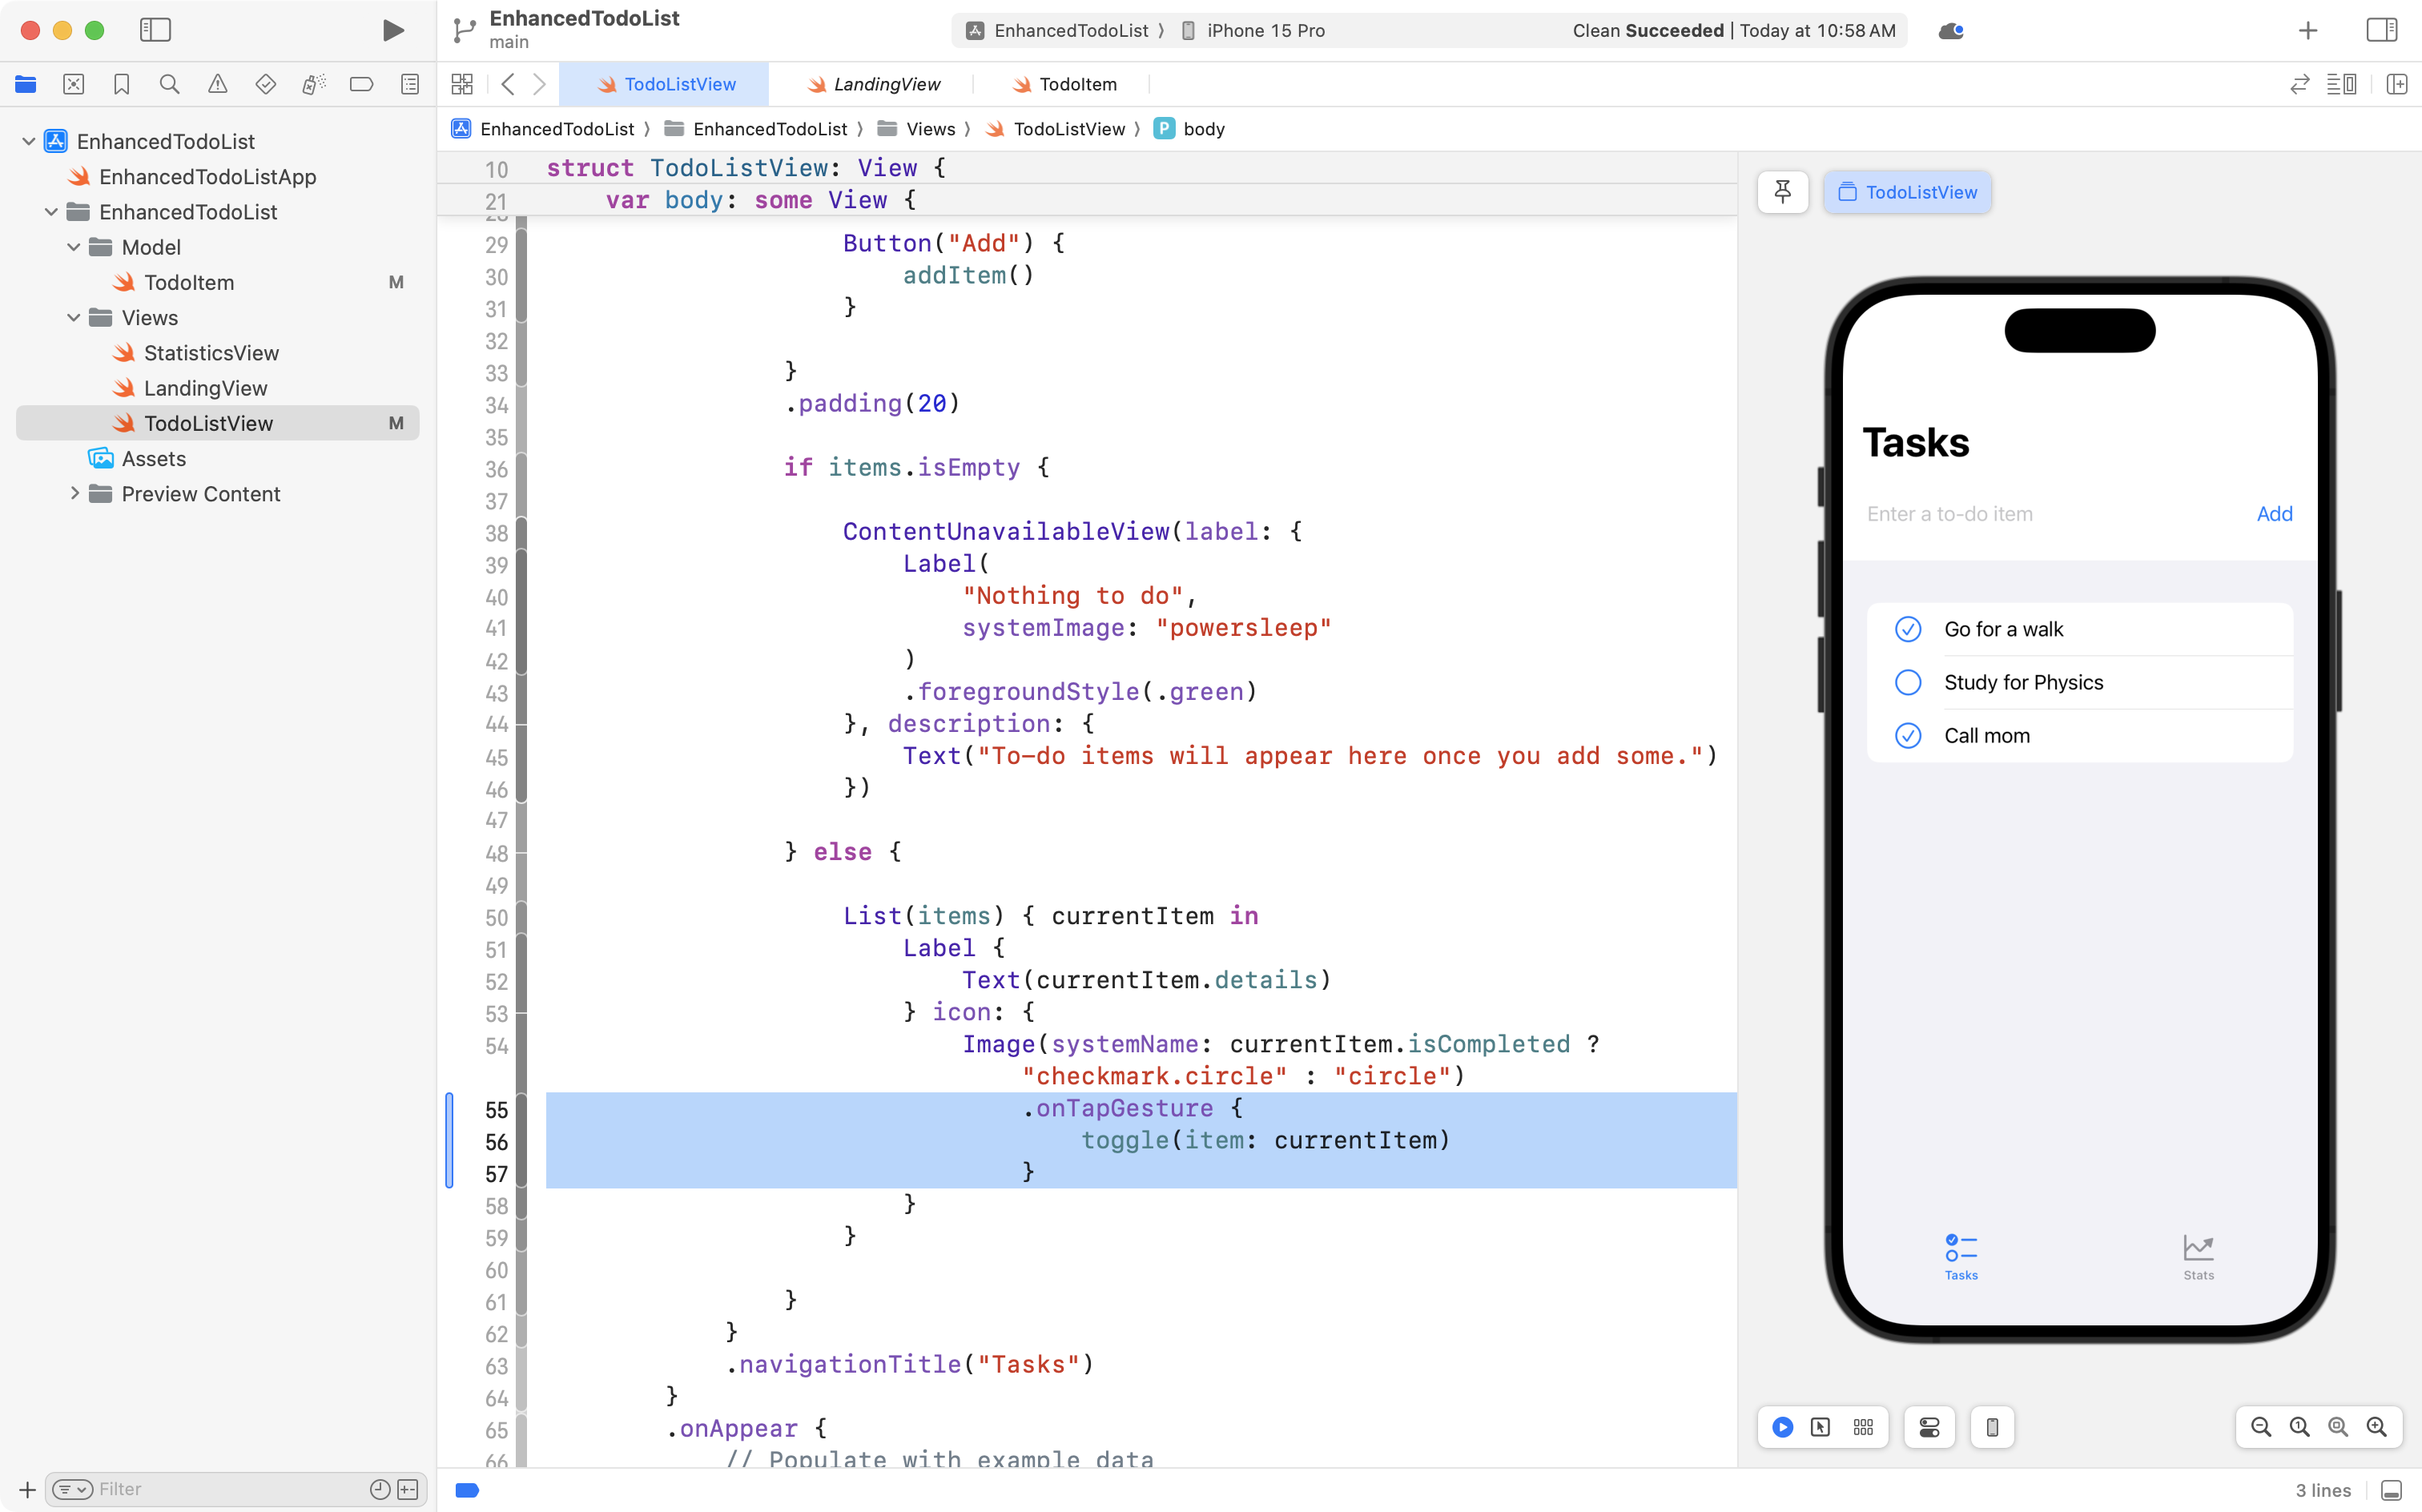
You should now find that you can mark to-do items as completed or incomplete.
Be sure to commit and push your work with the message:
Can now mark items as completed or not, thanks to the Observation framework.
Exercises
That's about enough for today – you have seen the start of how the Observation framework is useful.
So far, it has made it possible to track changes to individual properties of instances of a class that are stored in a list.
In tomorrow's class, you will learn how to use the Observation framework to share data between screens.
Then, you will learn how to persist that data long-term, using the new SwiftData framework.
For now, please try the following exercises.
Make it possible to delete items from the list
Try adapting the instructions given here and see if you can make it possible to delete items from your list of to-do items.
Note that the list of to-do items needs to be iterated over using a ForEach structure for the .onDelete view modifier to work.
Make it possible to search through items
Adapt the instructions given here to add a search field to the list.
A computed property that returns a filtered array of items might look like this:
var filteredItems: [TodoItem] {
	if searchText.isEmpty {
		return items
	} else {
		return items.filter { item in
			item.details.lowercased().contains(searchText.lowercased())
		}
	}
}
Now that you have tried the exercises, move on to the second and final part of this tutorial.