Working on Issues in a Team
Overview
There are several models for organizing source control usage within a team.
The model we will use for projects this year can be summarized as the "fork and branch" model.
Only the project manager – Mr. Gordon for the teacher-led projects we are authoring now – has write access to the primary repository for a project. The repository for a project will always be created within the lcs-apps organization on GitHub.
At the outset of a project, team members create forks of the primary repository.
Within a repository for a project, there are two primary branches active at all times:
mainbranch- Stable version of the software
developmentbranch- In-progress version of the software working toward a release
- All issue branches are created from this branch
When a team member is ready to start working on an issue, they create an issue branch off of the development branch in their own fork of the repository.
For example, a team member working on issue 23 will create a branch named issue23 off of development. They will commit and push all work on that issue to the issue23 branch. Only code commits related to issue 23 are to be made on this branch.
Never mix code from multiple issues within a single branch.
When the team member is finished working on an issue, they will create a pull request which the project manager will review and merge into the development branch of the primary repository.
Visually, working on issue branches that are merged into the development branch of a project looks like this:

After a pull request is accepted and merged into the development branch of the primary project repository, the team member in question must then update the development branch of their own fork on GitHub.com. This will pick up their changes that were just accepted into the development branch of the primary repository – as well as code for issues worked on by other members of the team.
The team member must then pull the changes from their remote to their local copy of the repository, and begin working on their next assigned issue.
Don't worry if you don't immediately understand this model for using source control!
That would be entirely normal.
You will get used to it quickly – we learn by doing and you can ask for help whenever you need it.
Detailed steps
-
At the outset of your participation in a project, you will create a fork of the primary project repository. You will then clone your fork to your computer.
-
Going forward, when you are ready to start working on a new issue... first ensure that you are on the
developmentbranch in Xcode: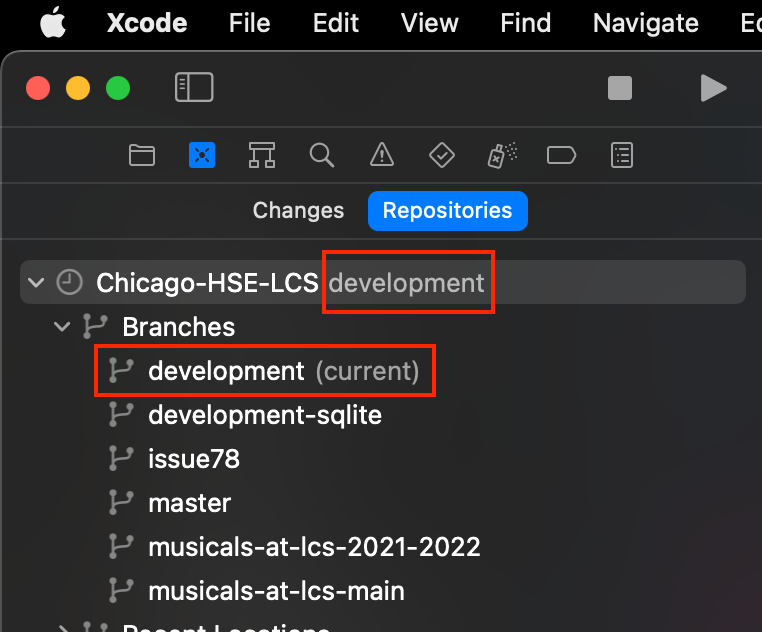
If you are not, switch to the
developmentbranch: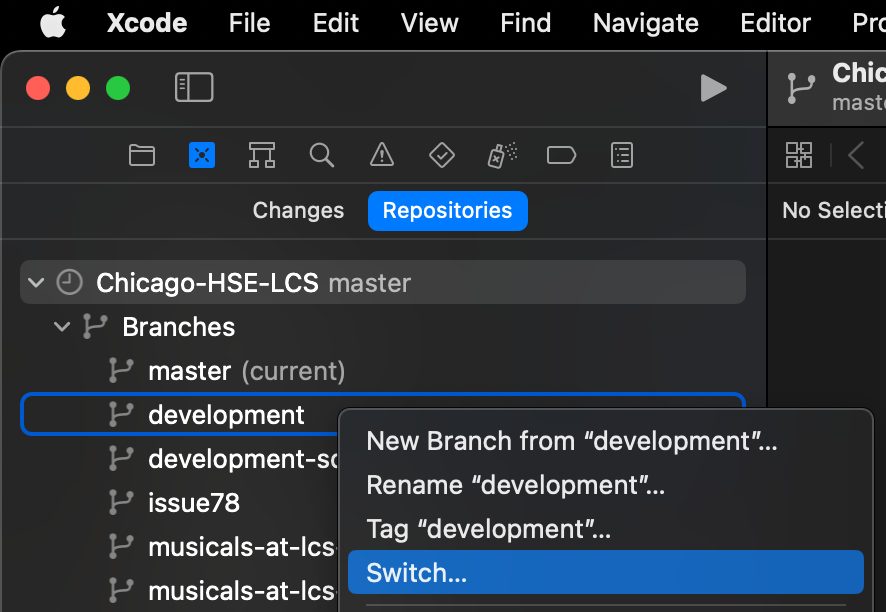
-
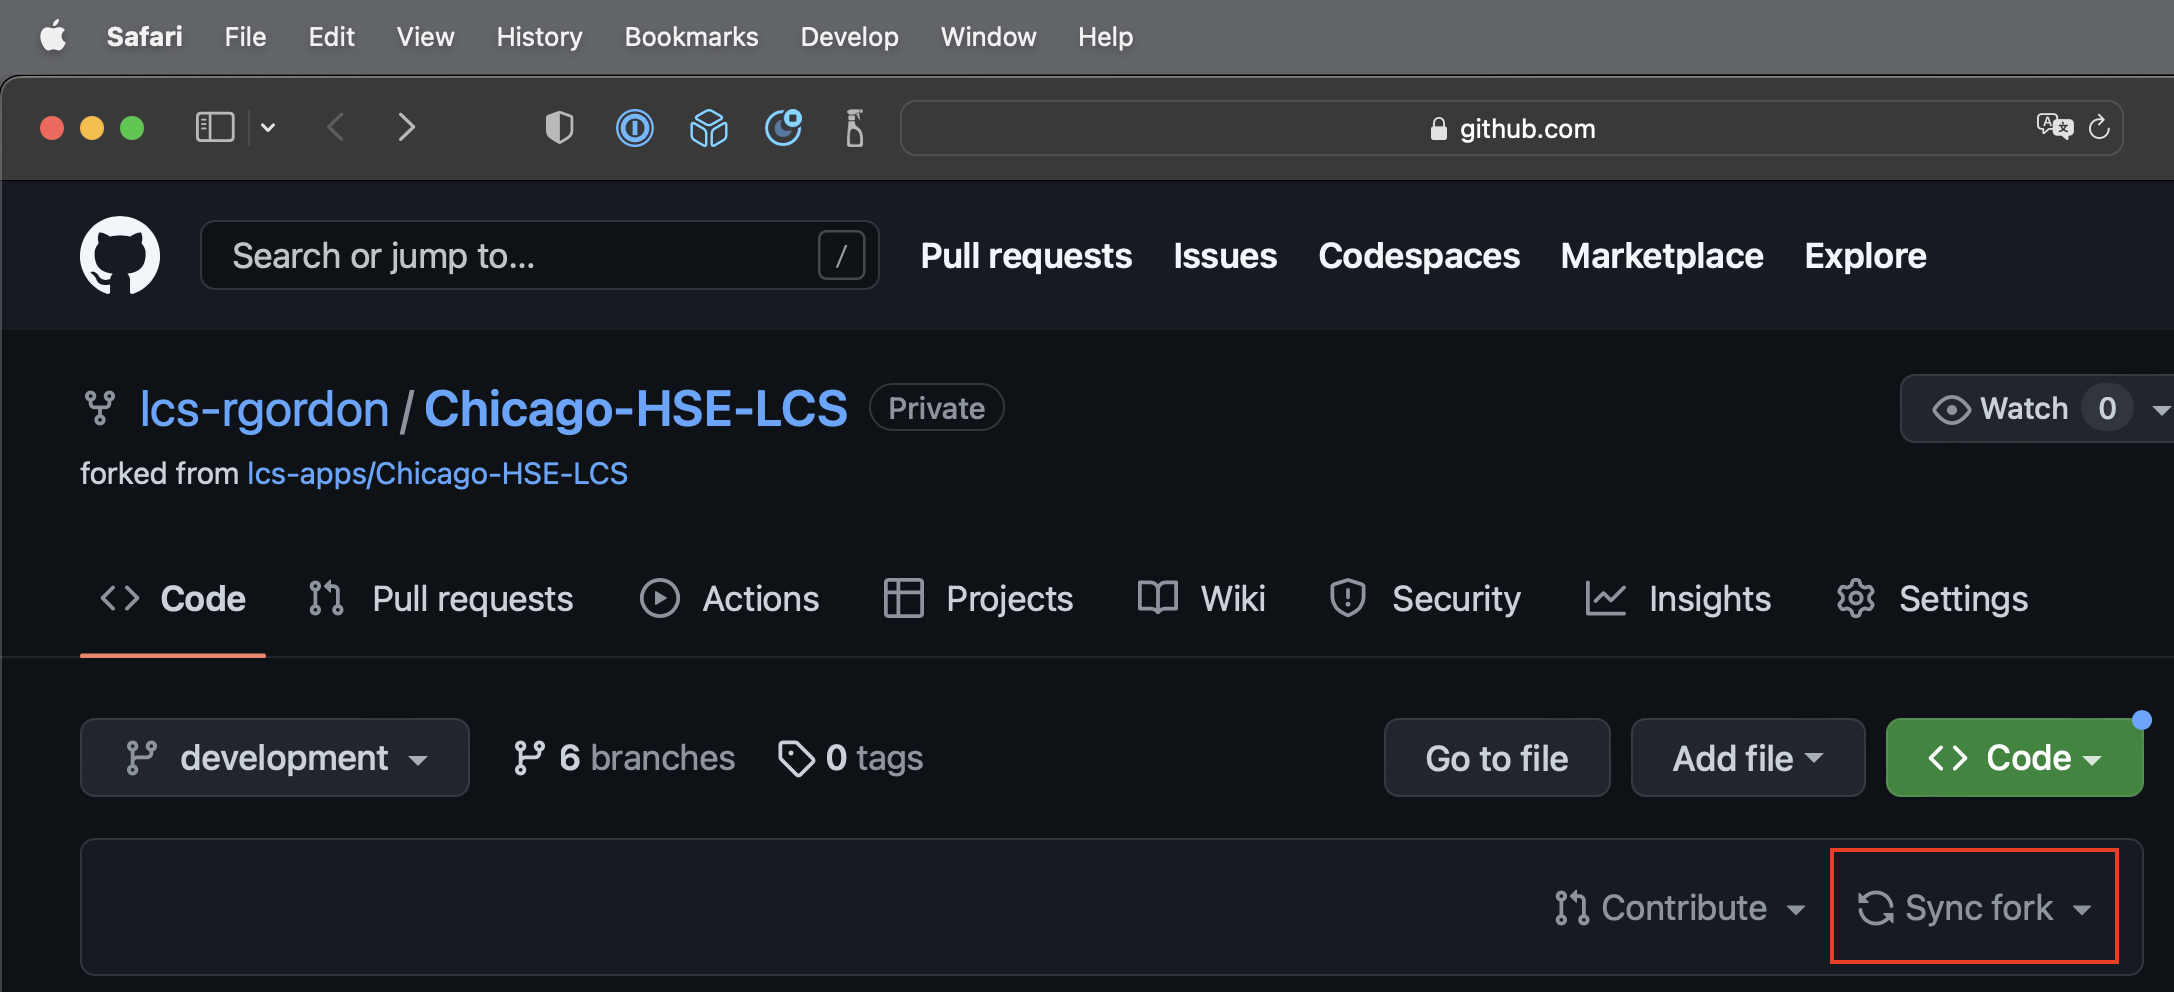
Visit the GitHub remote for your fork:
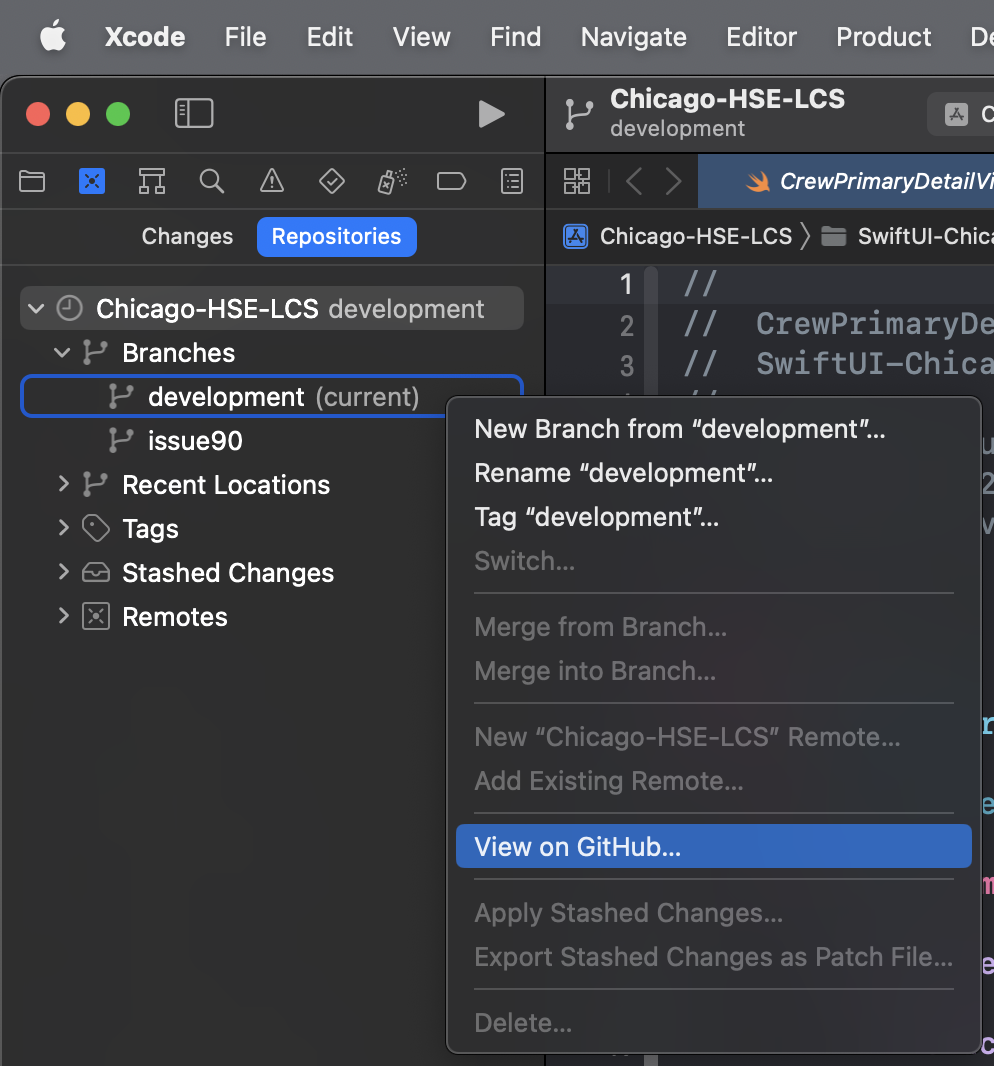
Then sync your fork with the primary copy of the repository to pick up recent changes:
-
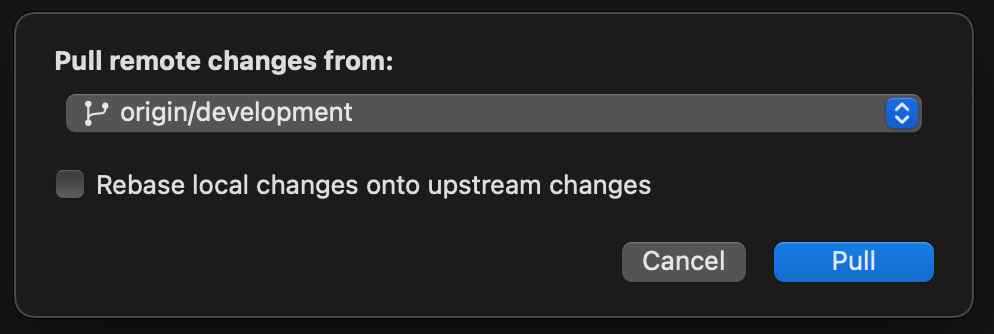
Back in Xcode, pull from your fork's remote to get latest changes on the
developmentbranch:.png)
-
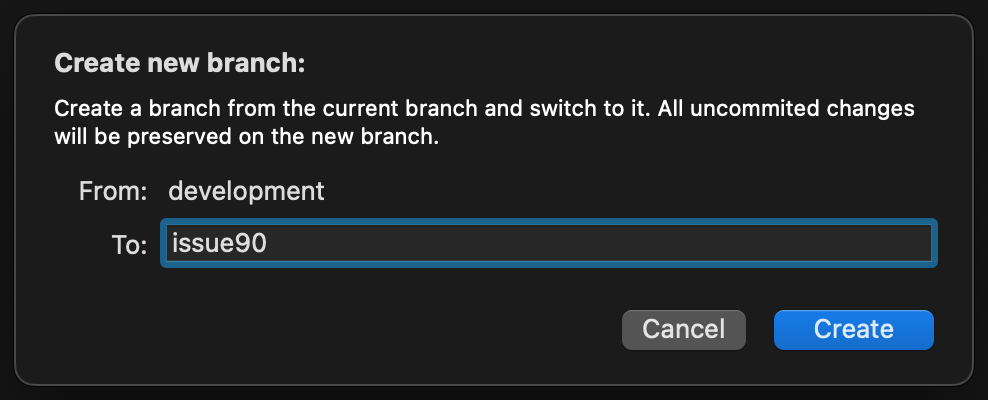
Create a local branch from
developmentbased on your issue number.-
For example, if your issue is 90, branch name should be
issue90.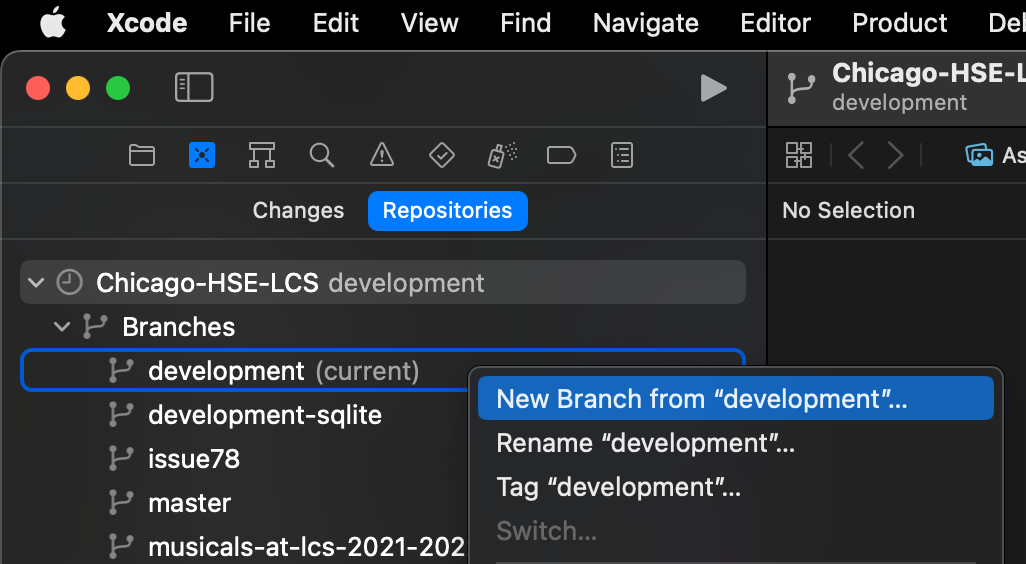
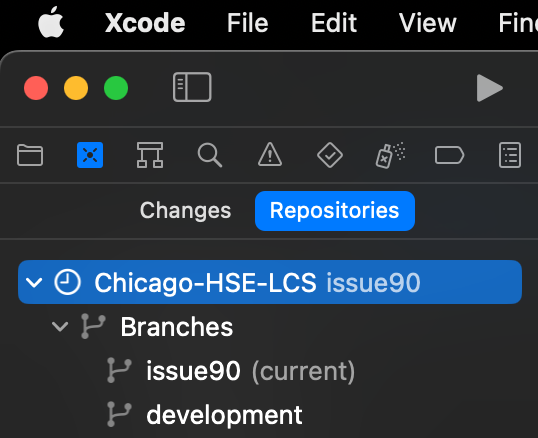
TipAfter creating or switching to a different branch, Xcode may show the marker
(current)on two branches at the same time, which is impossible.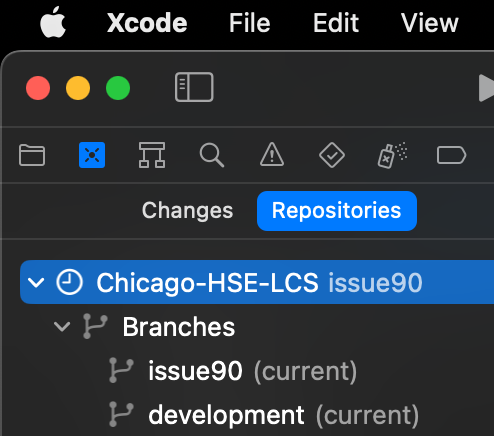
This is a bug. To workaround this display issue, go to the Project navigator using the Command-1 keyboard shortcut, then back to the Source Control navigator using the Command-2 keyboard shortcut.
-
-
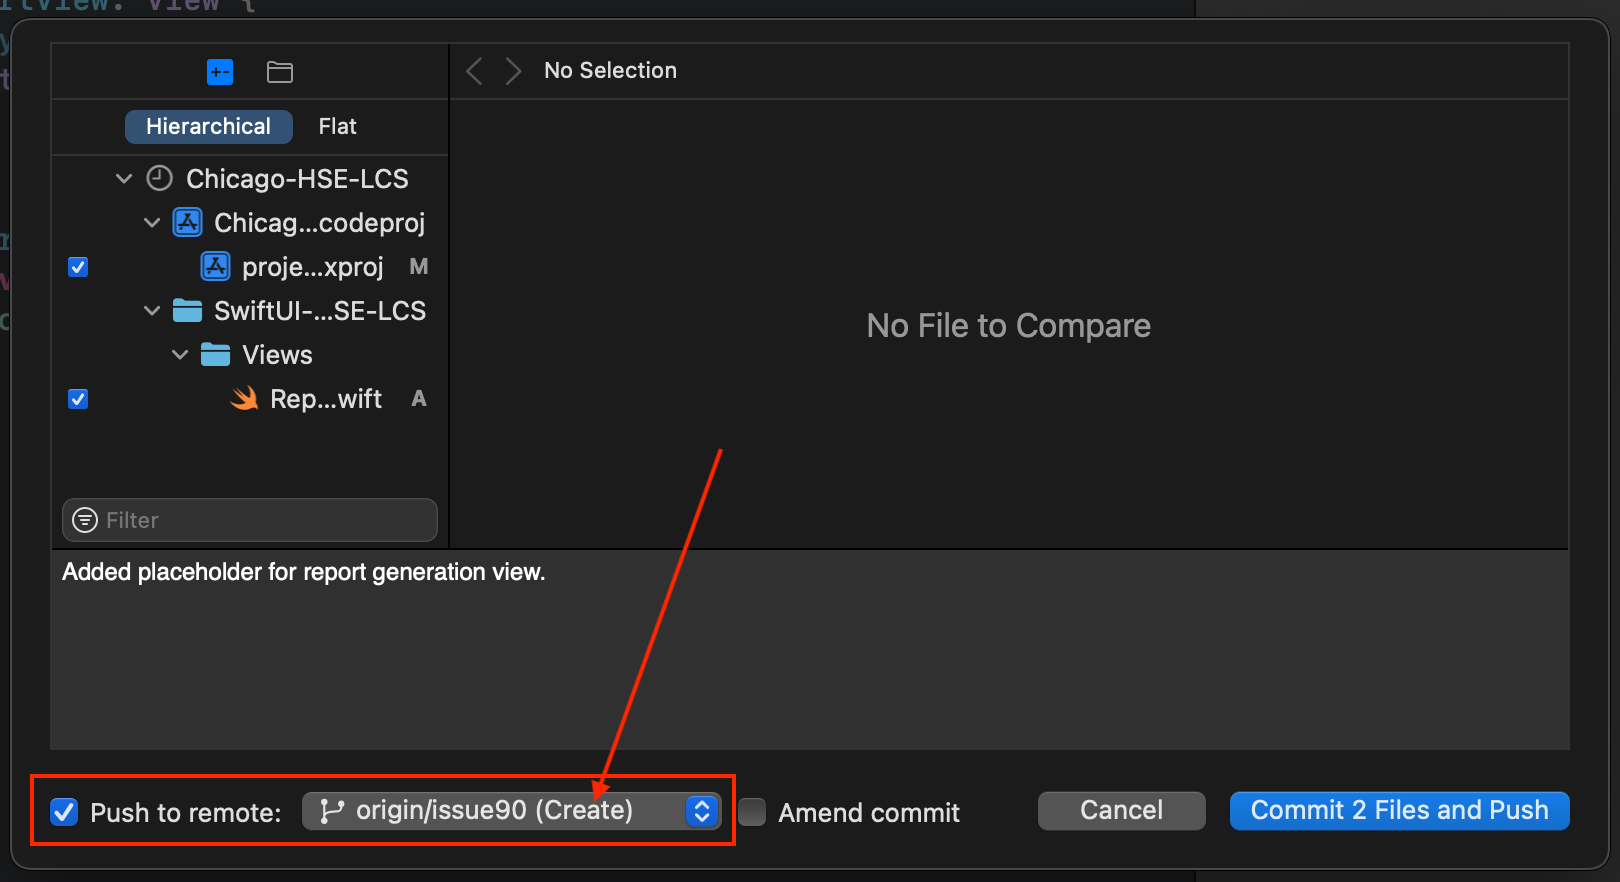
Commit and push to the
issue90branch as you work on the issue.The first time you push a commit, a remote branch will be created.
-
When you are finished working on the issue, go to your fork on GitHub:
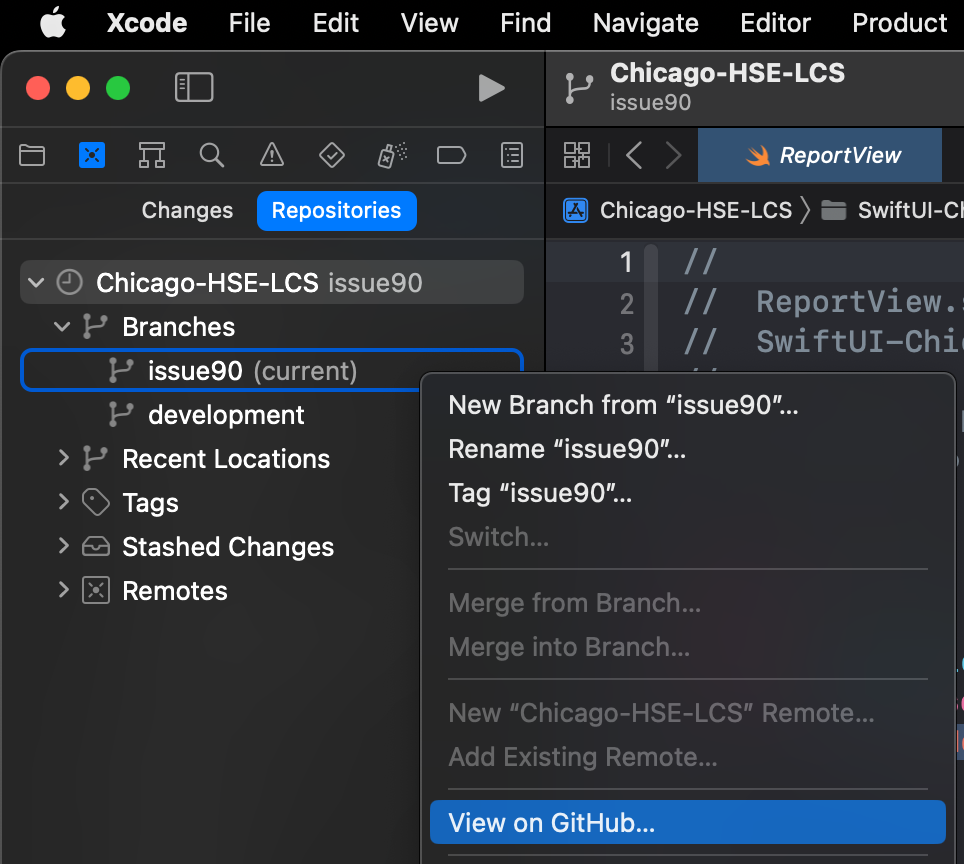
... then initiate a pull request:

On GitHub, describe what you have accomplished briefly (1), provide more details if necessary (2), reference the issue number (3), and then be certain you are requesting a pull to the
developmentbranch (4):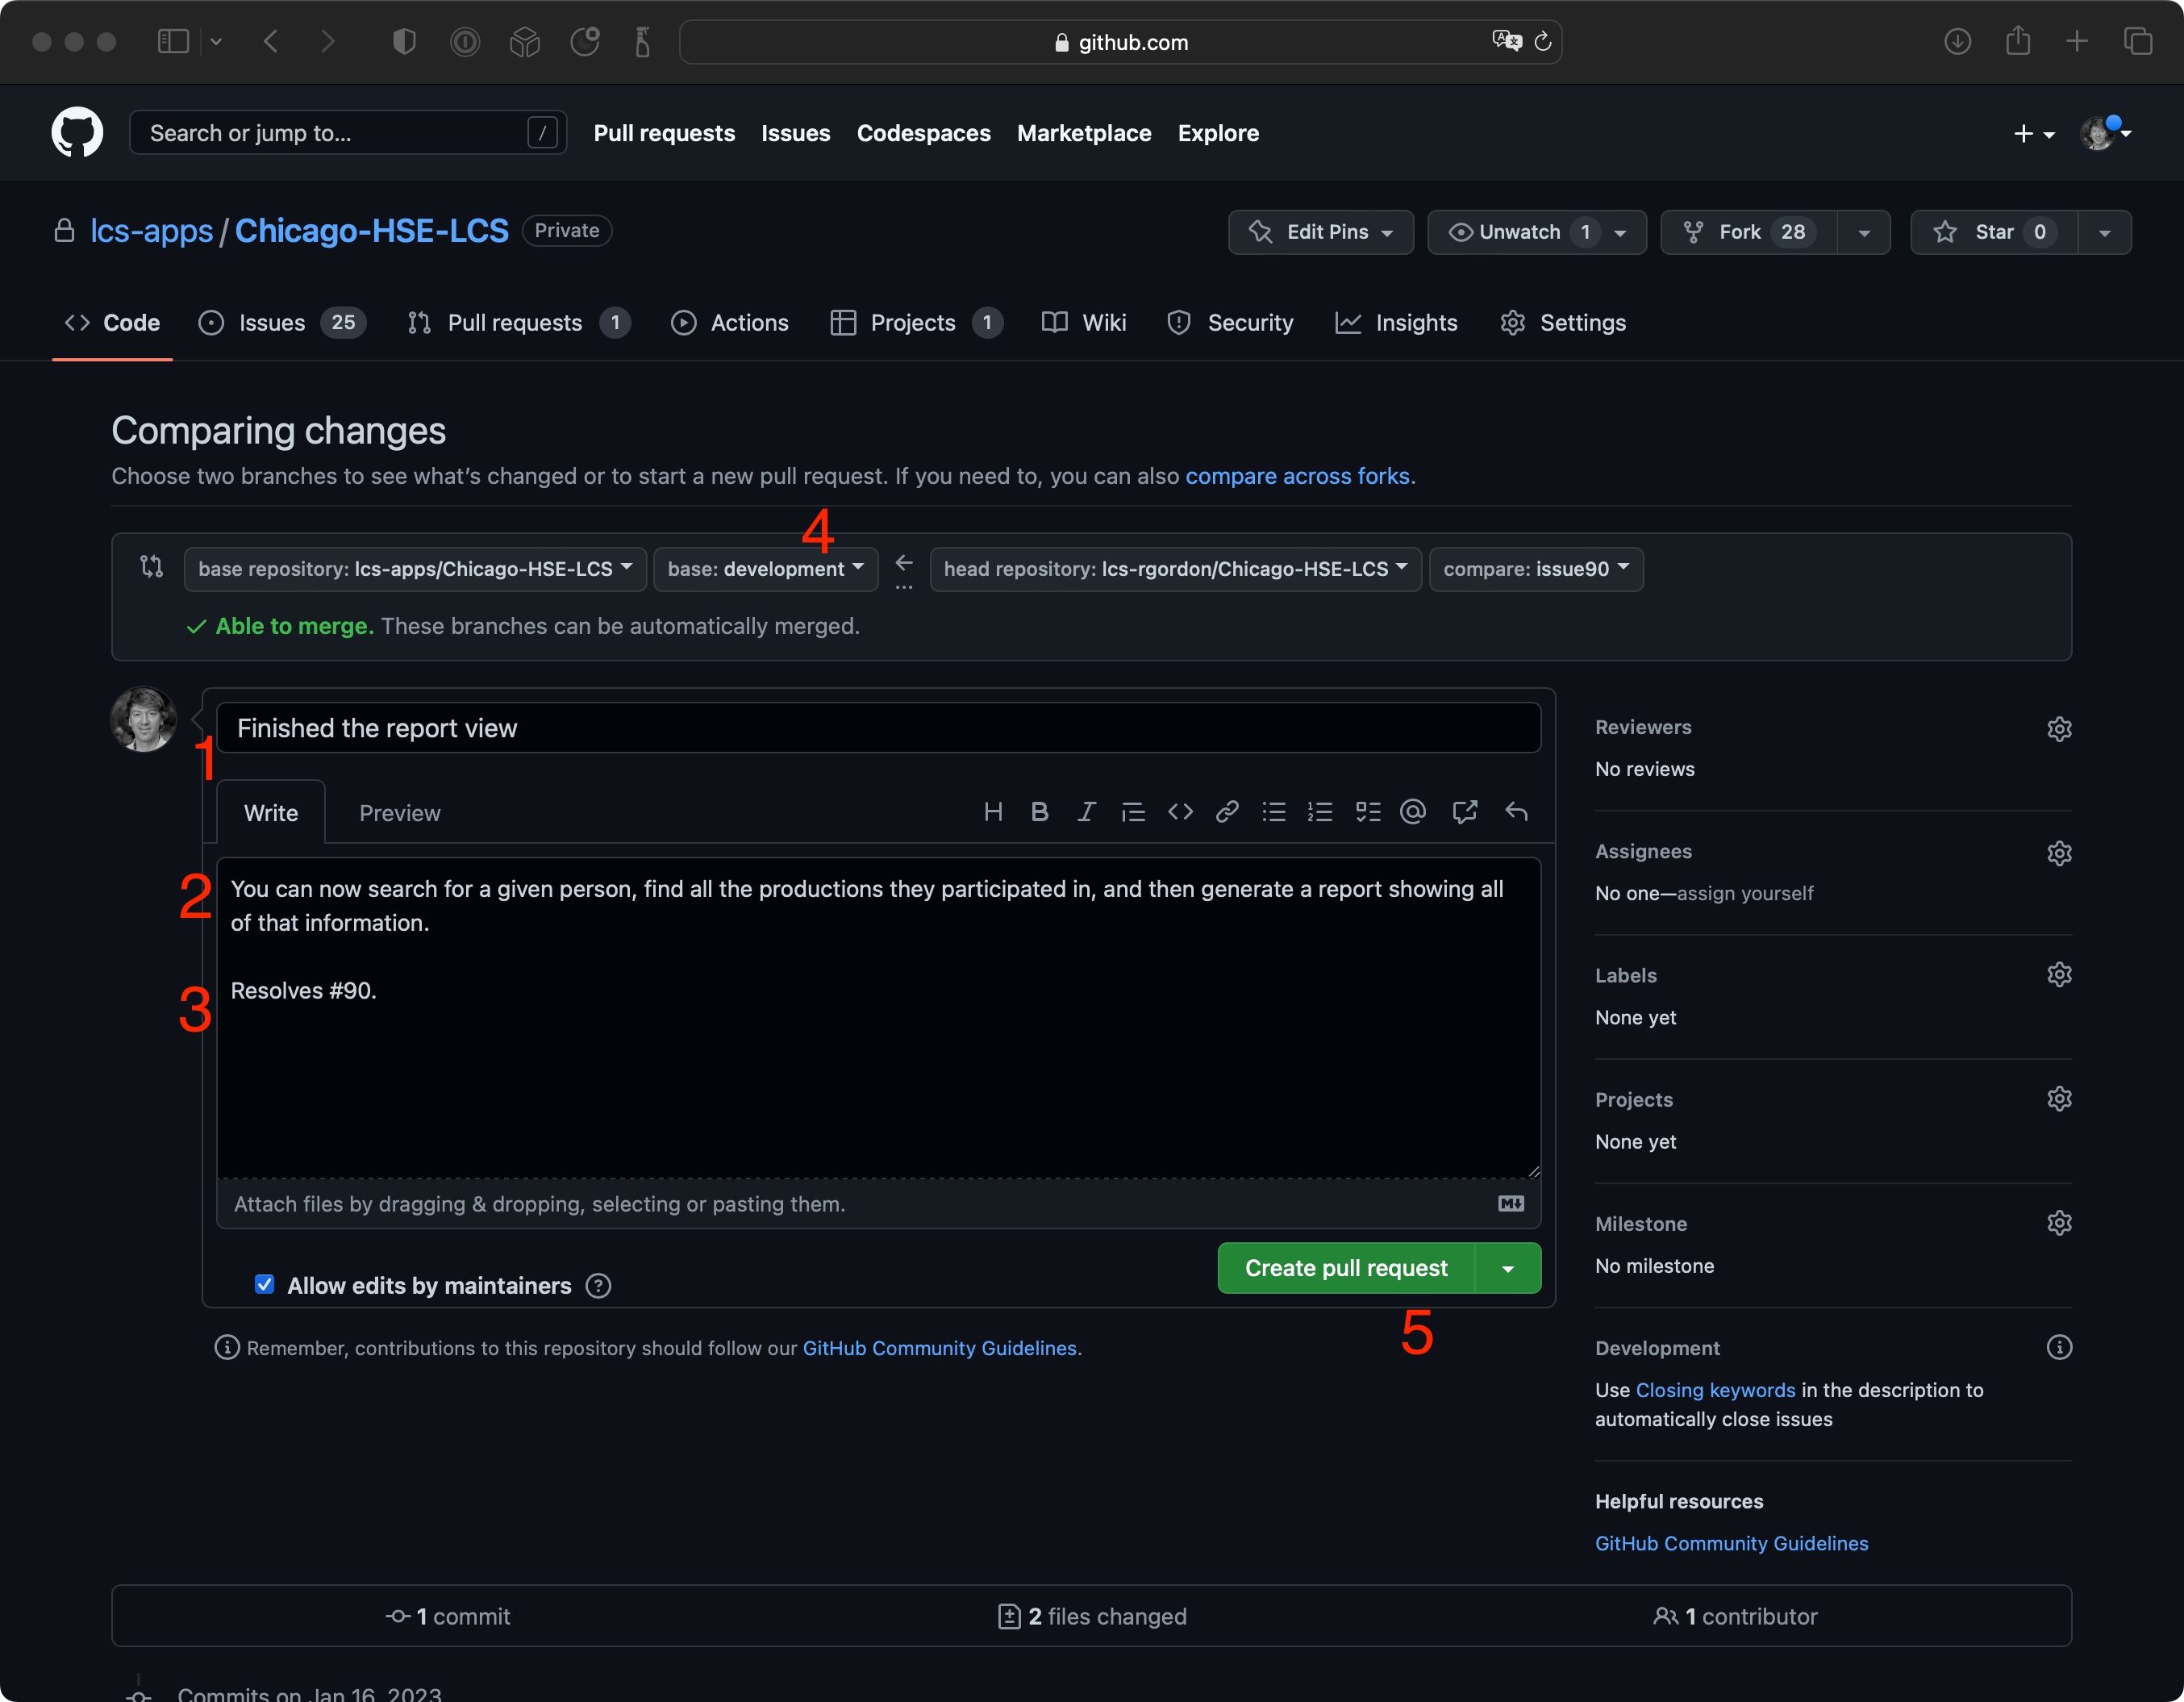
Finally, actually create the pull request (5).
-
In Xcode, switch back to the
developmentbranch and return to step 1 of these instructions to continue working on your next issue.